

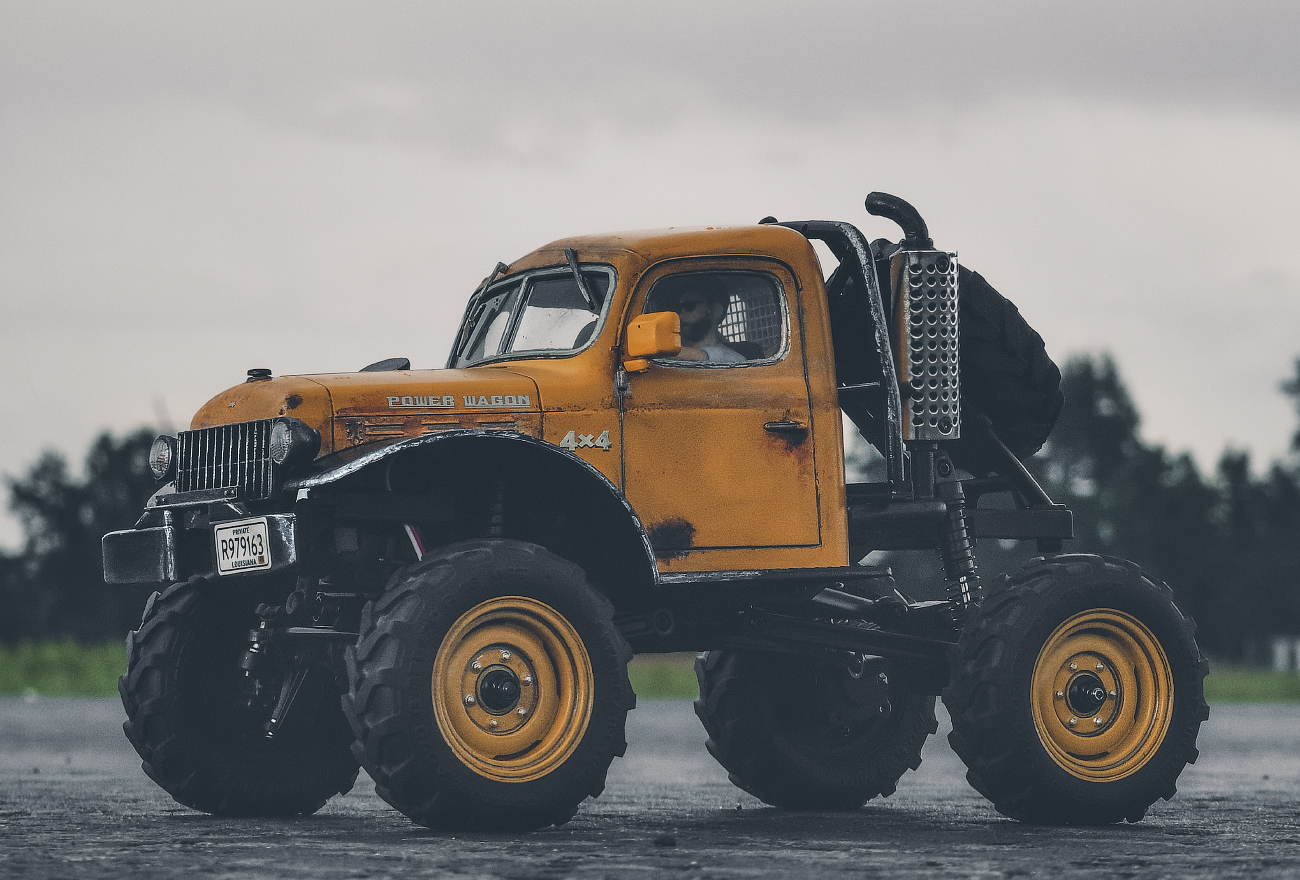
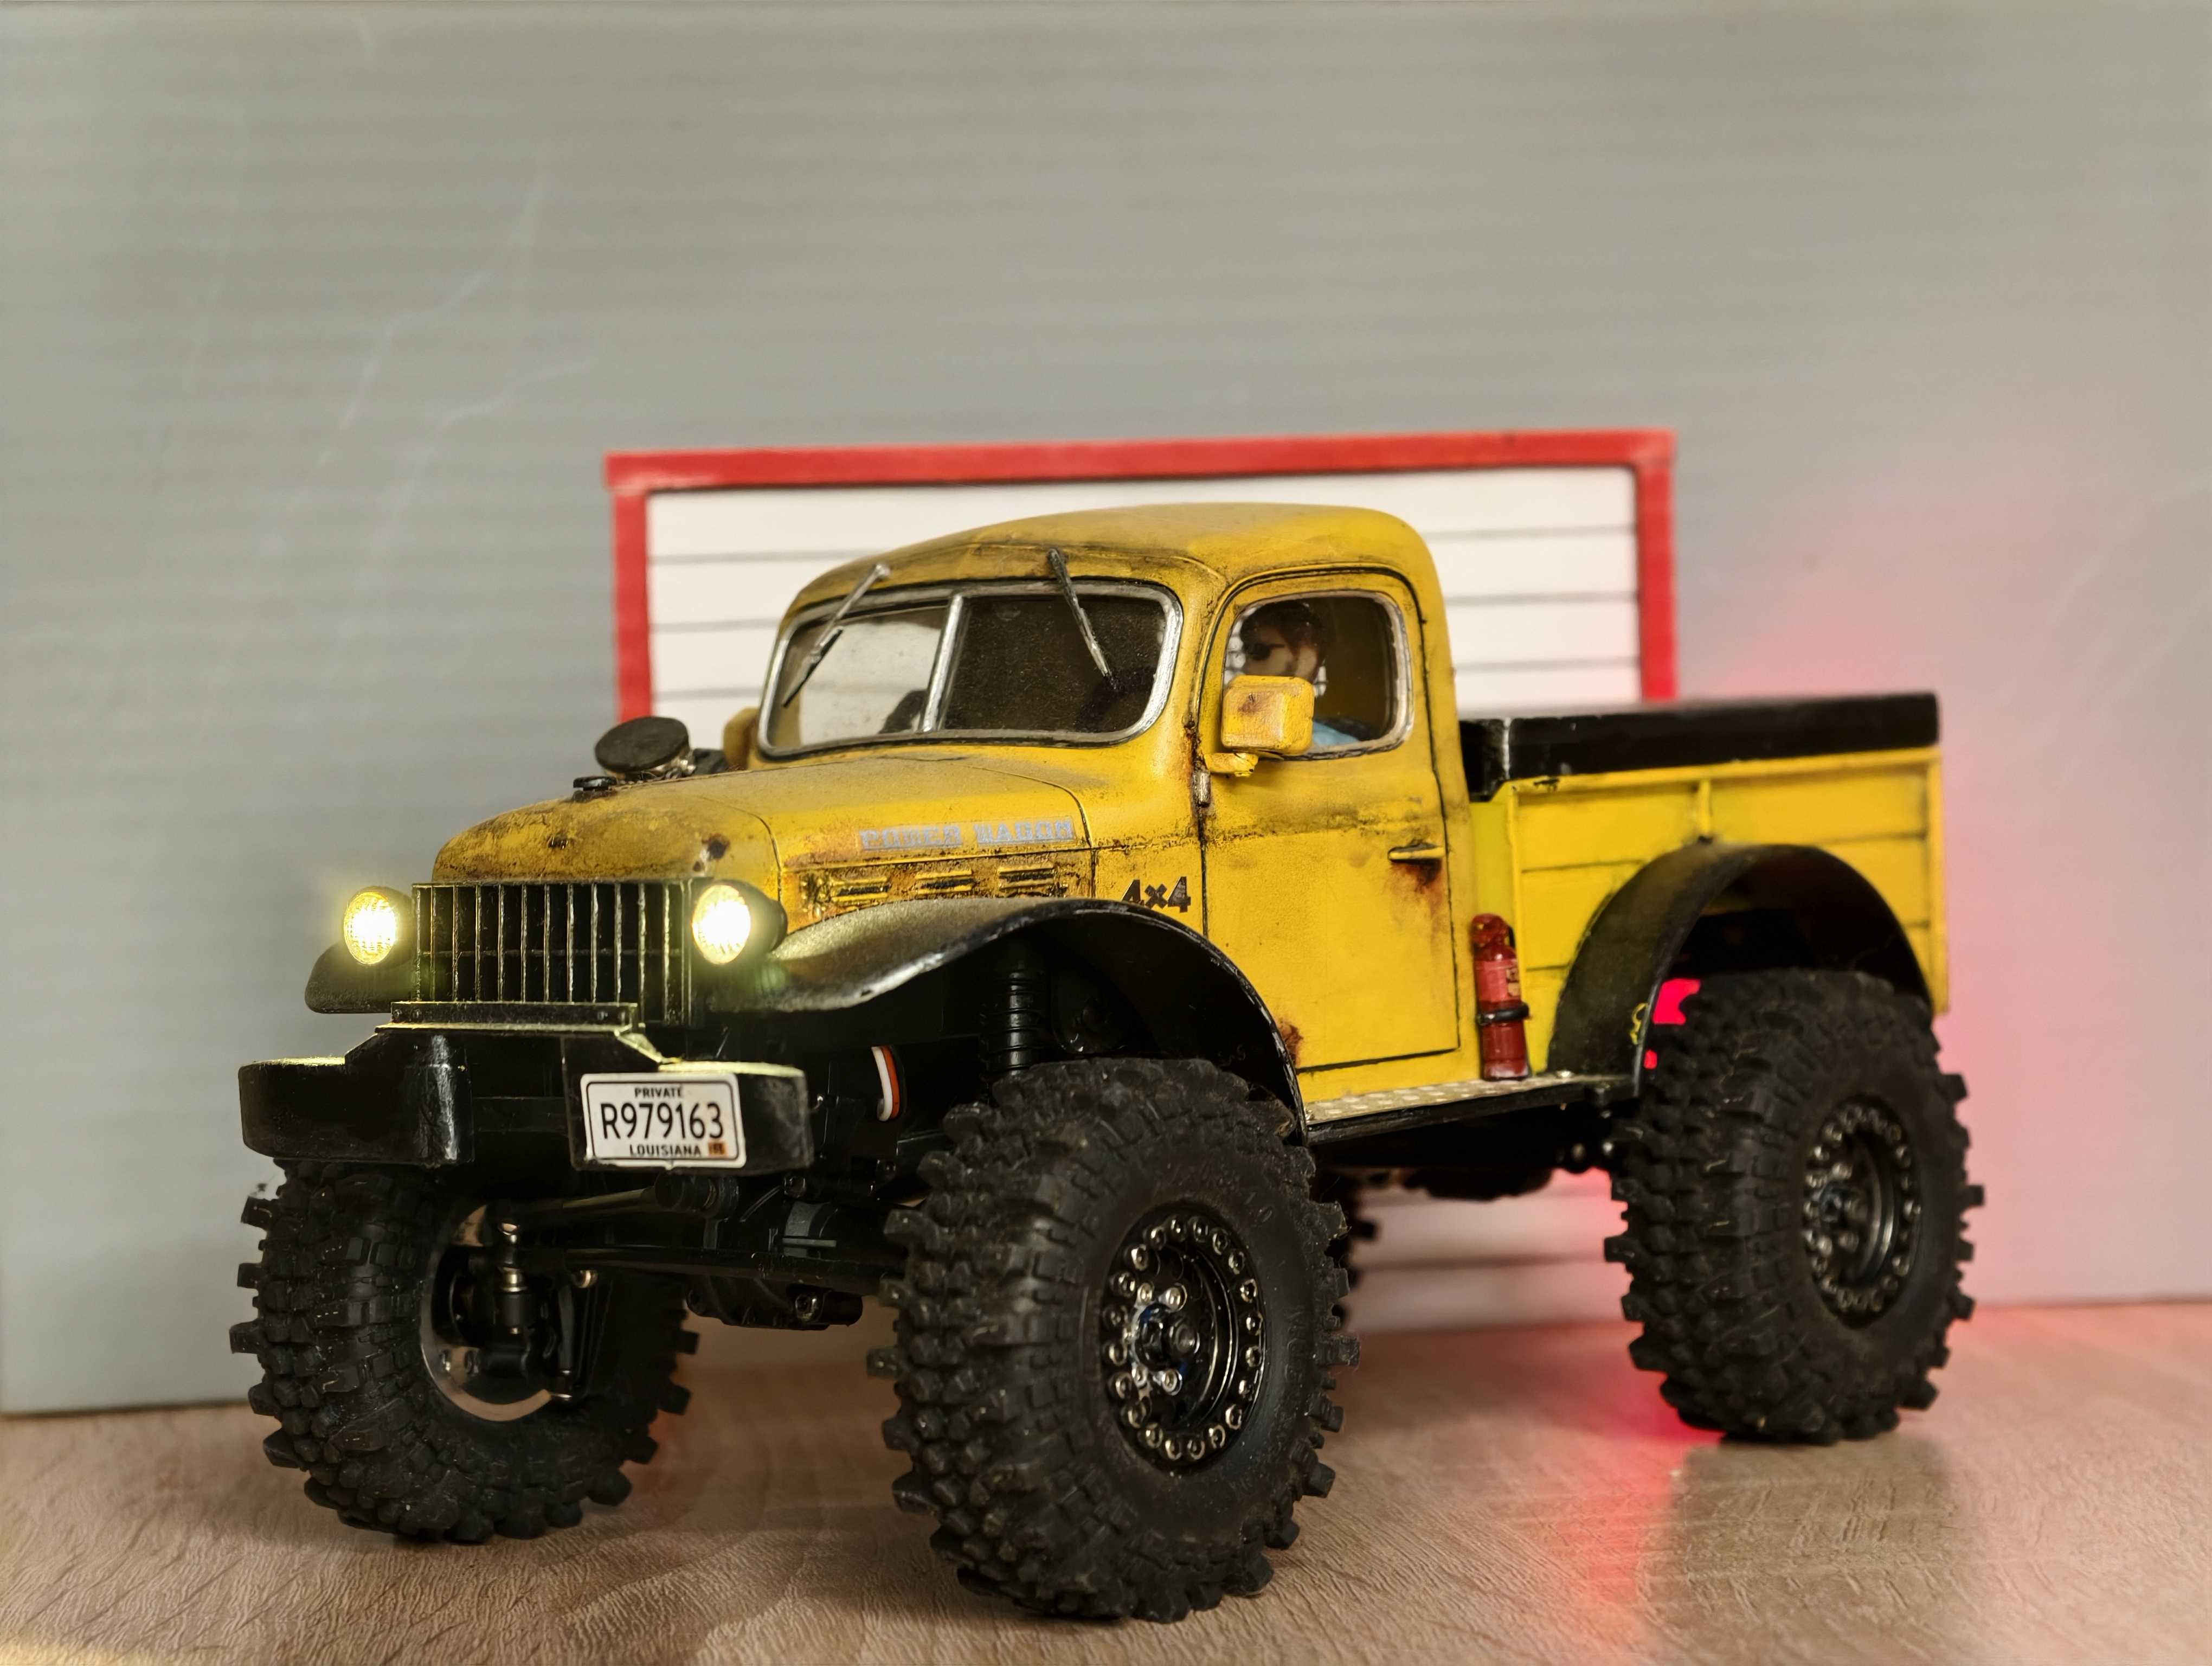
RC-model FMS FCX24 Power wagon
1. Scale 1:24 implies driving at home on a track built from any available materials. People usually remember about this scale in winter, when there’s too much snow for 1:10 scale ). In reality, the advantage of 1:24 scale is that it’s easy to find obstacles without even going far from home.

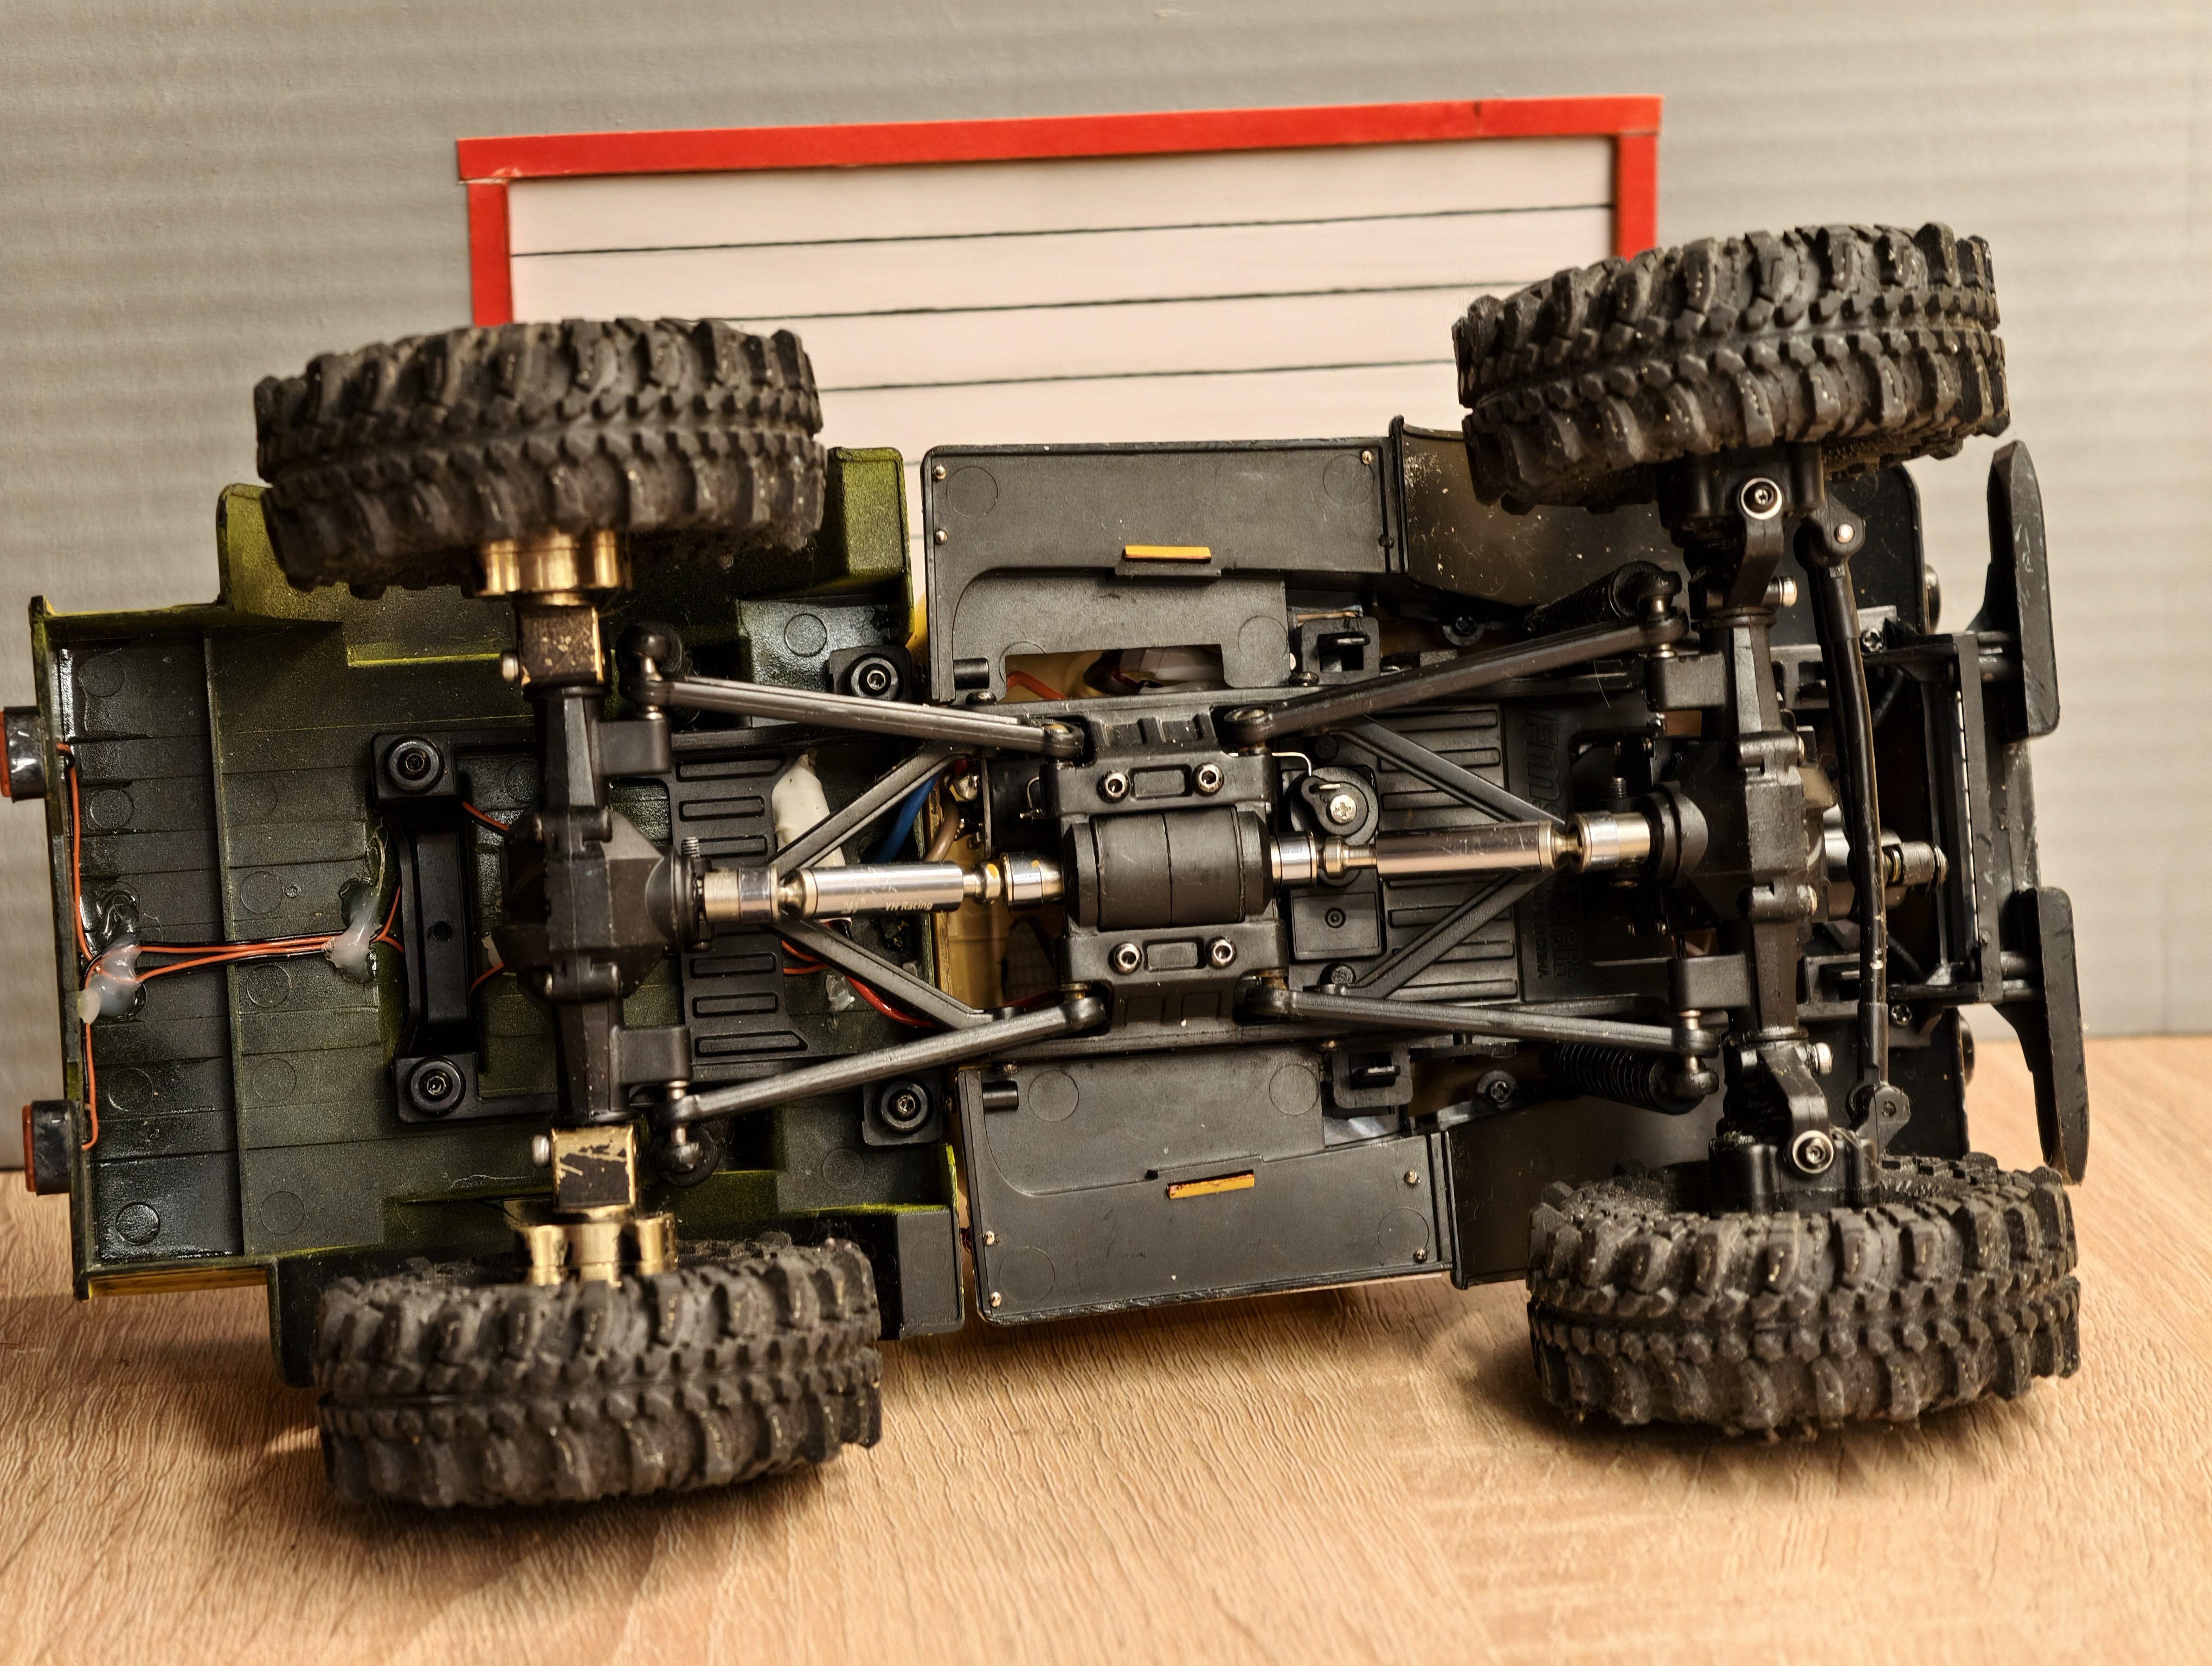
2. Straight to the downsides of FMS: the plastic quality is very poor. After disassembling the axles, the threads for most screws were stripped. Or they were already stripped by the assemblers. I decided not to go inside the gearbox, otherwise there was a high chance its screws wouldn’t screw back in.
So what I did: replaced the driveshafts with metal ones, replaced the rear portal hubs with brass ones. The front ones, although stated to fit the model, didn’t match by mounting points. I also changed shock absorbers.
3. I lost the desire to do a total upgrade of the parts. I decided to leave it as is and focus only on external tuning. Now I have a prejudice against all FMS models of any scale. No more FMS at my home. But if the stock parts leave untouched, the model is very good: the two-speed transmission switches perfectly and provides both slow crawling and fast driving. The suspension articulation with new shock absorbers has become excellent.
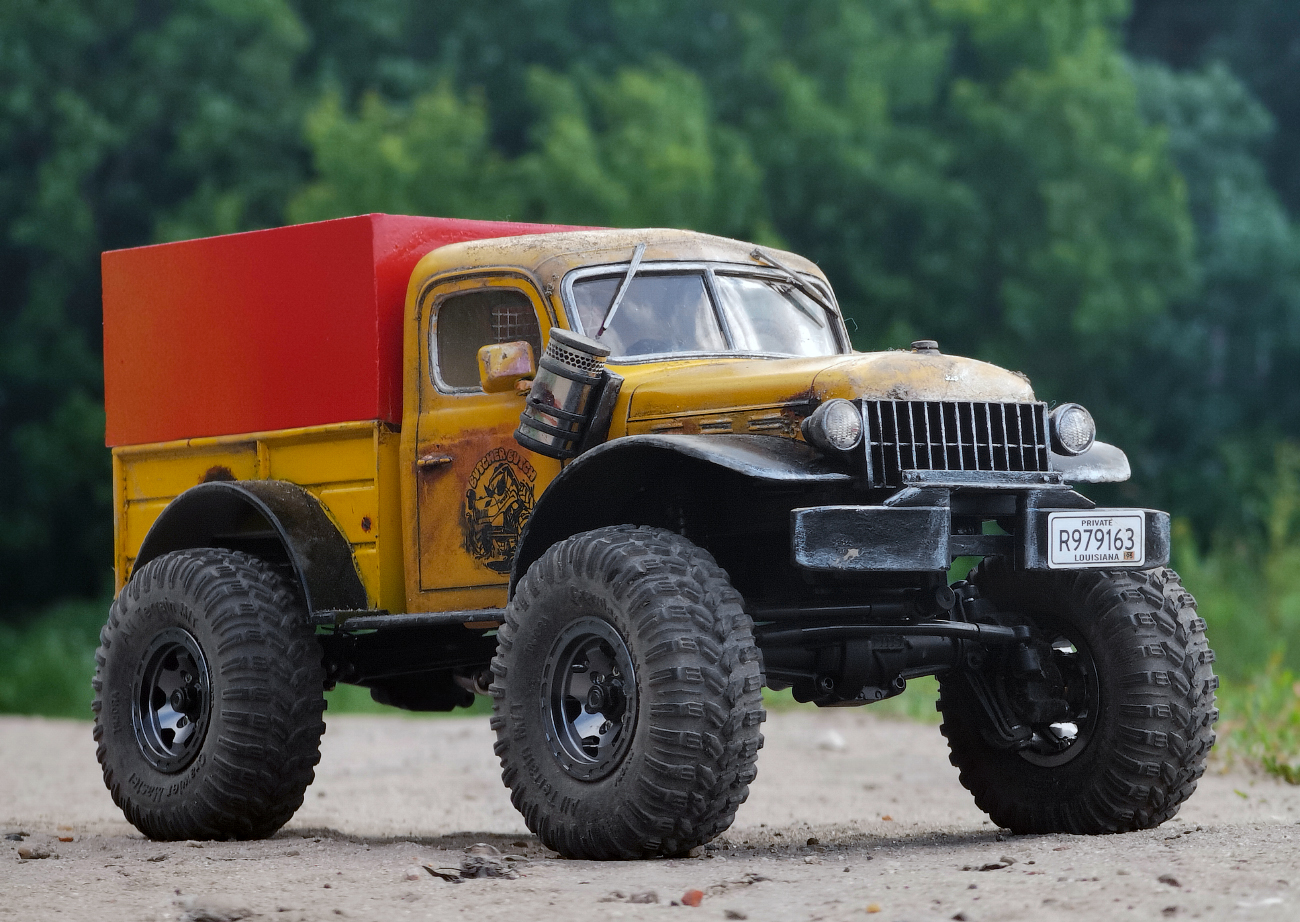
4. Plastic cab is painted well and it’s easy to apply weathering.
5.
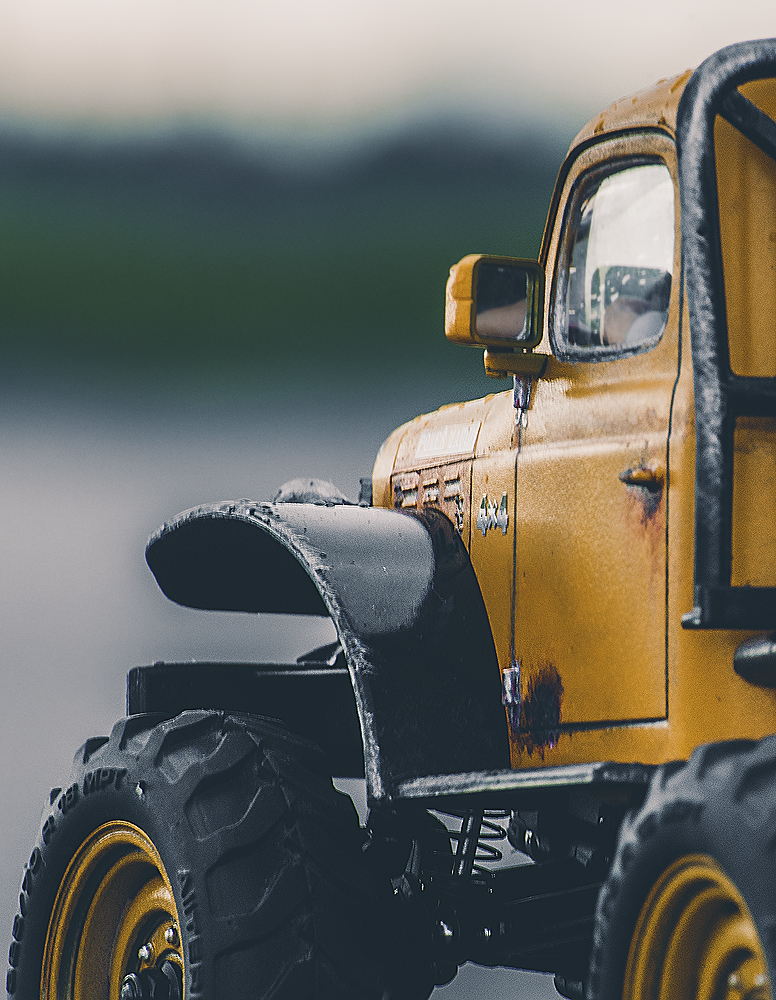
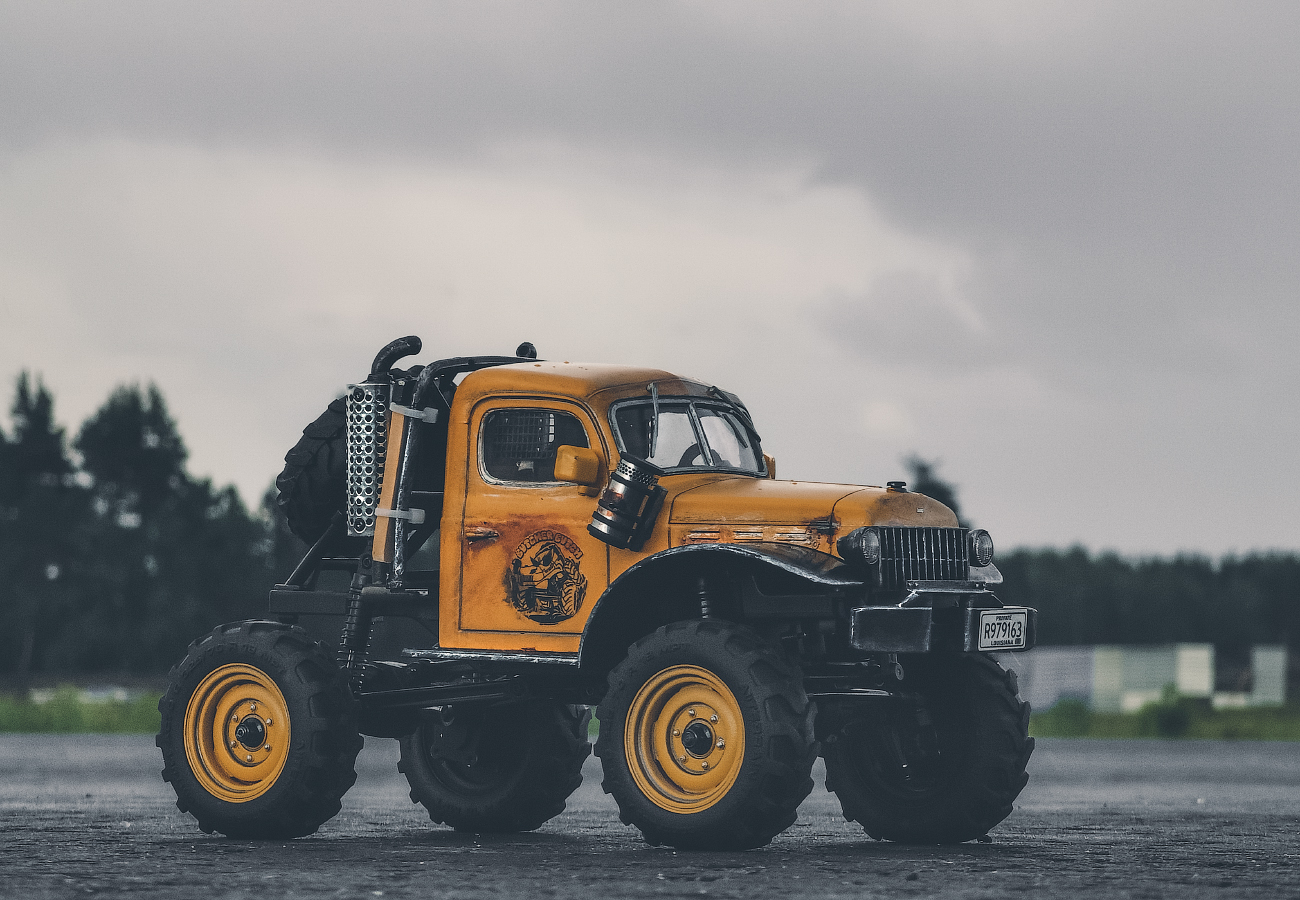
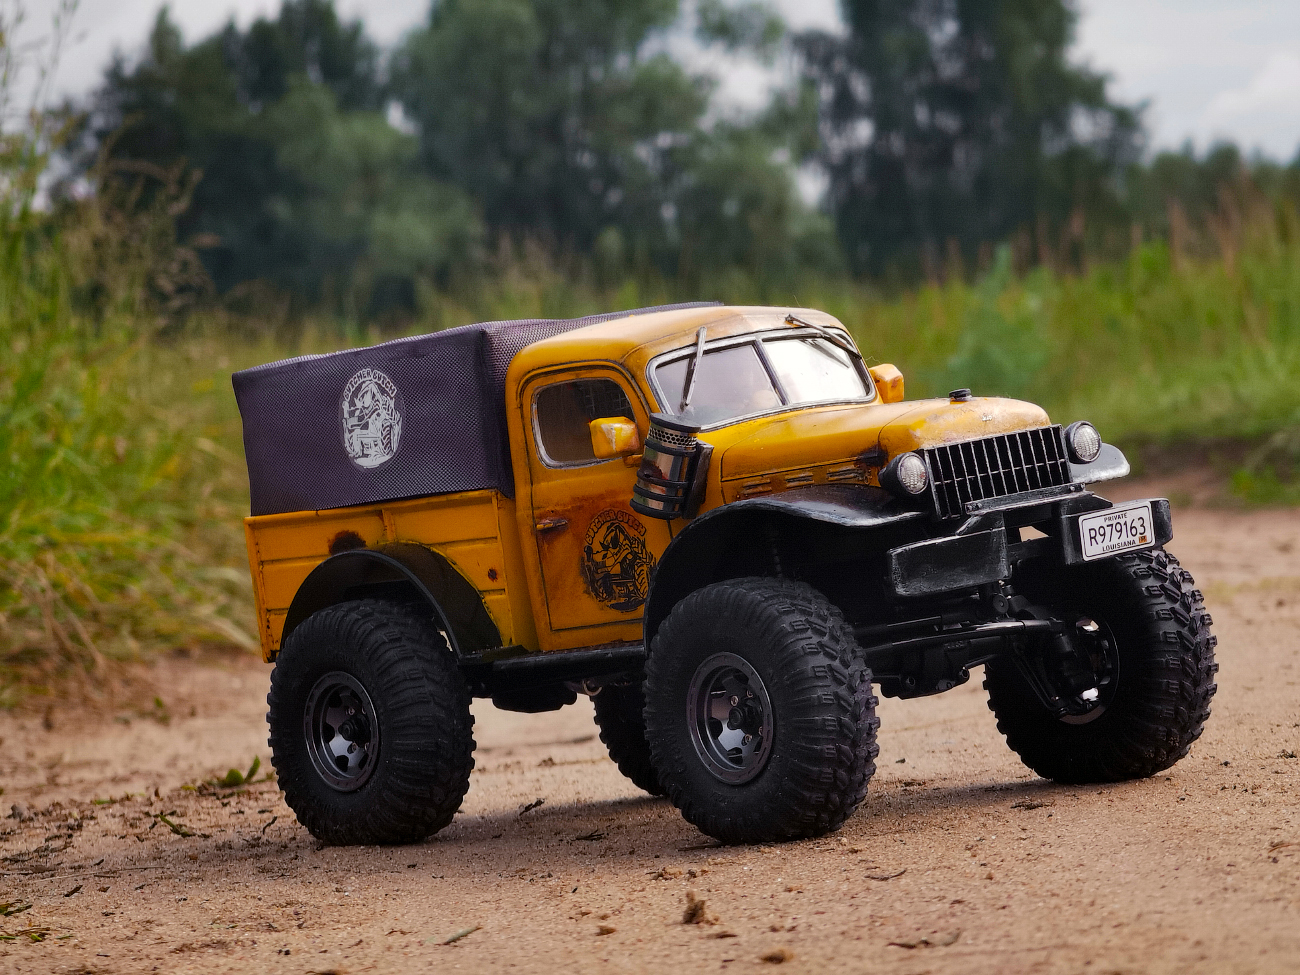
6. First, I weathered the cab and put driver inside, making a steering wheel and seat. Added air filter, mirrors, and exhaust pipes.
7.
8.
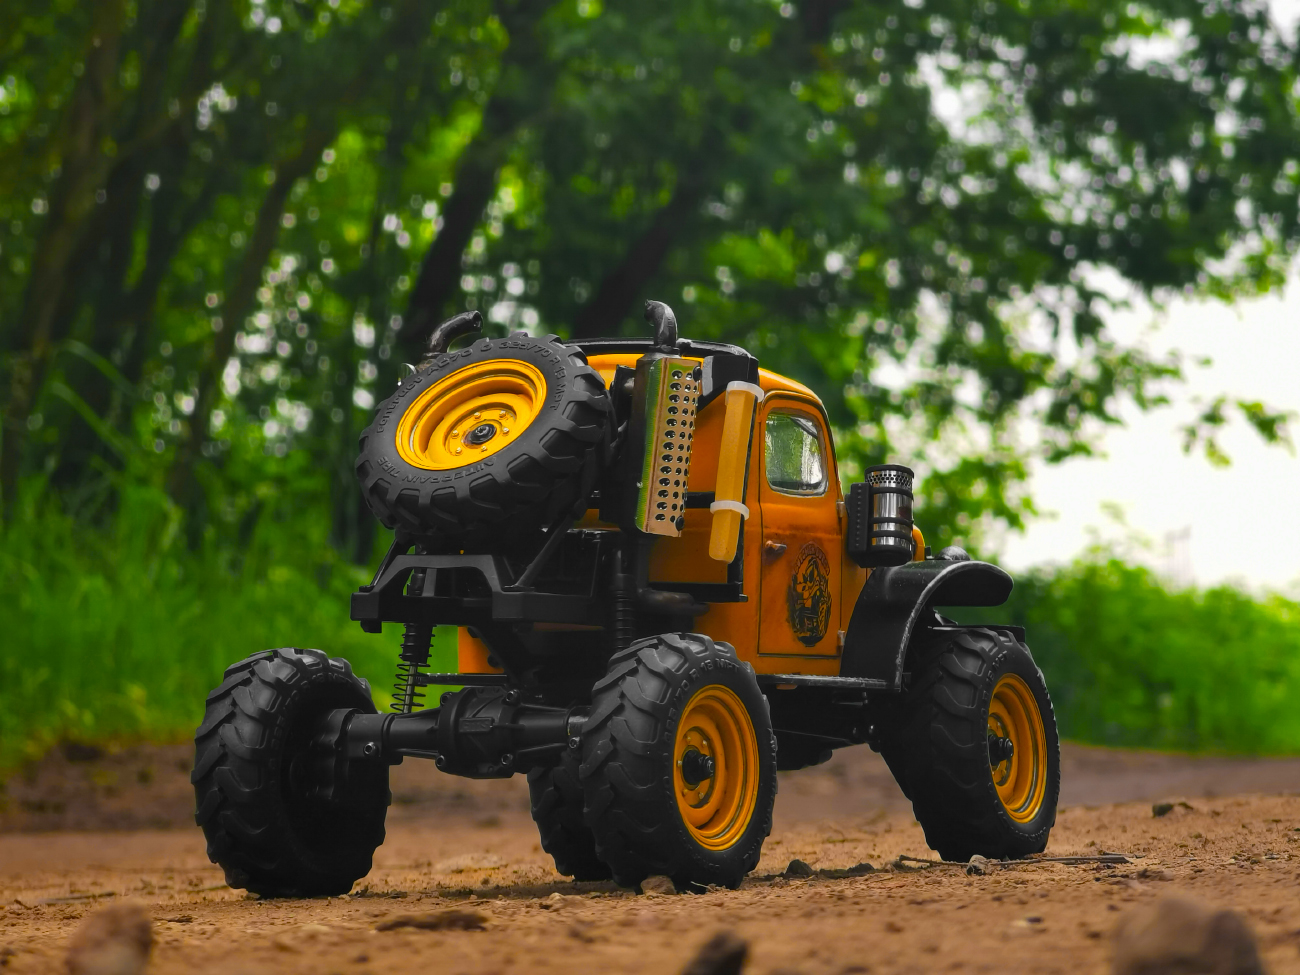
9. Removed the cage at the back and installed a fuel tank, into which I placed the battery so I wouldn’t have to constantly remove the cab to charge or replace it. Added brass wheel weights to the stock wheels.
10. Bought a basket and installed it instead of the spare tire and exhaust pipes, painting it in the main color of the vehicle. Bought a higher capacity battery. It didn’t fit in the stock location under the cab. So had to route the wires into the basket.
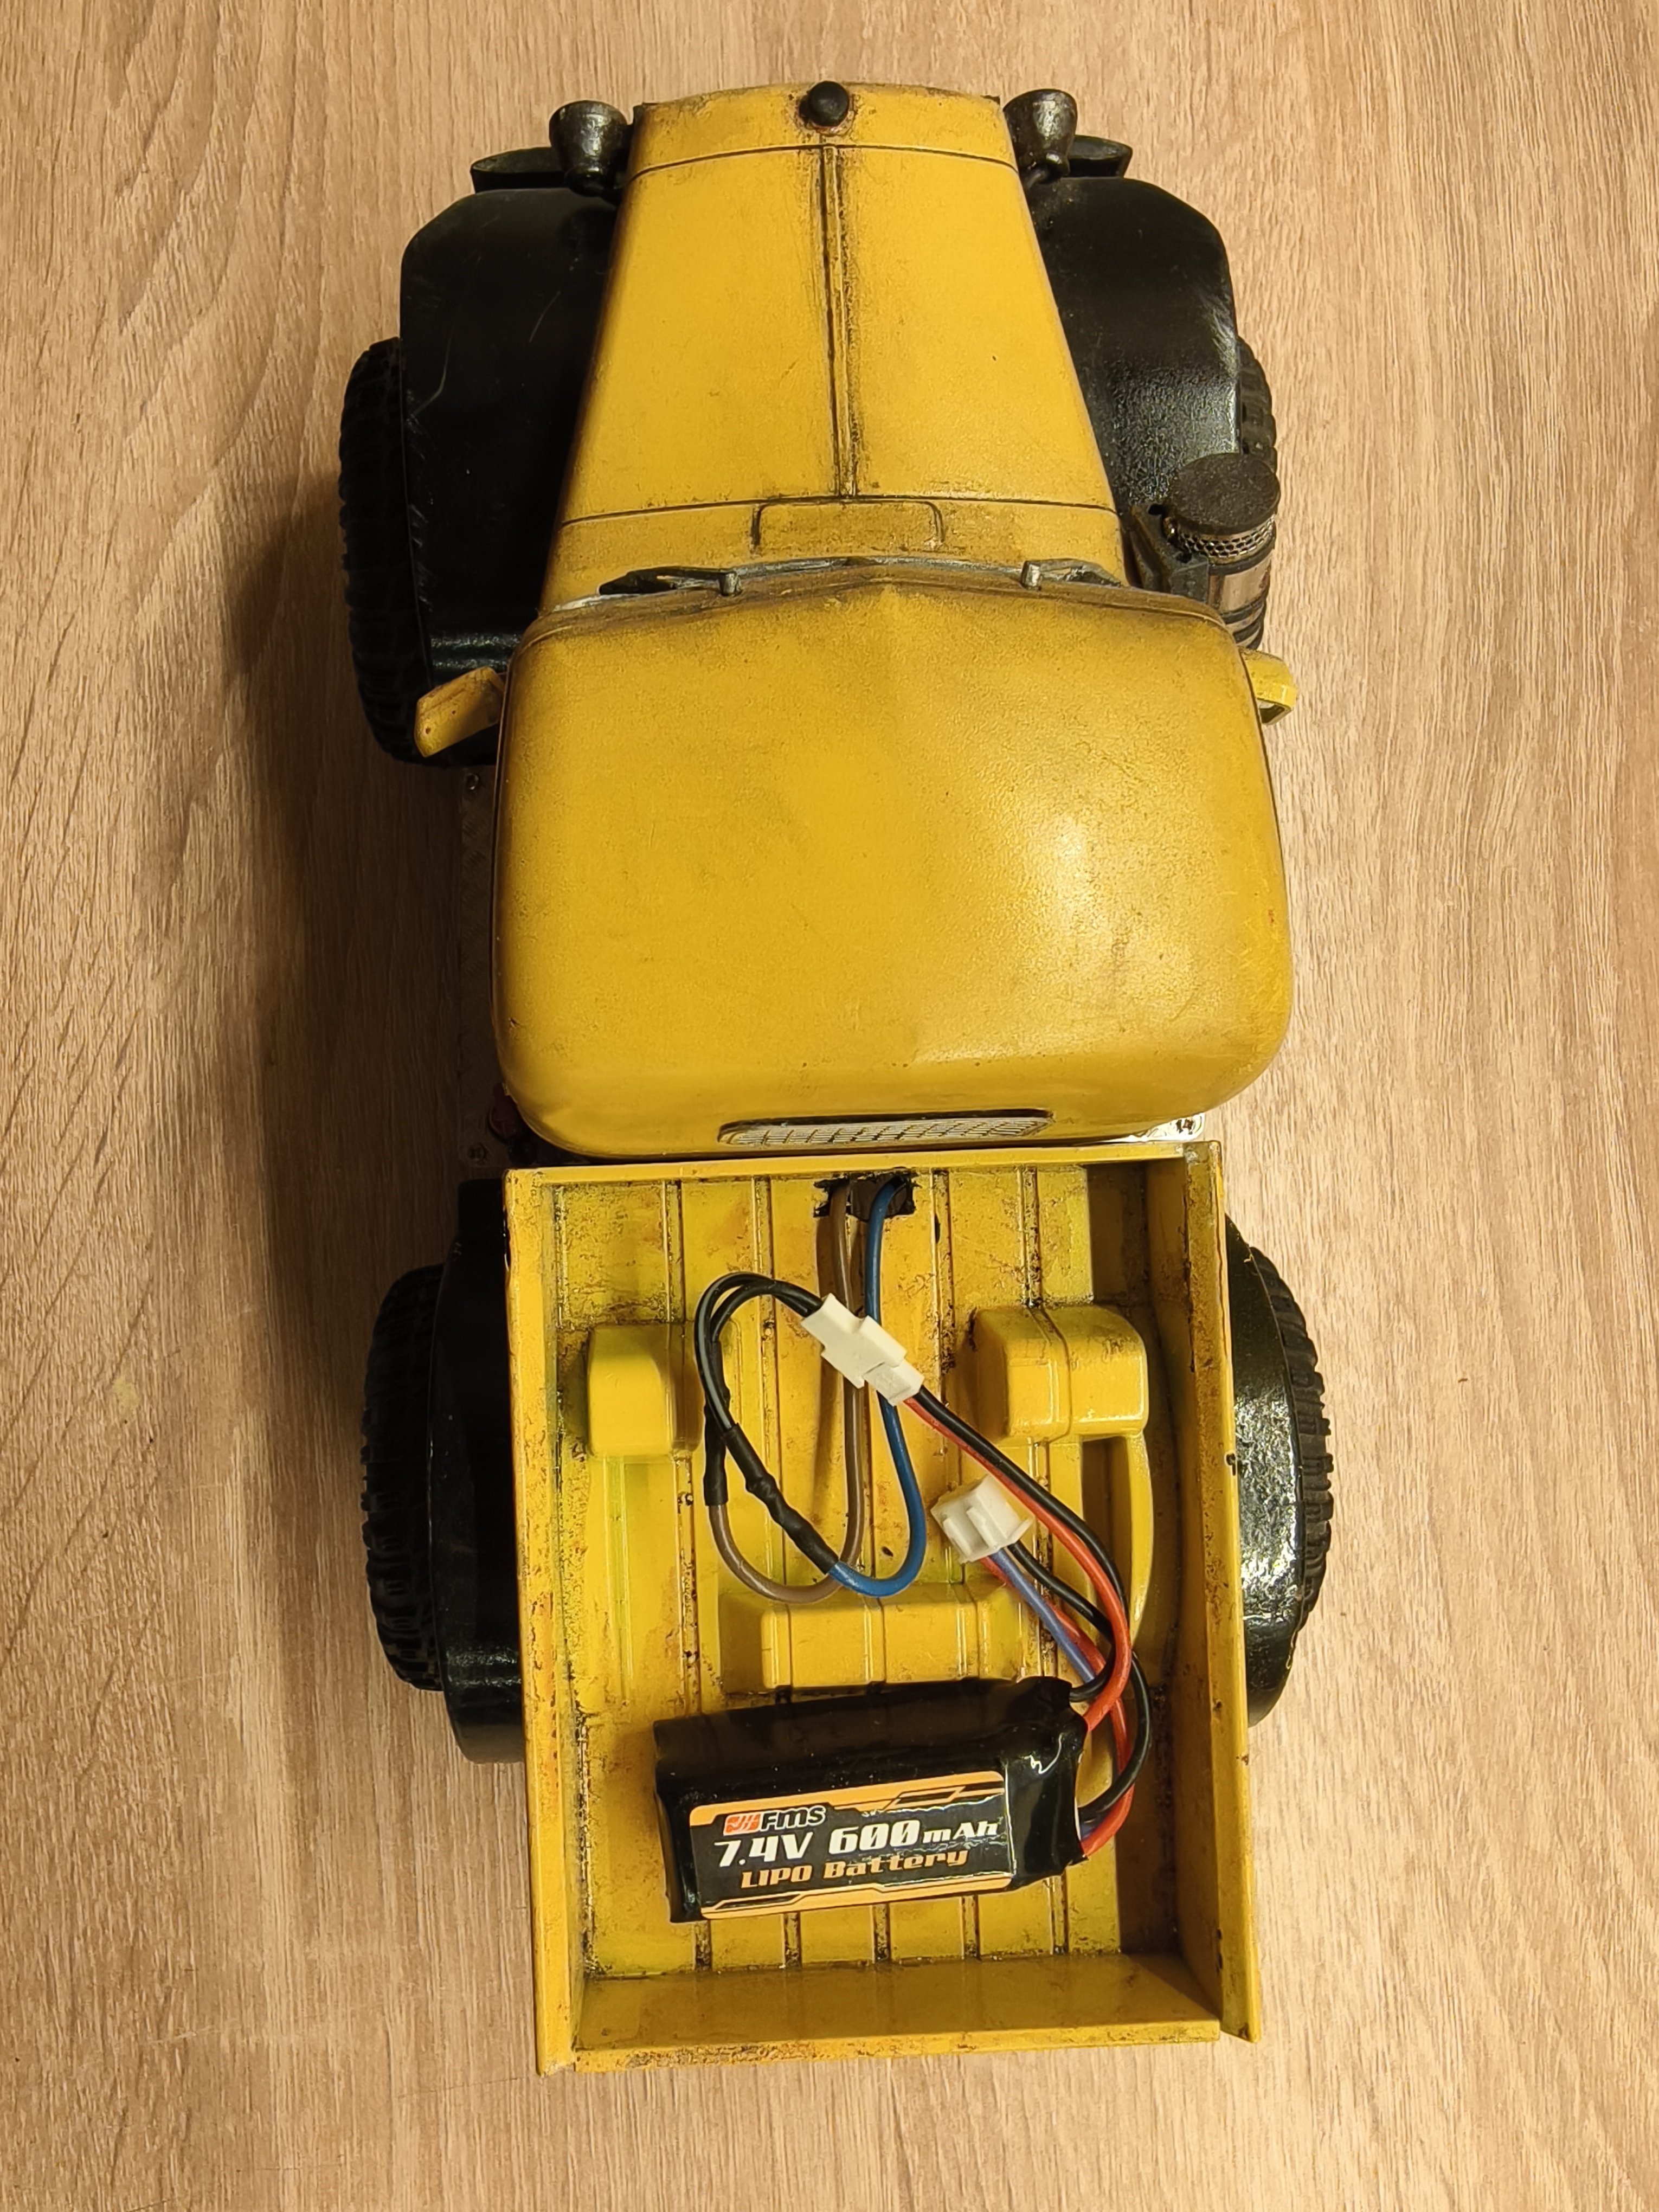
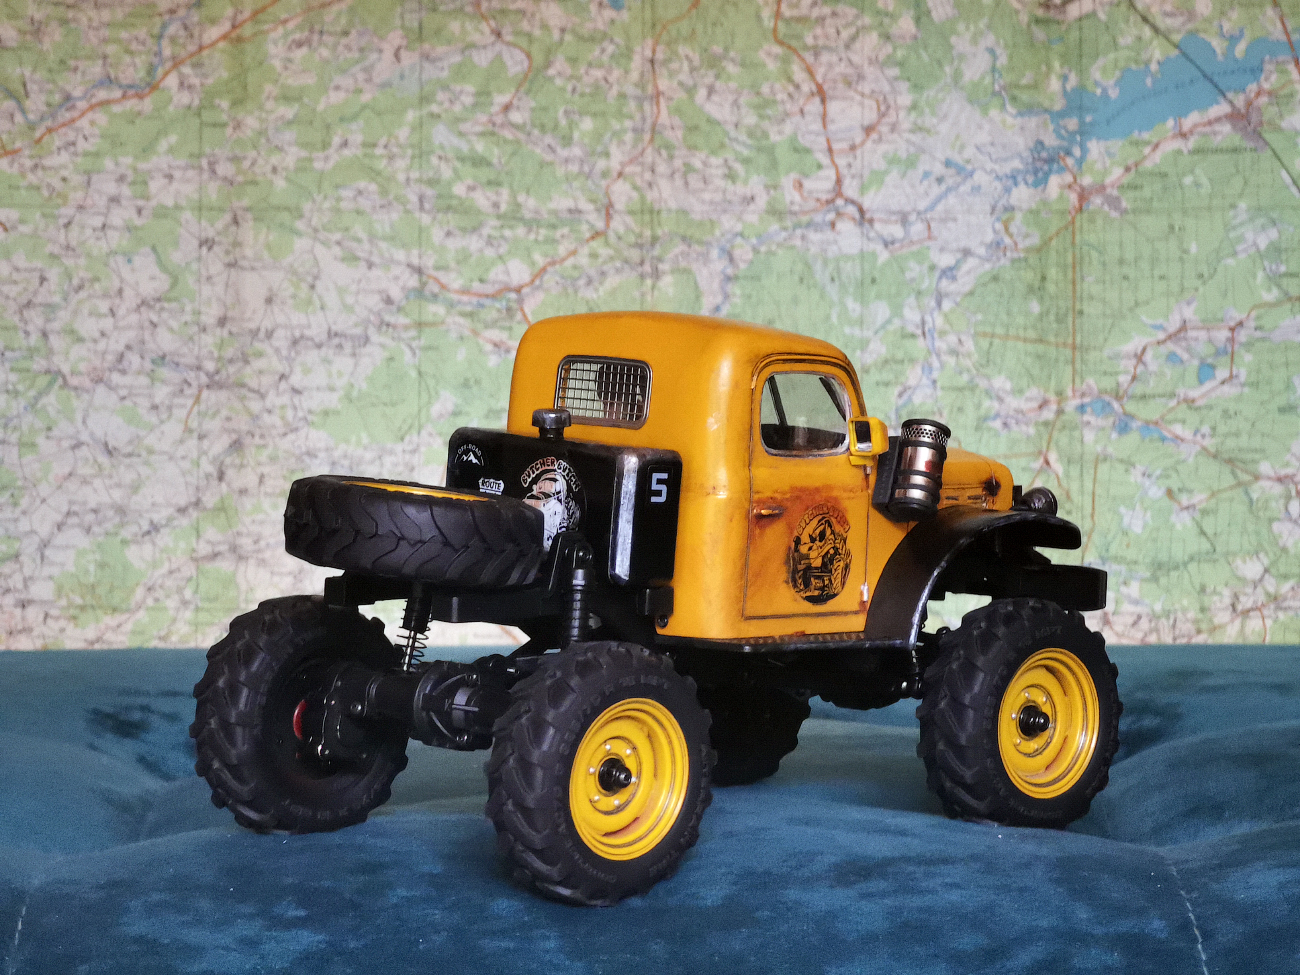
11. To hide battery, I made a wooden box. Also replaced wheels.
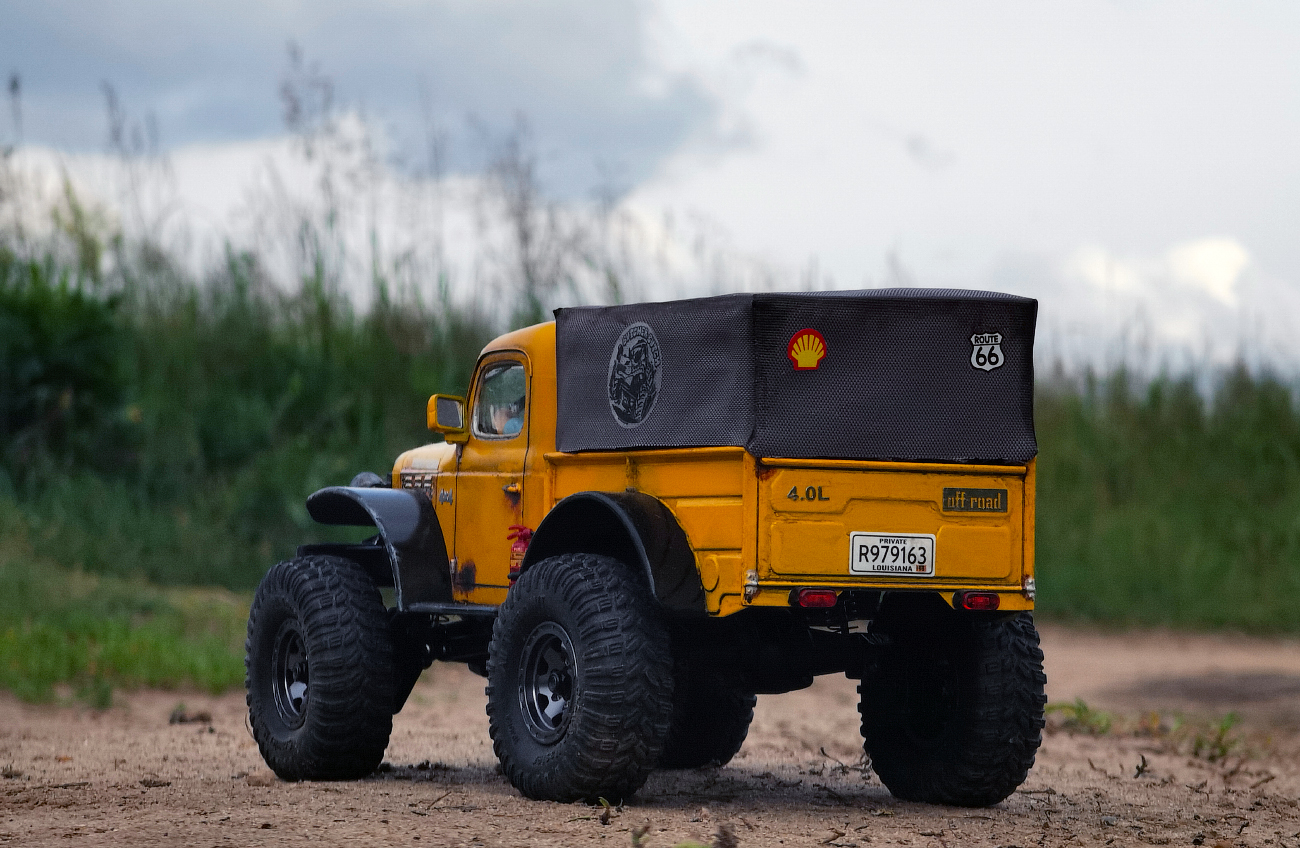
12. Then I made a cover for the entire body.
13. Added a wooden frame to the basket.
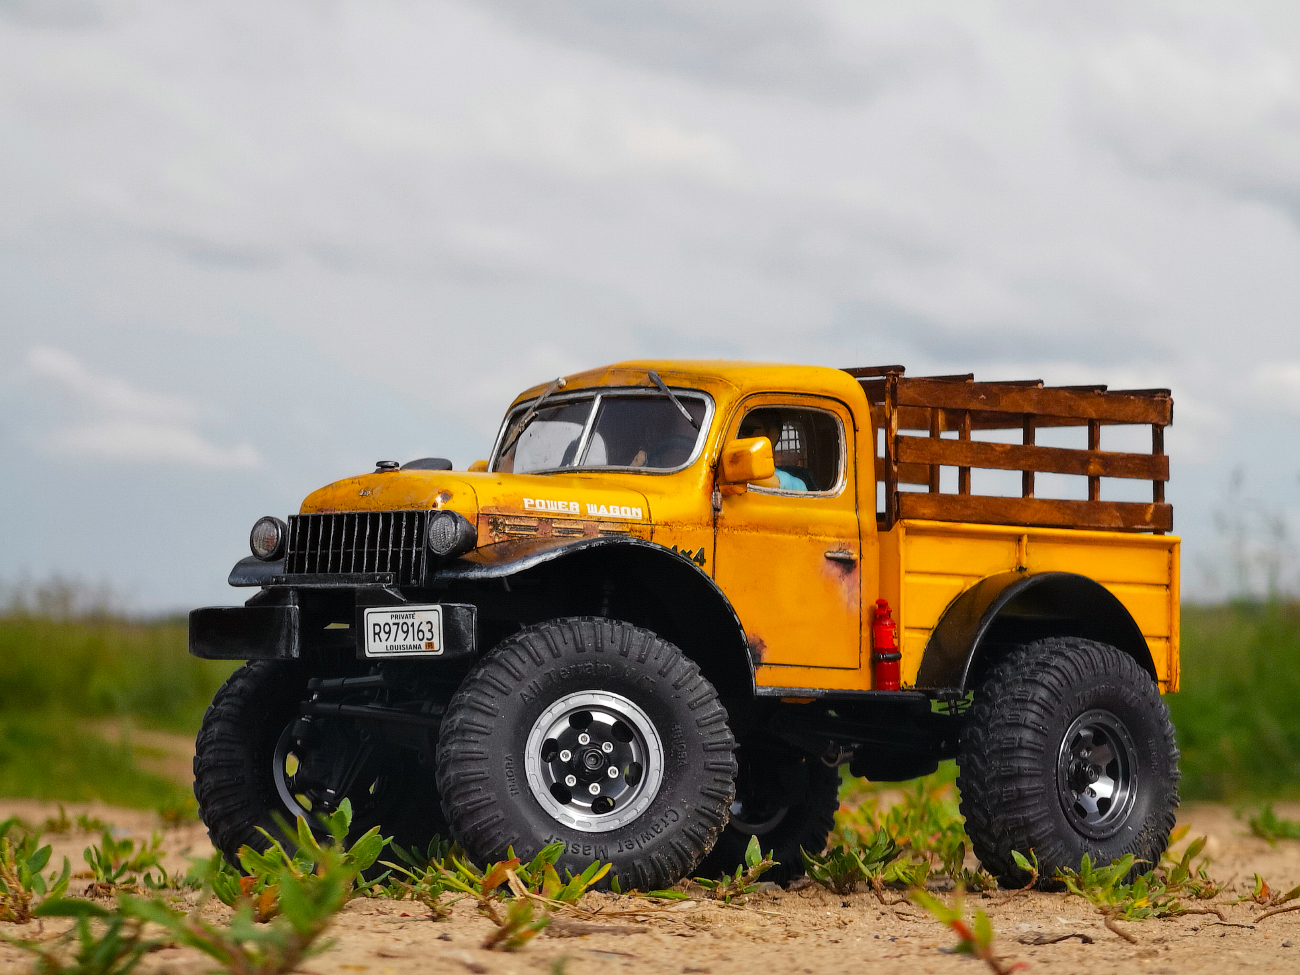
14.
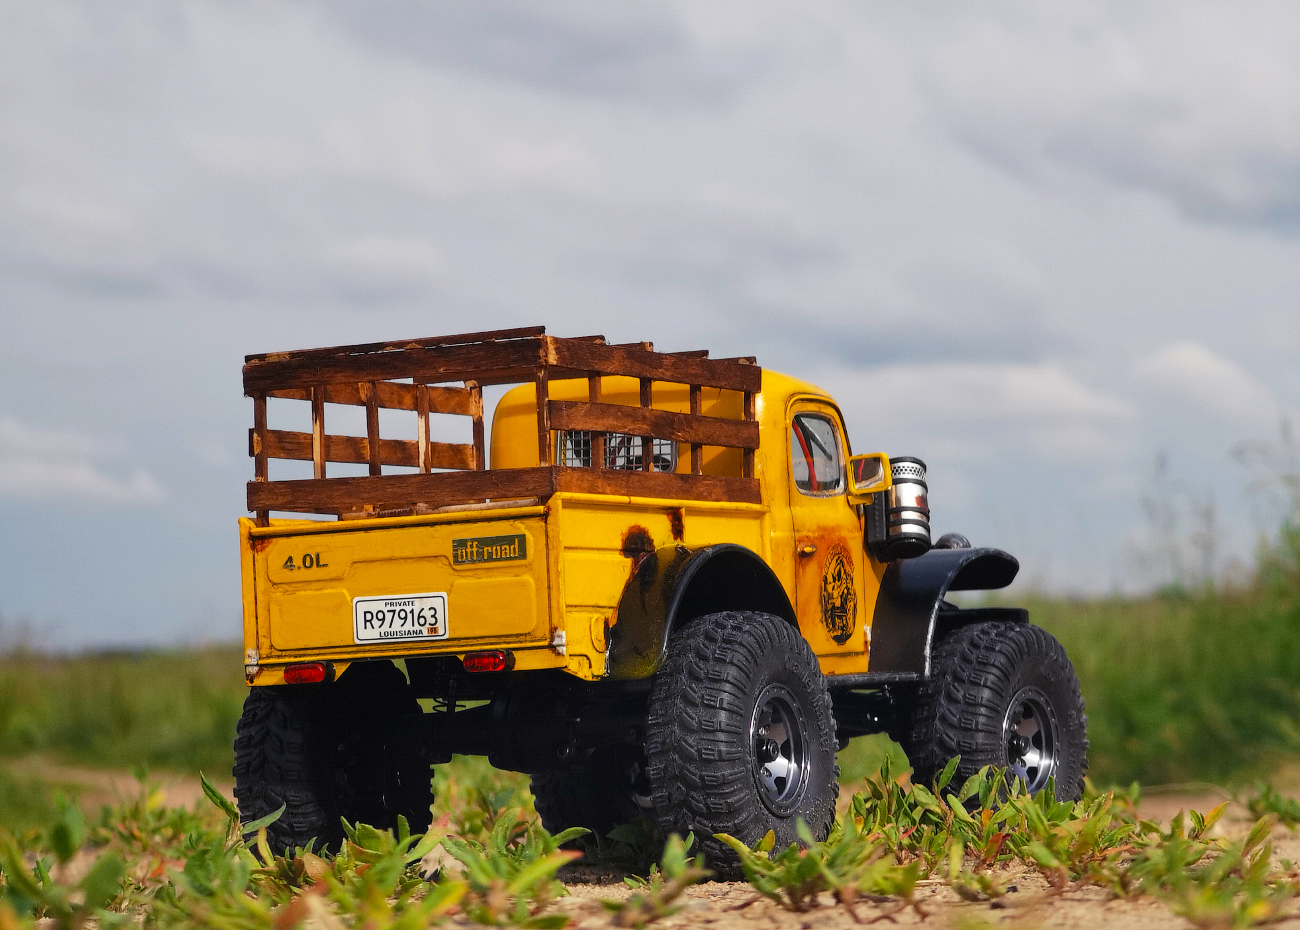
15. Glued a fabric tarp for it.
16.
17.
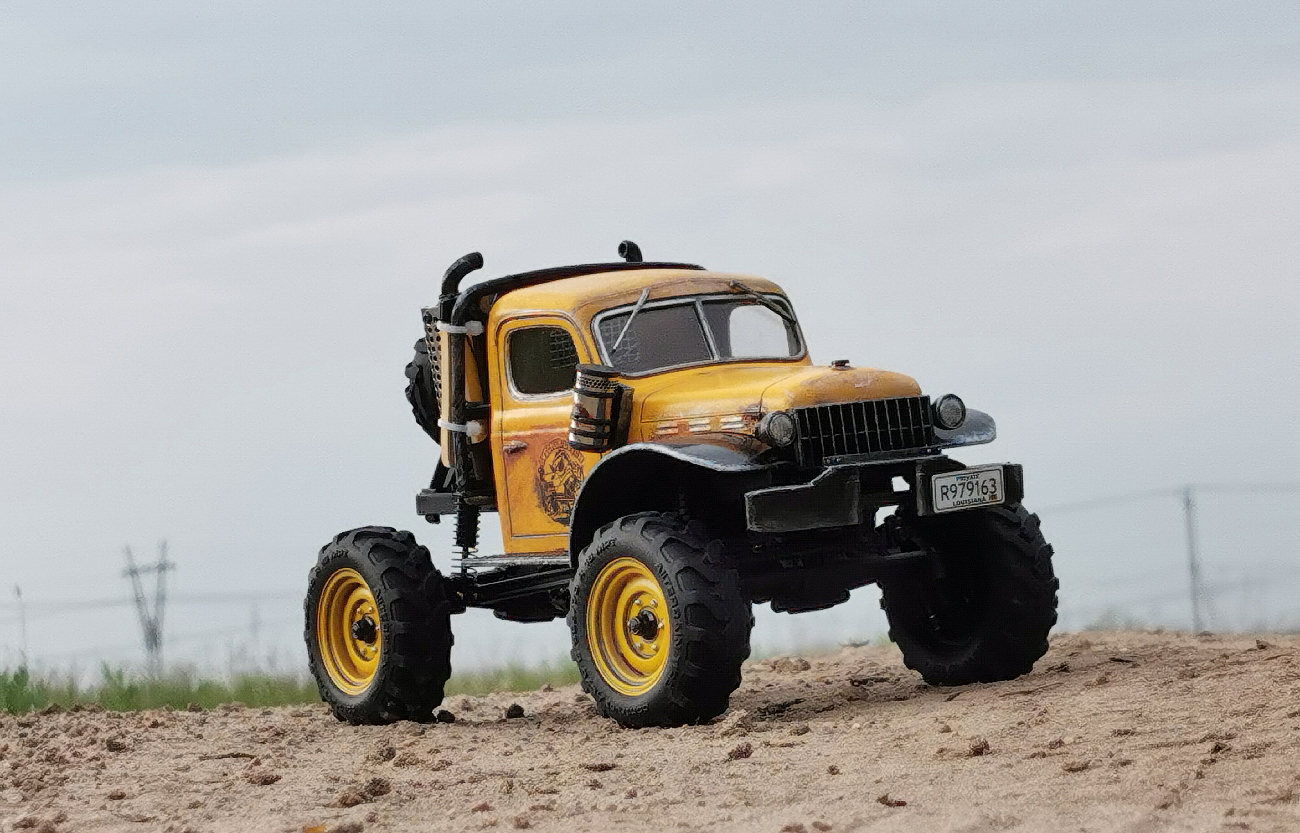
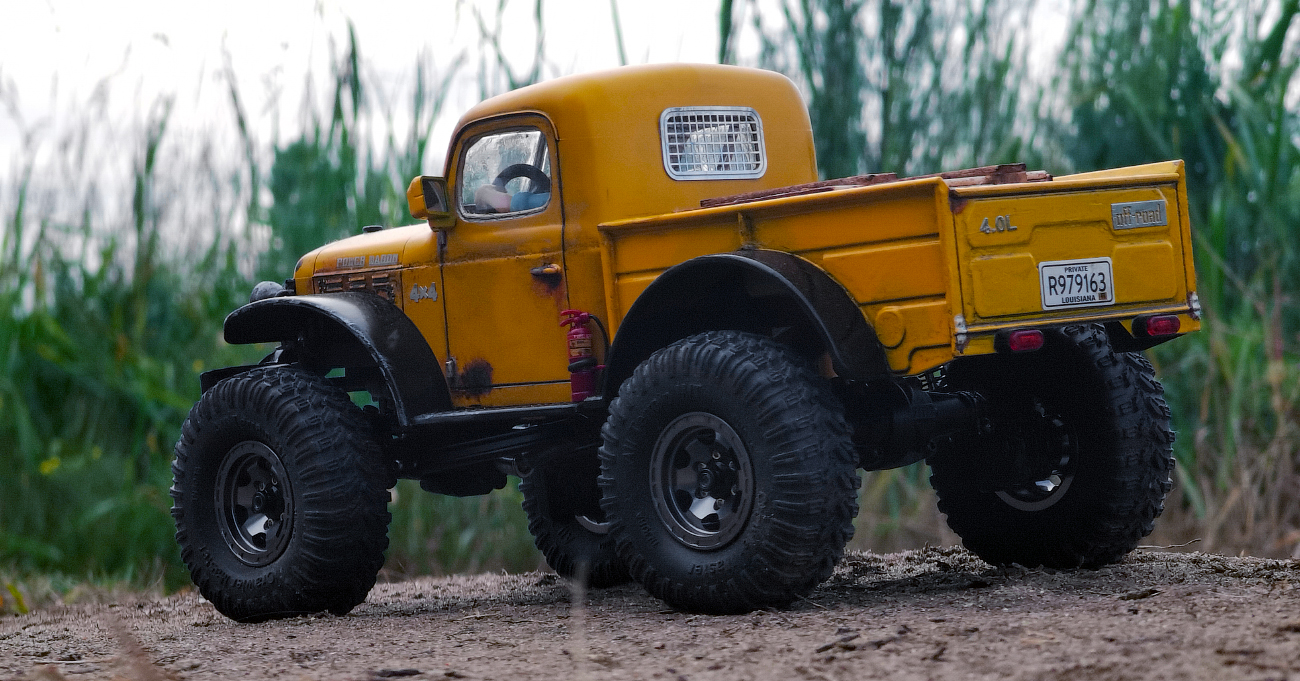
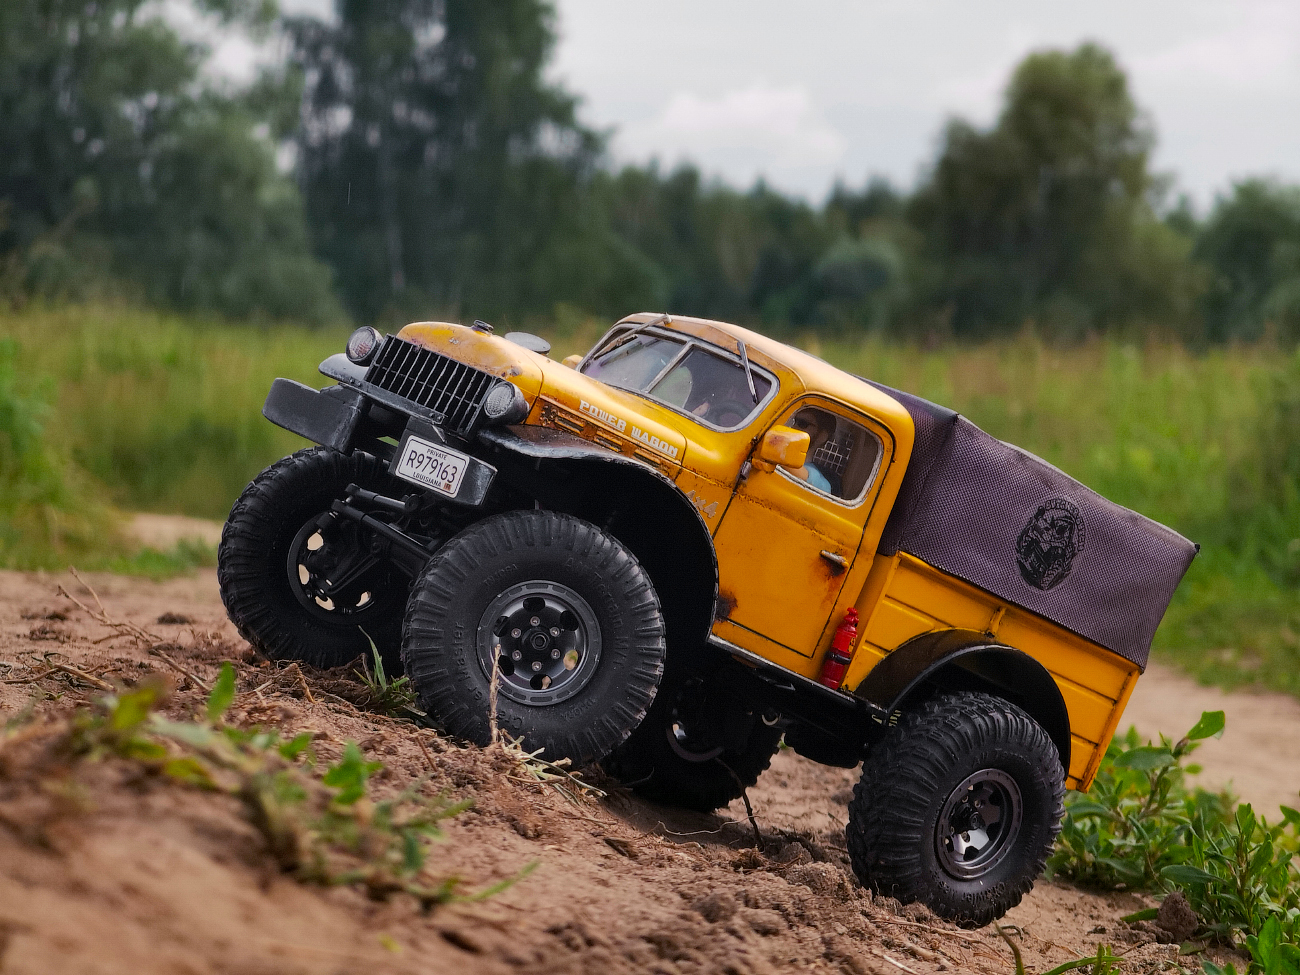
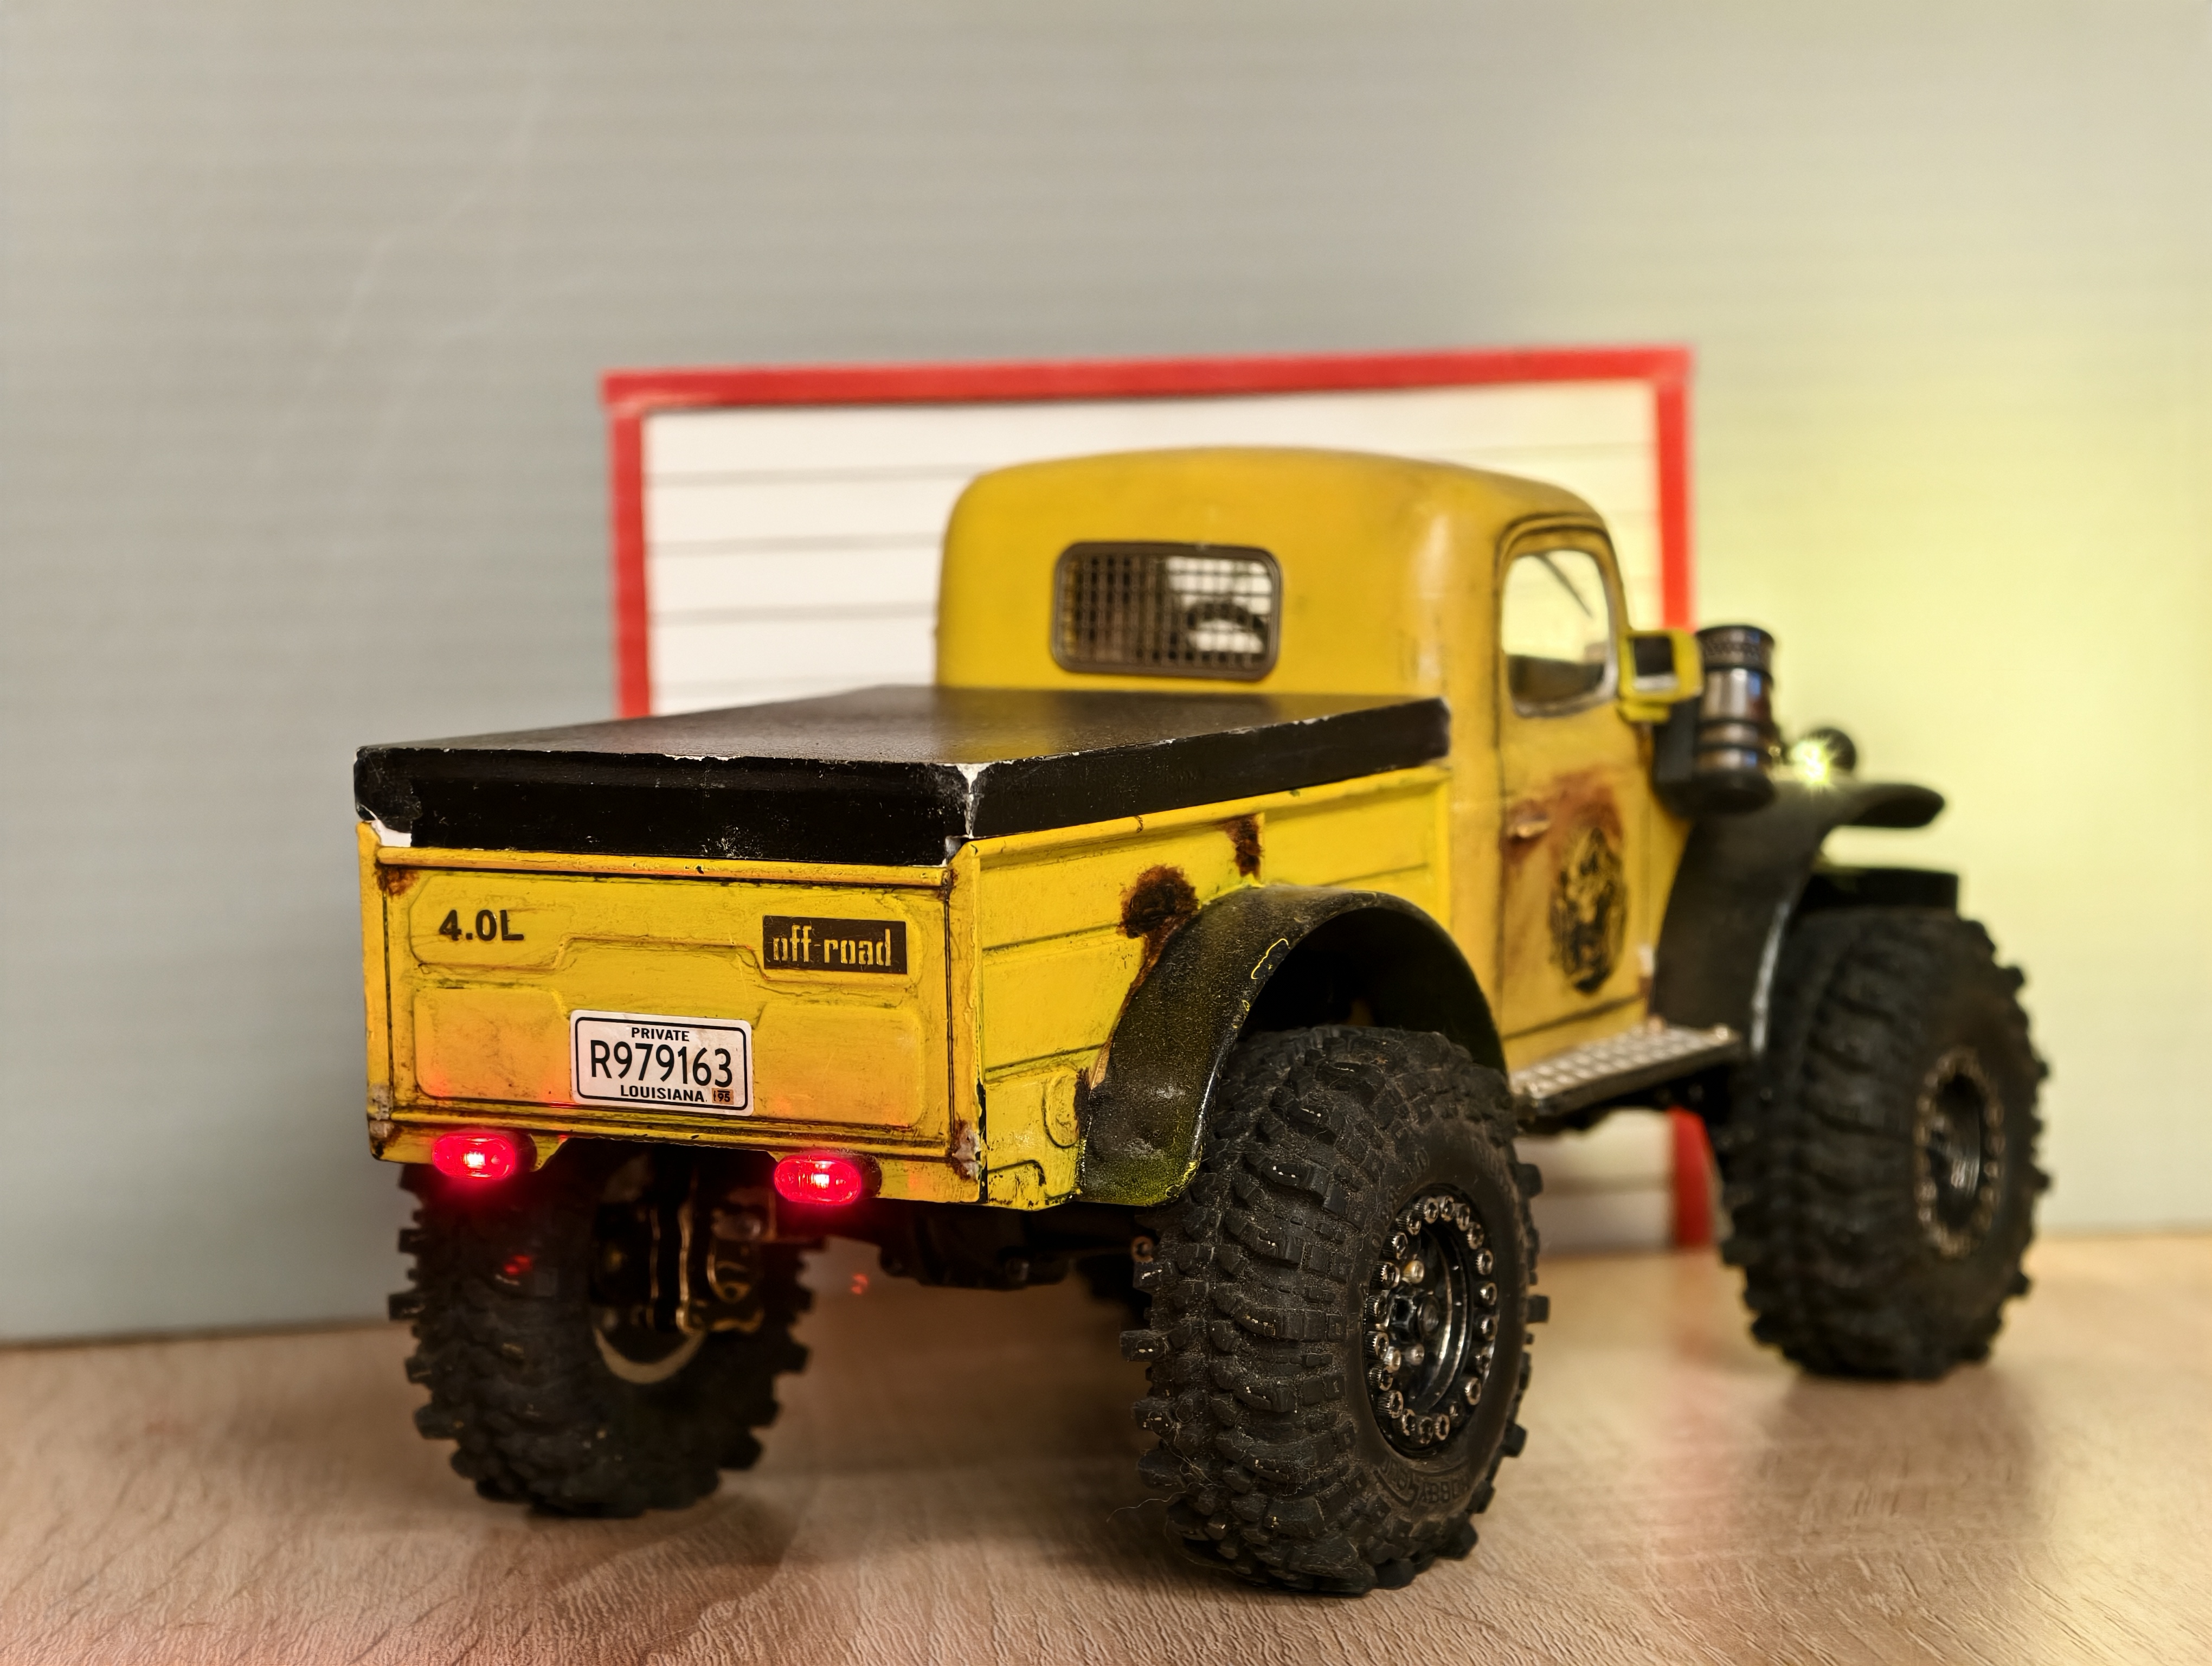
18. Instead of the frame and tarp, I made a hard top.
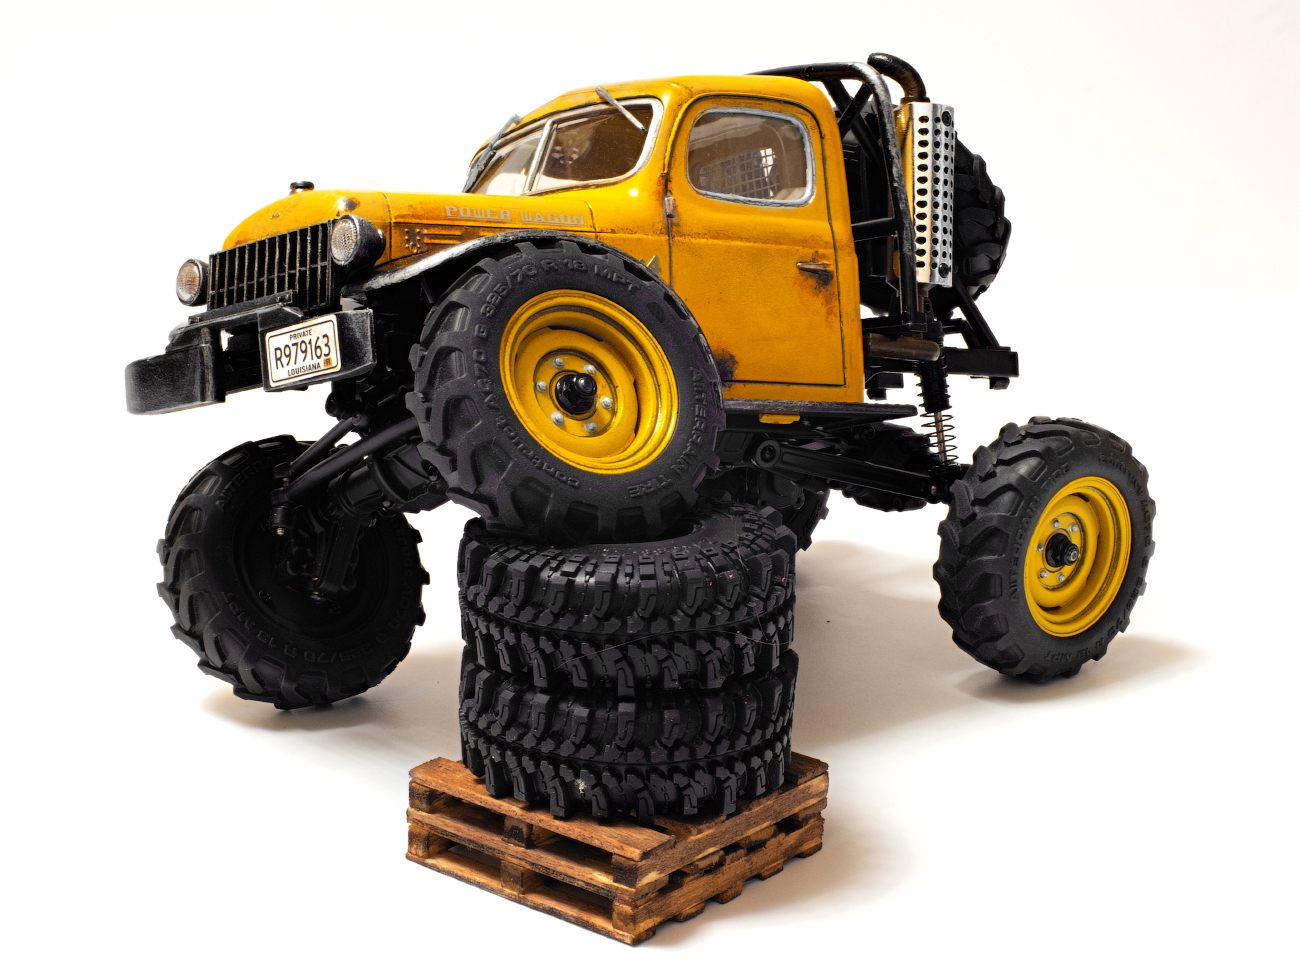
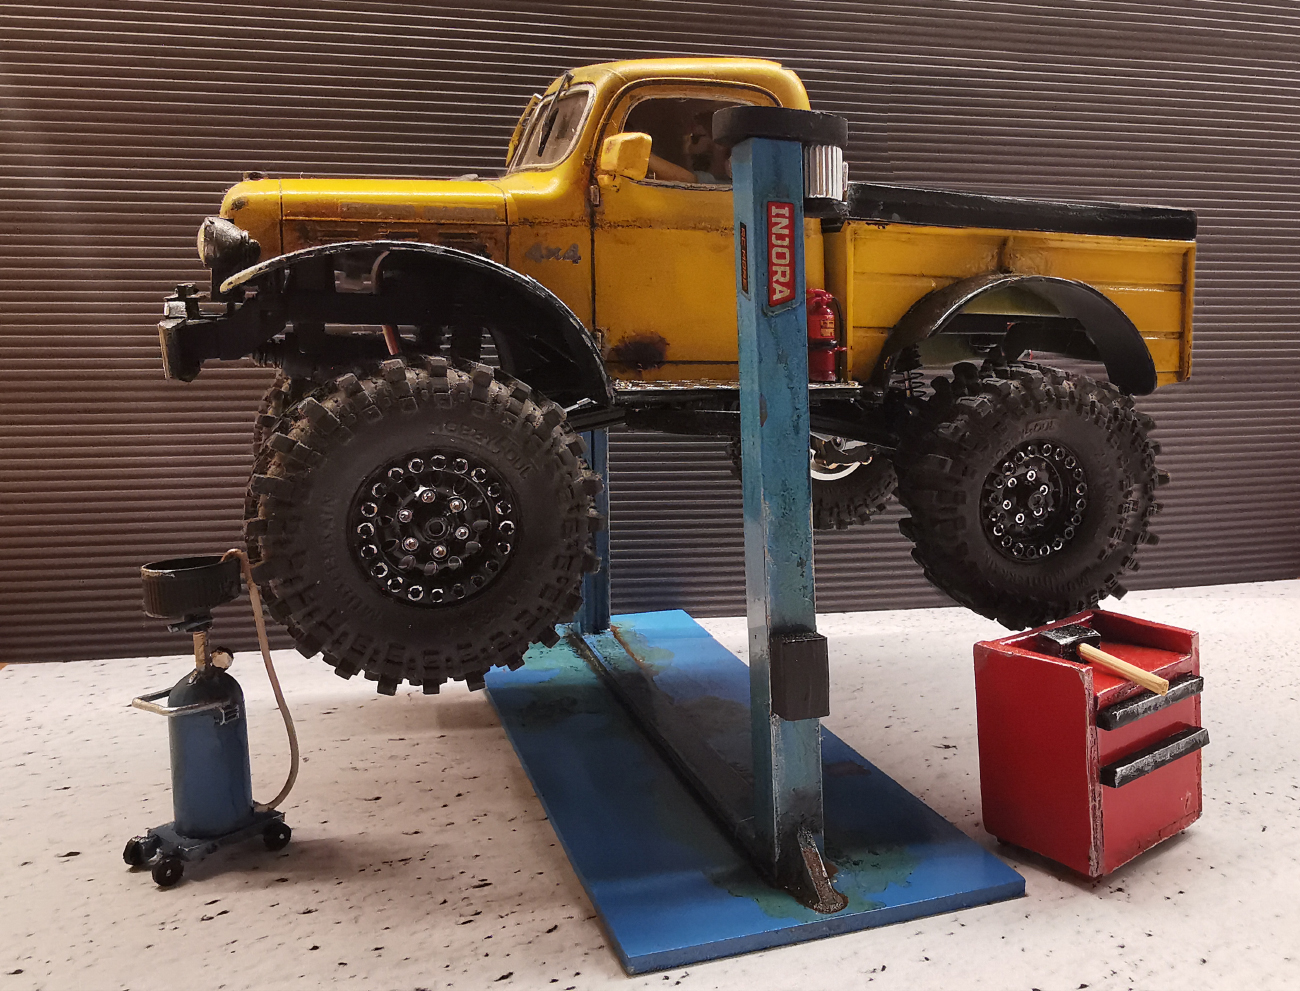
19.
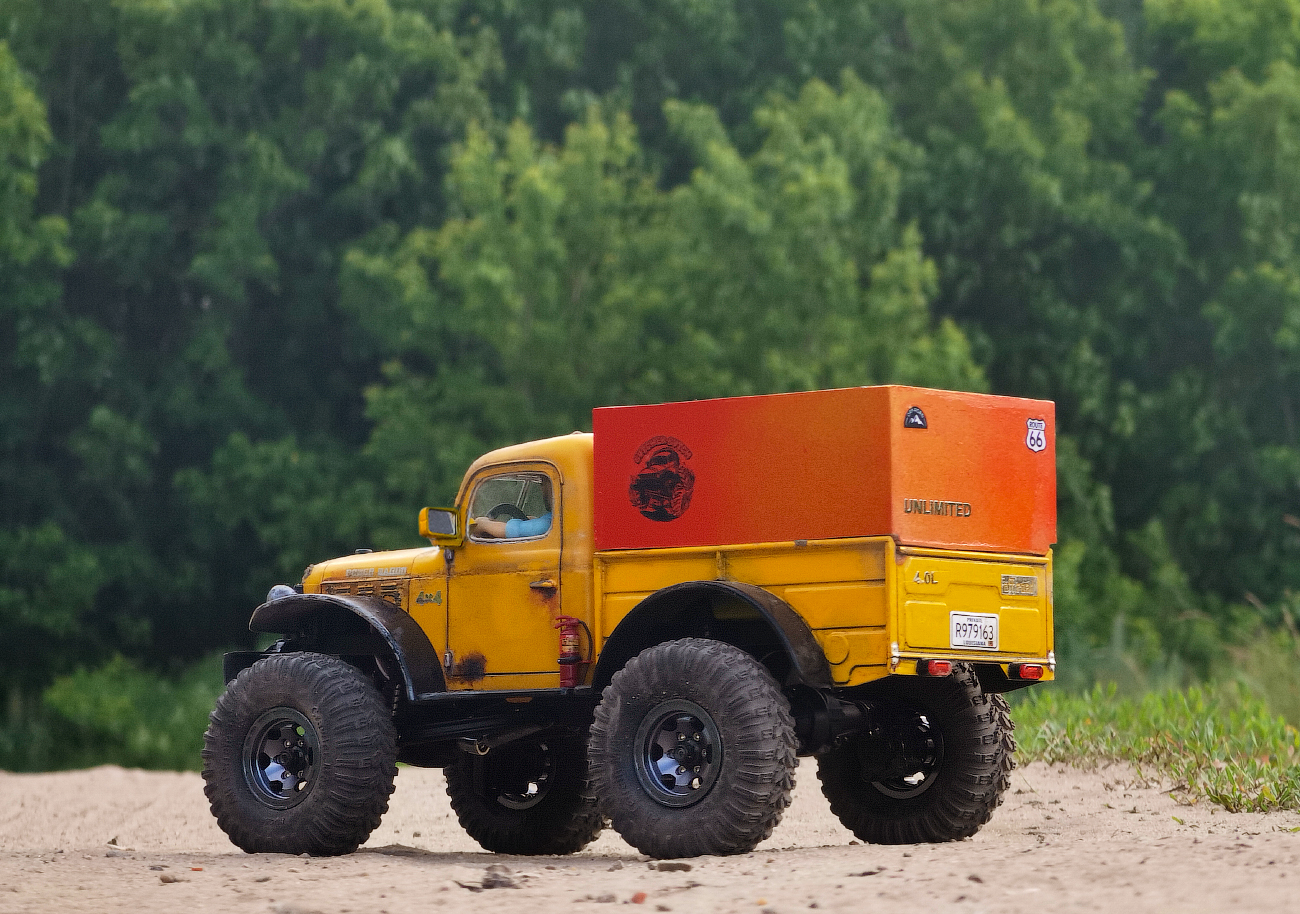
20. Installed wheels with a more aggressive tread pattern for driving on sand and mud.
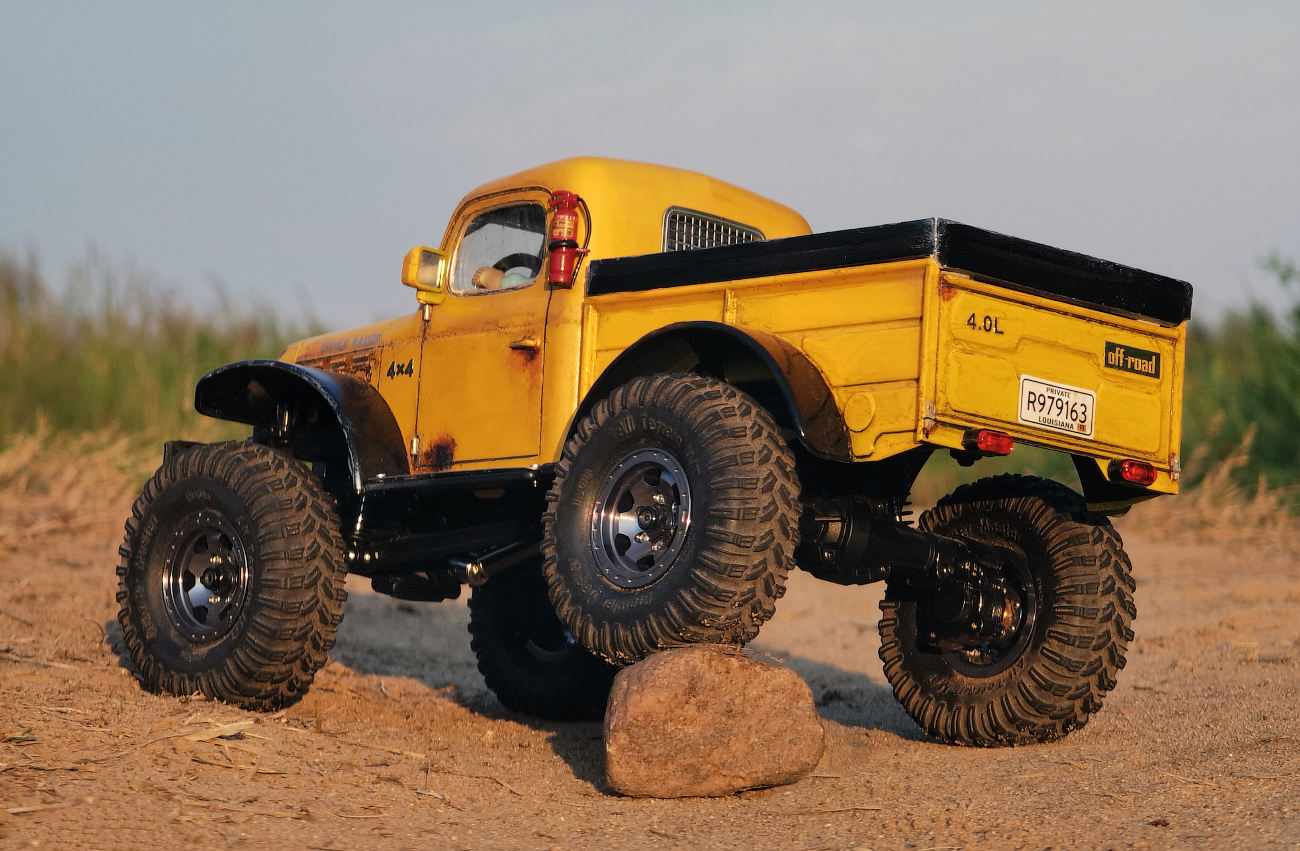
21.
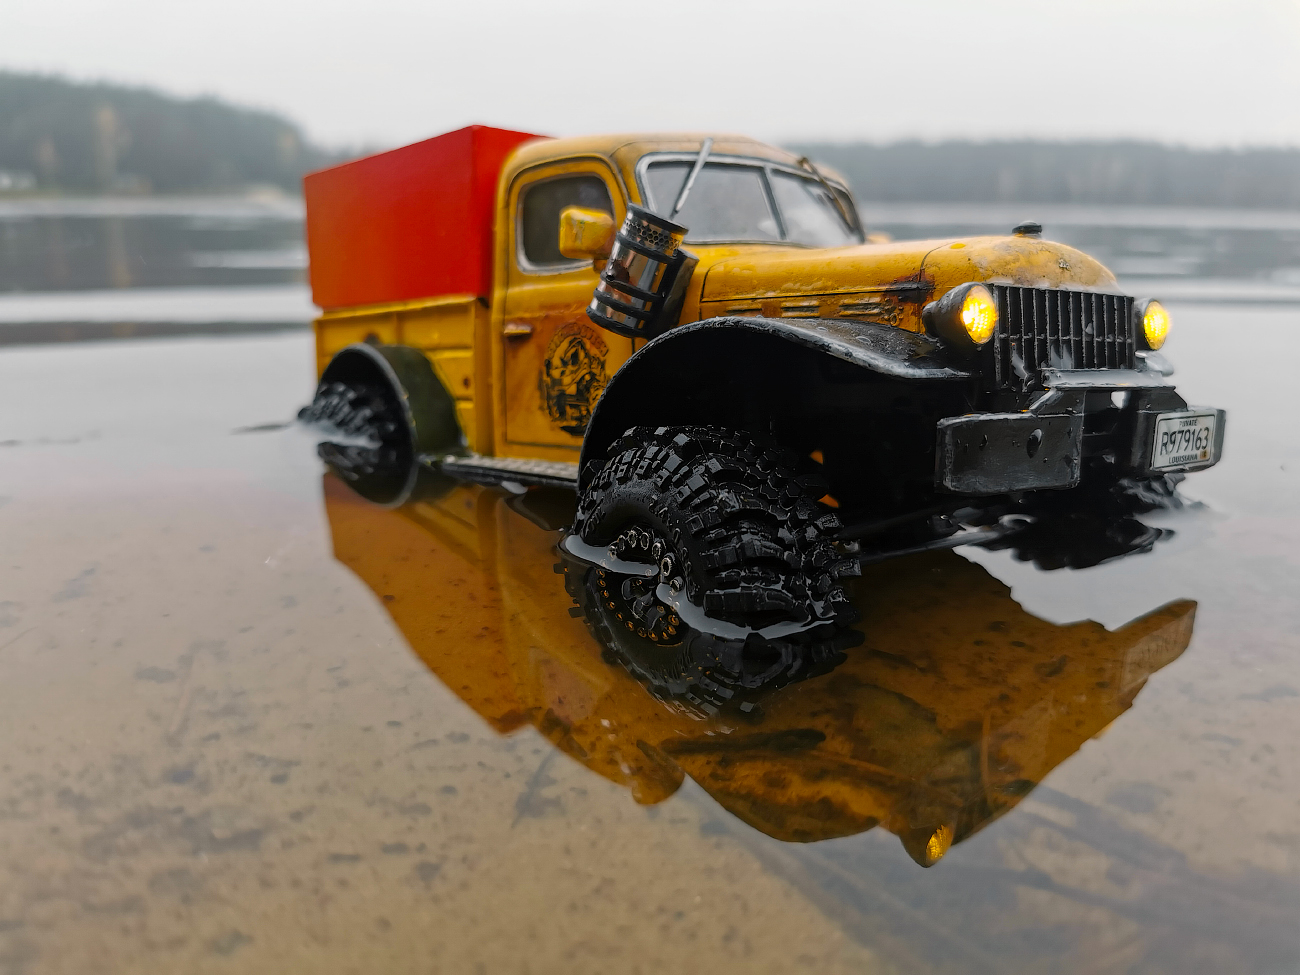
22. Added rear lights. Now the lighting is both front and rear.
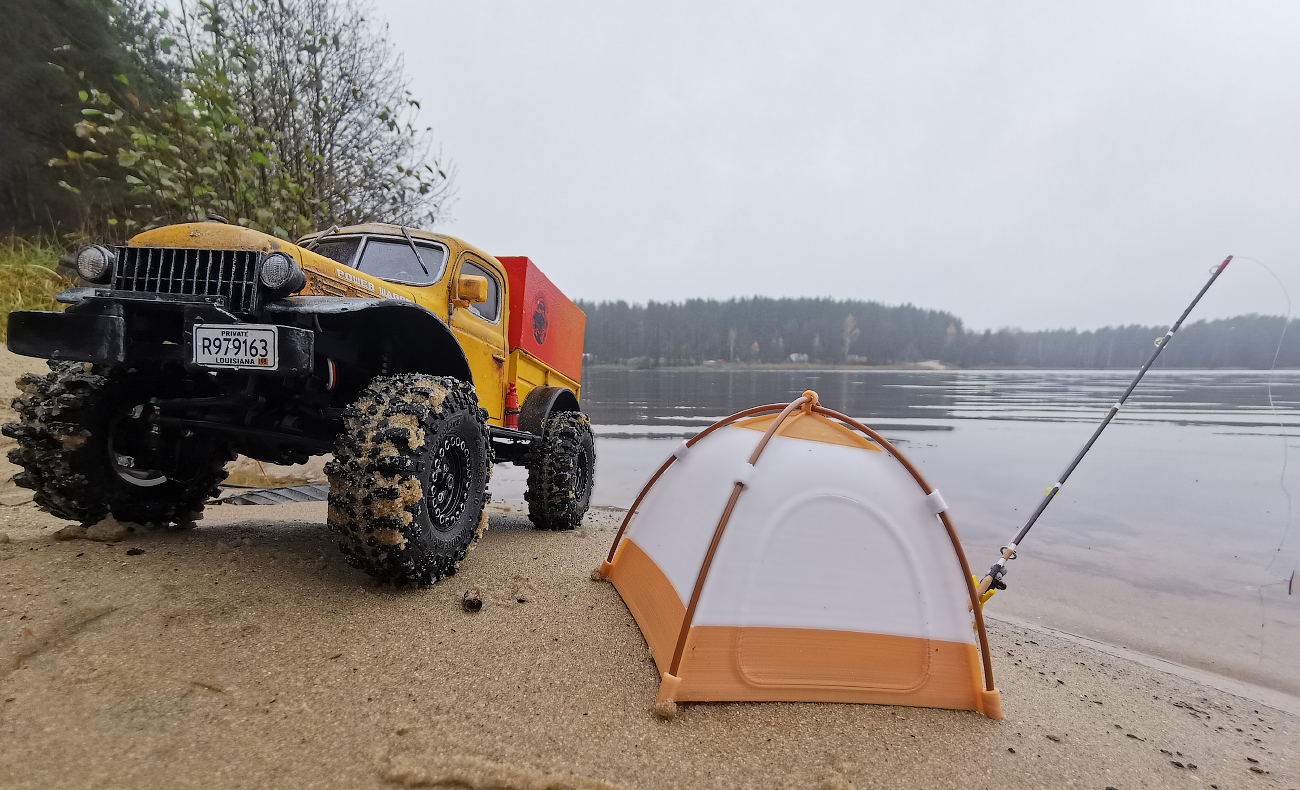
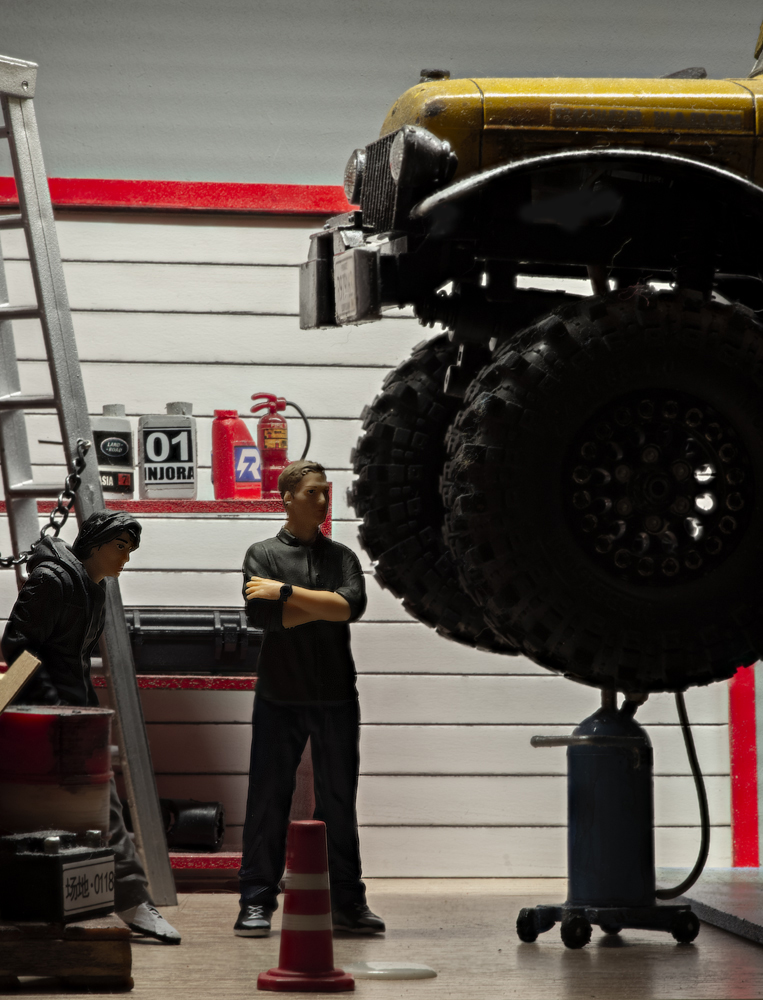
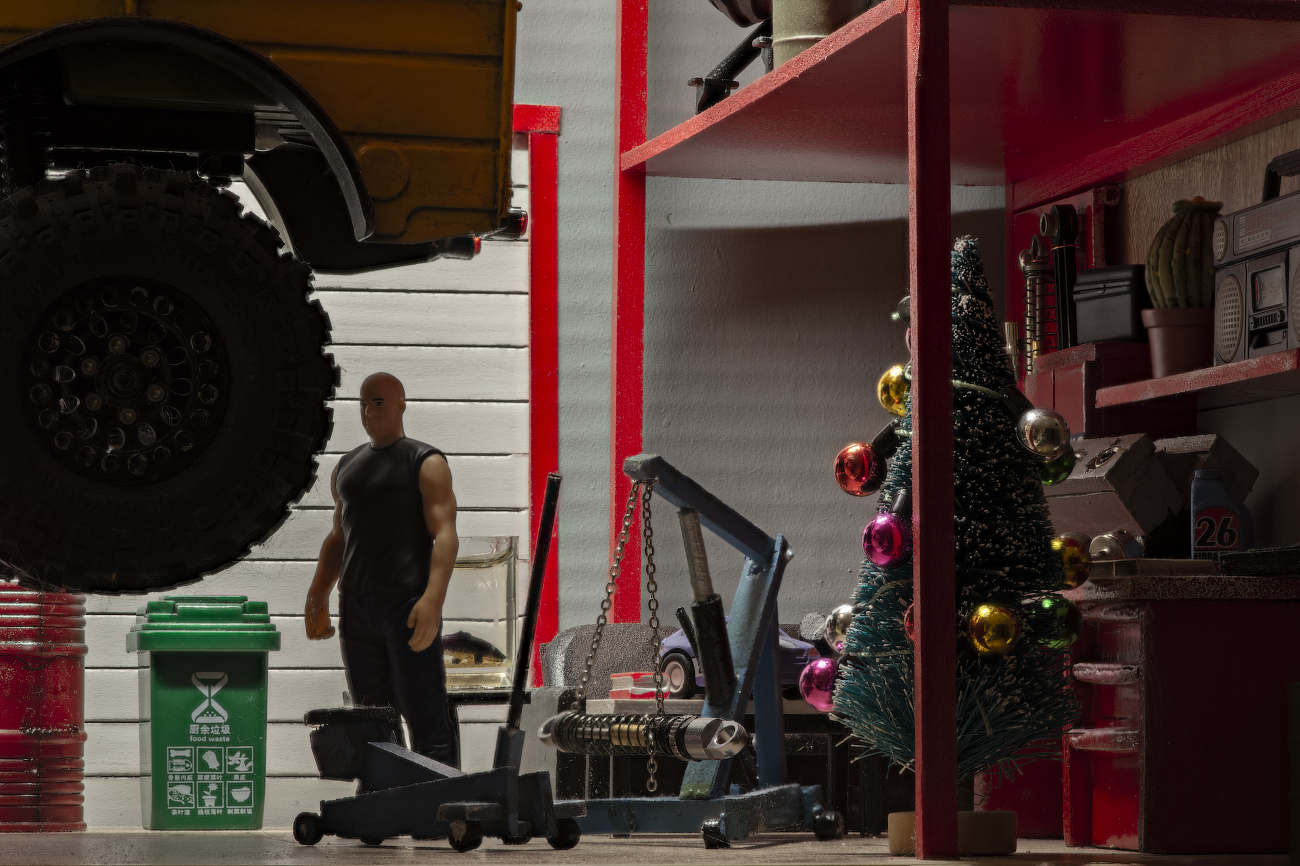
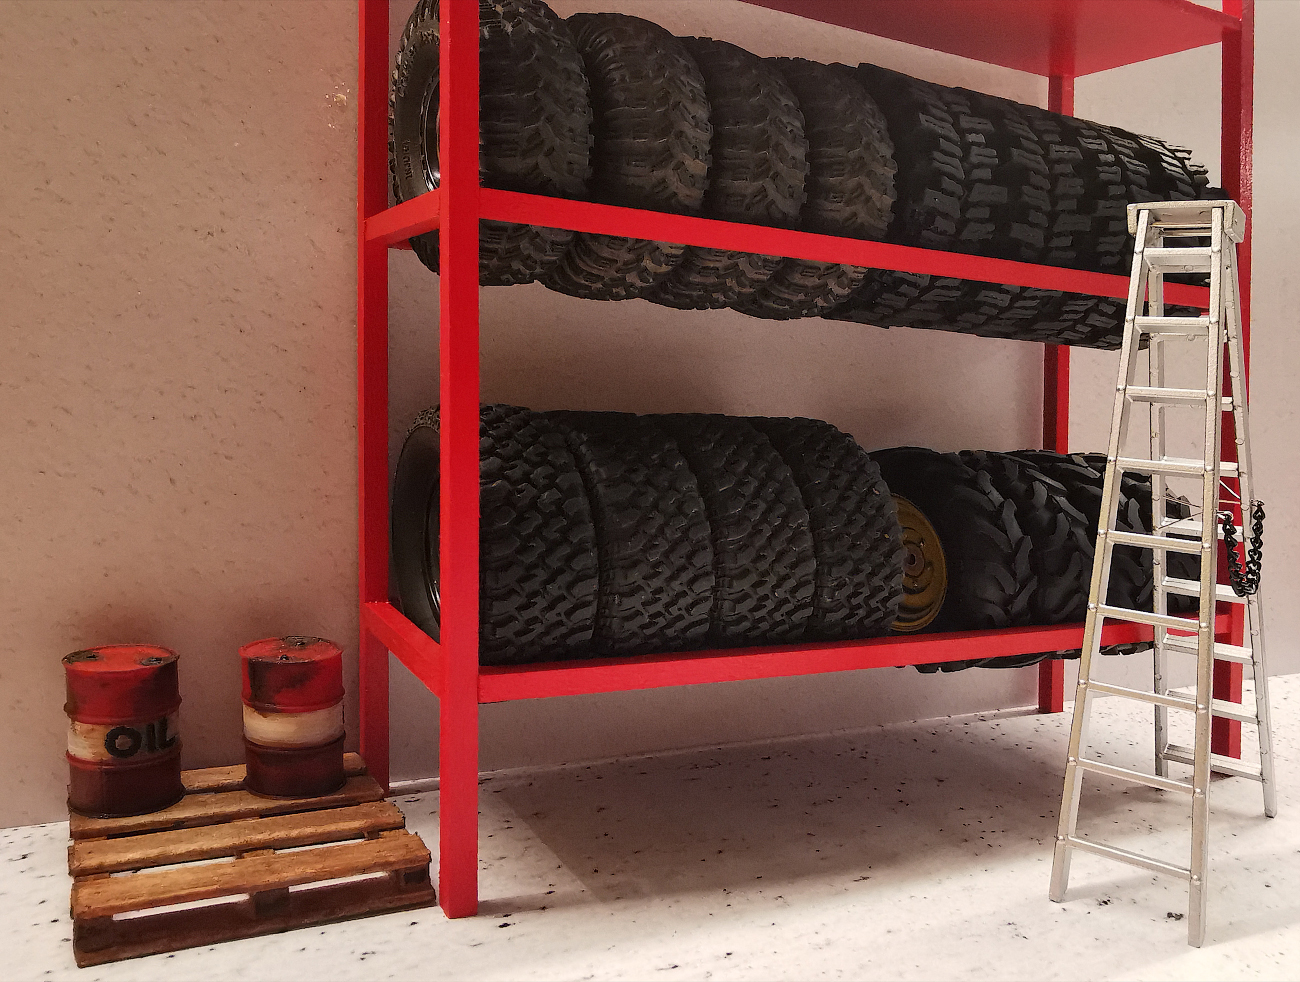
23.
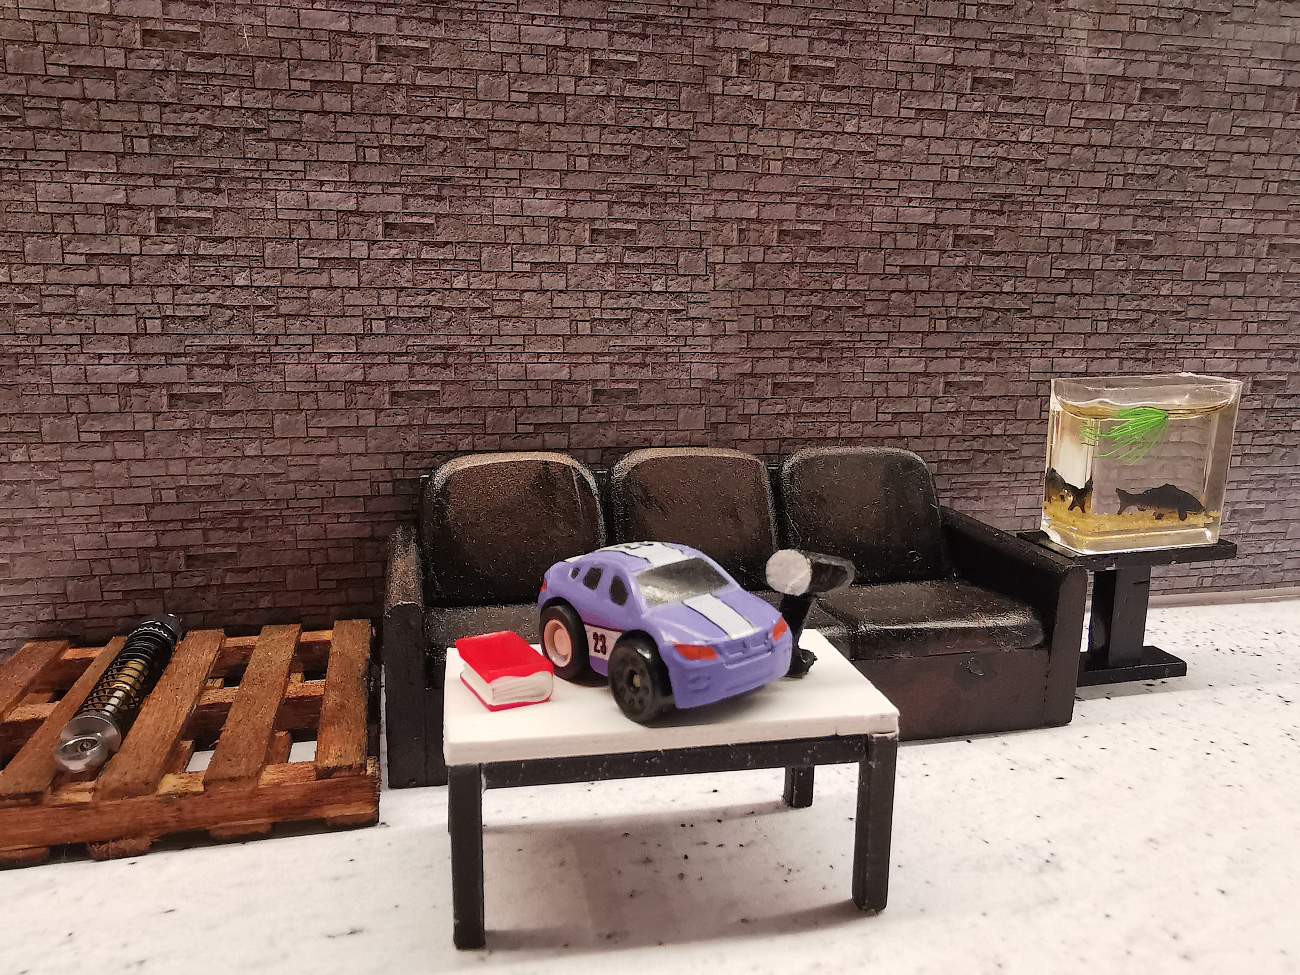
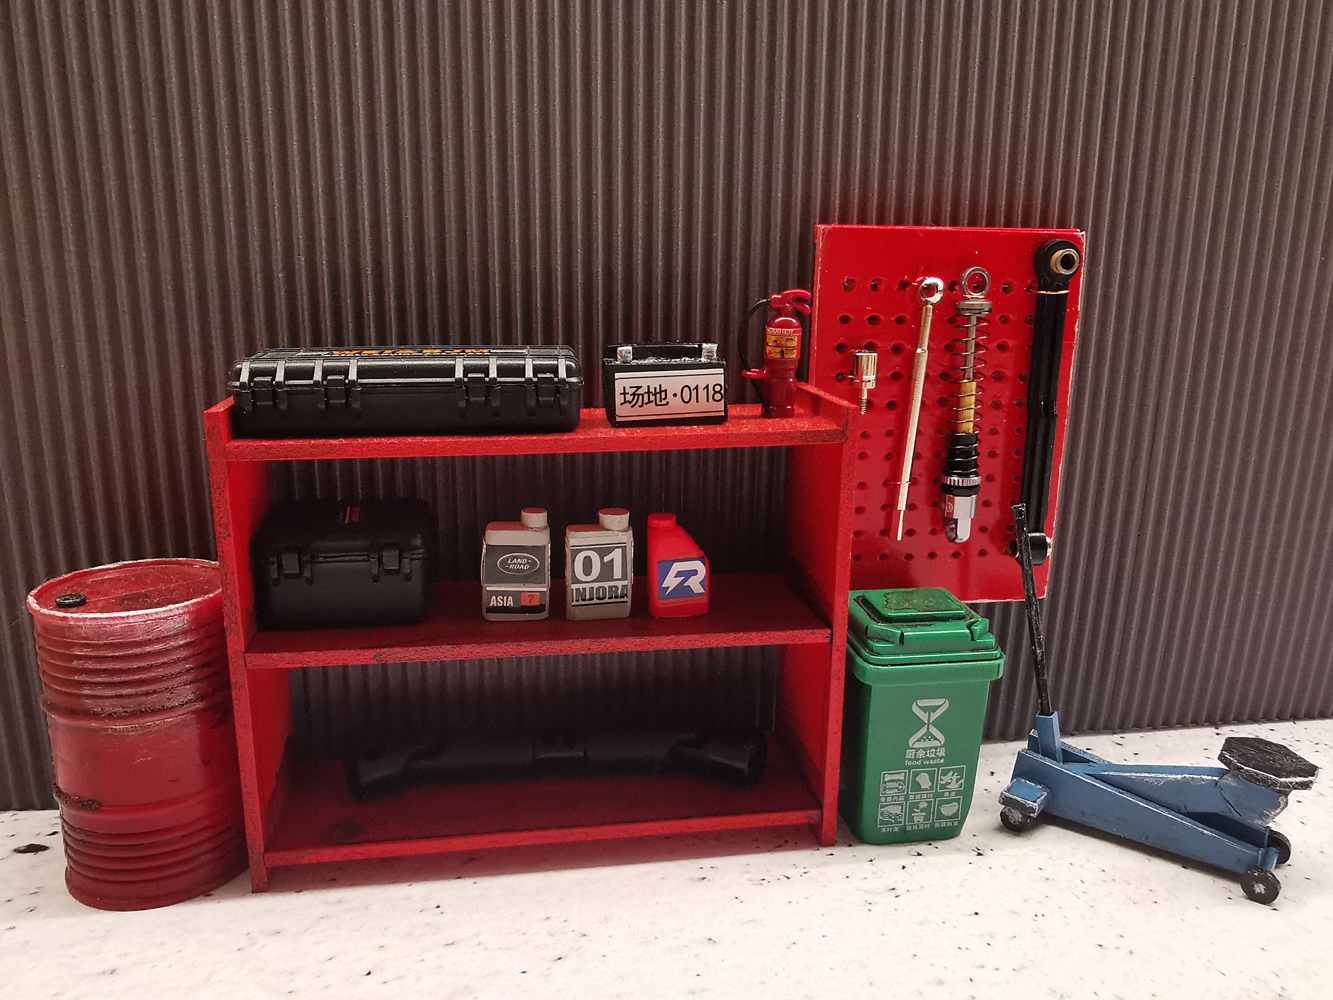
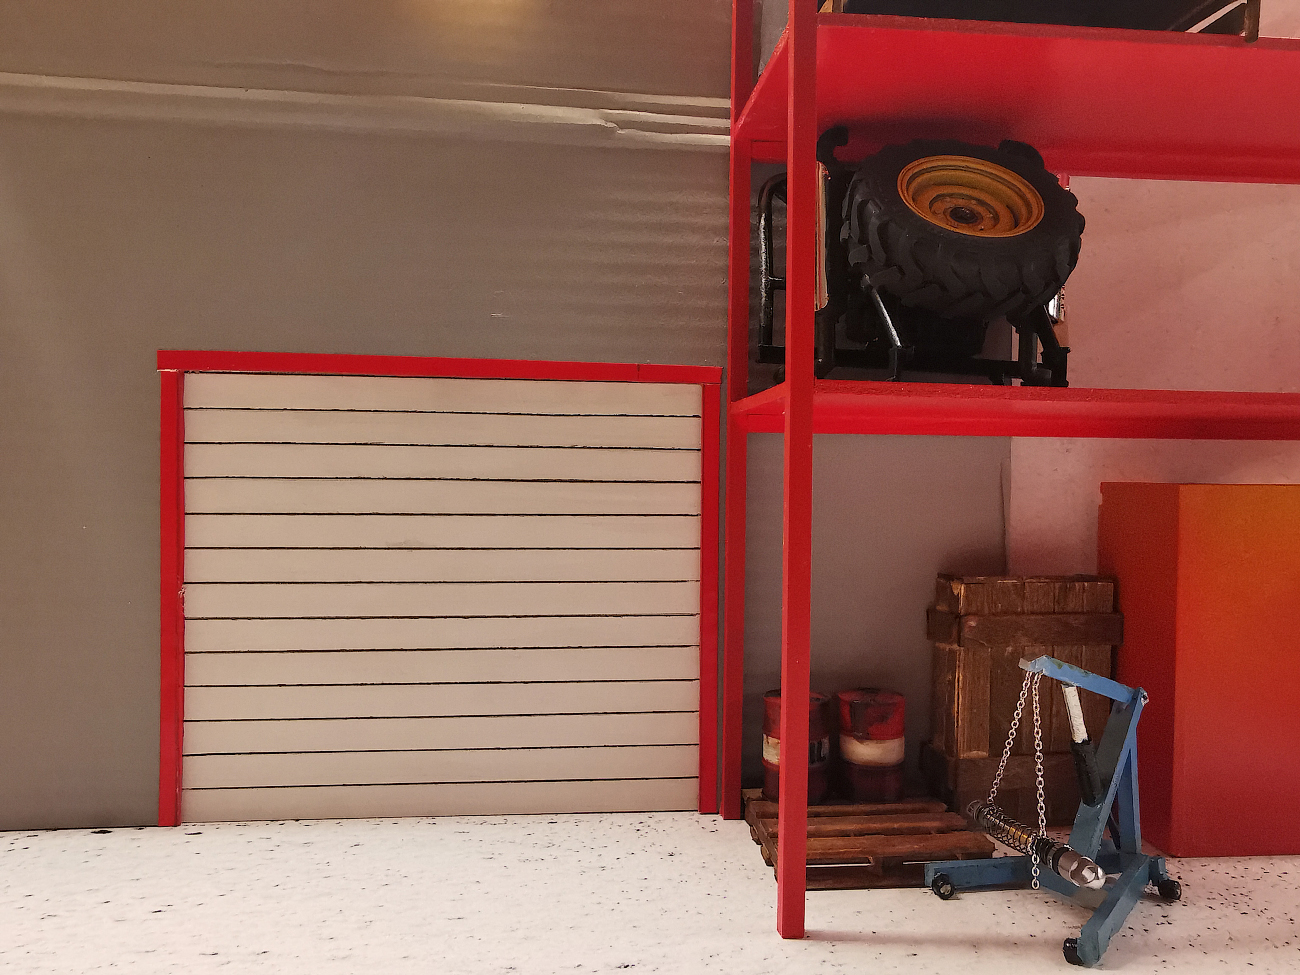
24. And then I got into creating scenery for this scale. Luckily, there’s a lot of empty space on the shelf where this model is kept. Most of what’s shown in the photos below I made by myself.
25.
26.
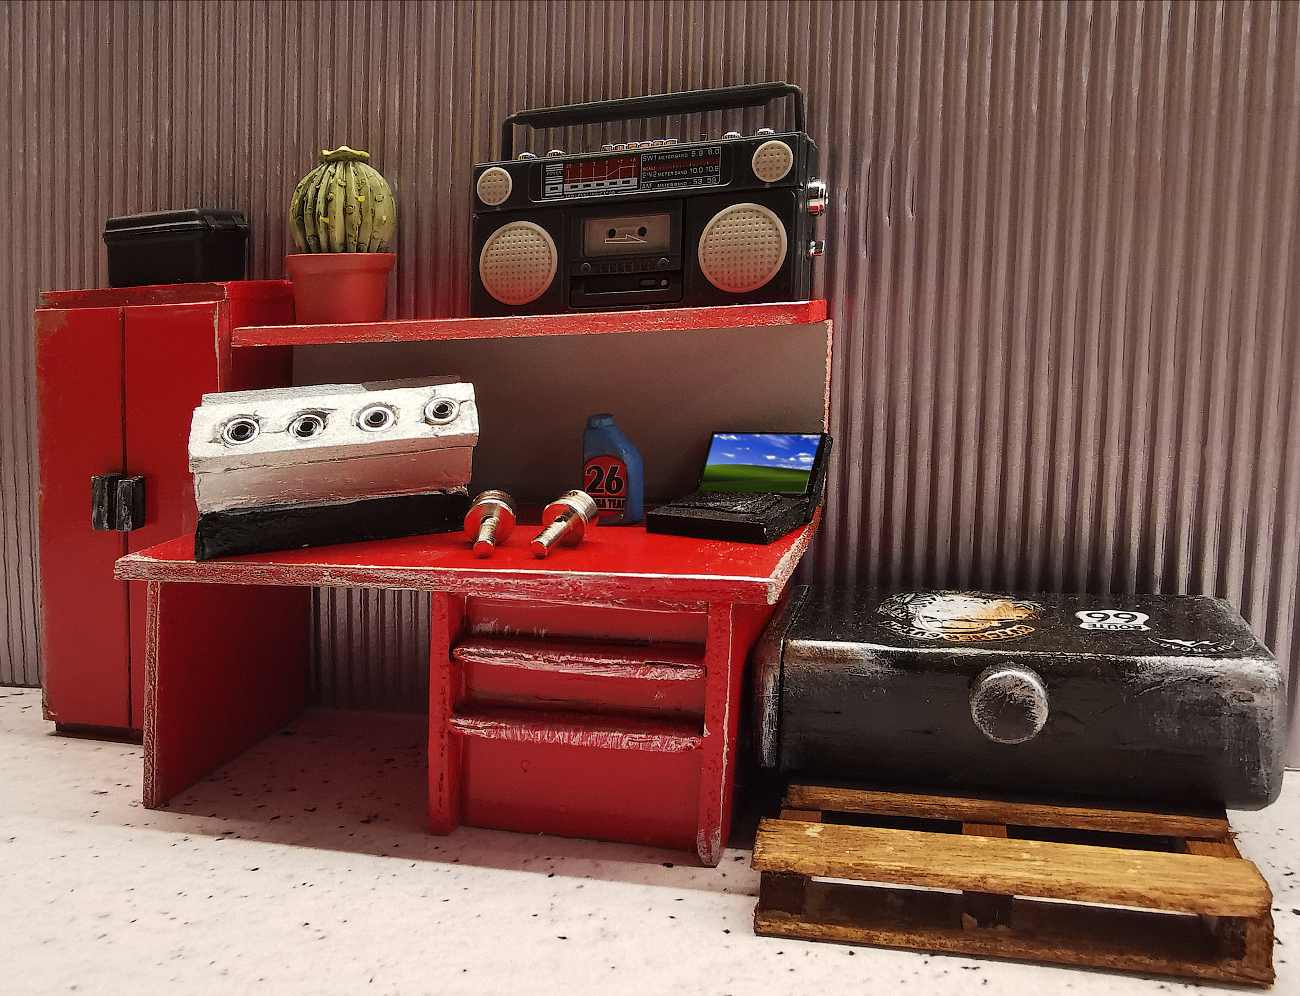
27.
28.
29.
30.
31.
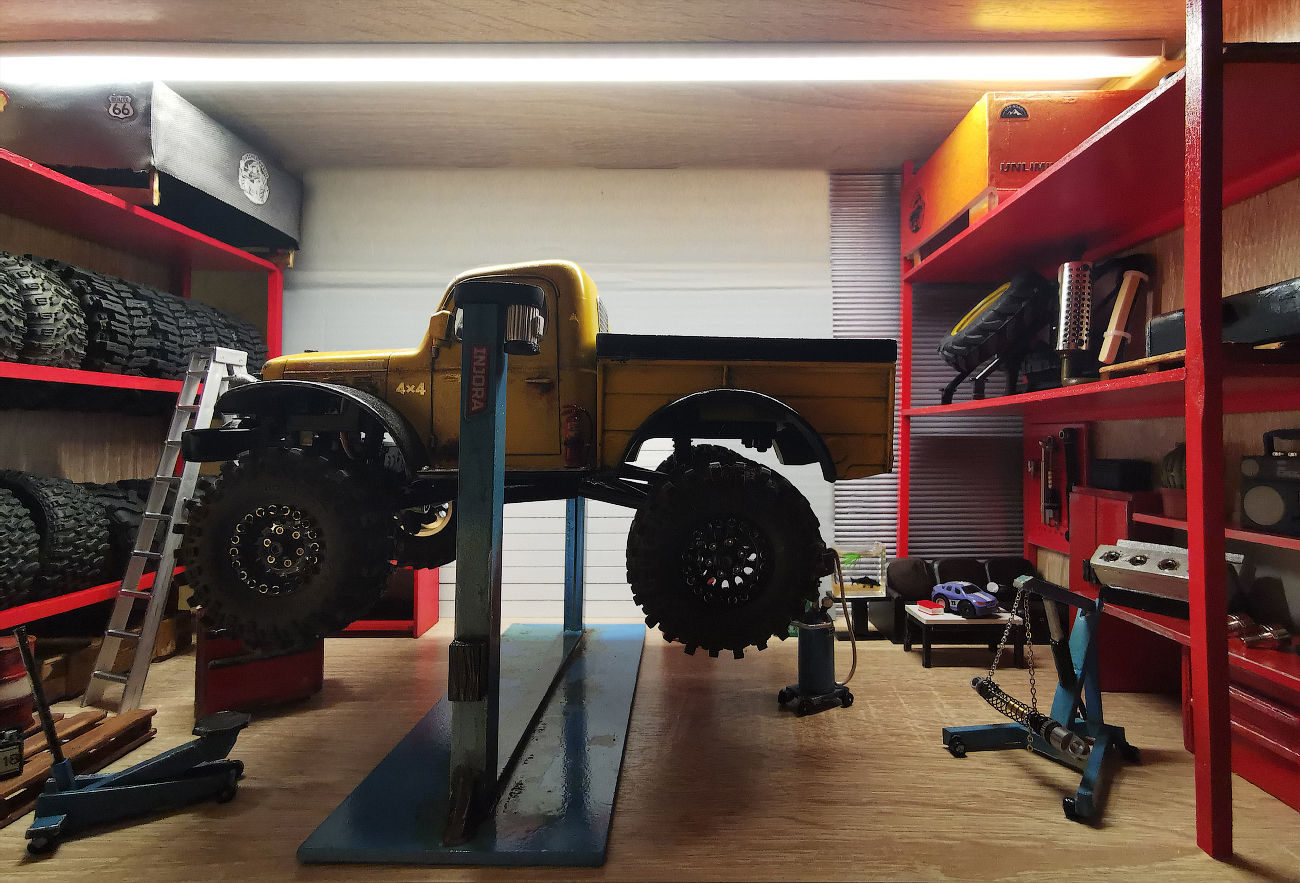
Now the shelf with this model looks like this. 32.
Back
20 Apr 09:38
Дружище, это просто потрясающе! Внимание к деталям, большая работа проделана, выше похвал! Тоже обладаю этим грузовиком, часто выгуливаю его по мини-локациям. Вопрос, ты водителя и руль печатал или есть готовые решения? Если печатал, дай, пожалуйста, ссылку или STL, буду премного благодарен!
Reply
25 Apr 09:47
Админ
Спасибо на добром слове) Руль - из набора Лего, фигурка куплена на Али, а ее страница уже не существует 🤷
Reply