

RC-model FMS FJ40. Part 2
Other posts about this model: fms_fj40
In this post I'll show what I did with the model
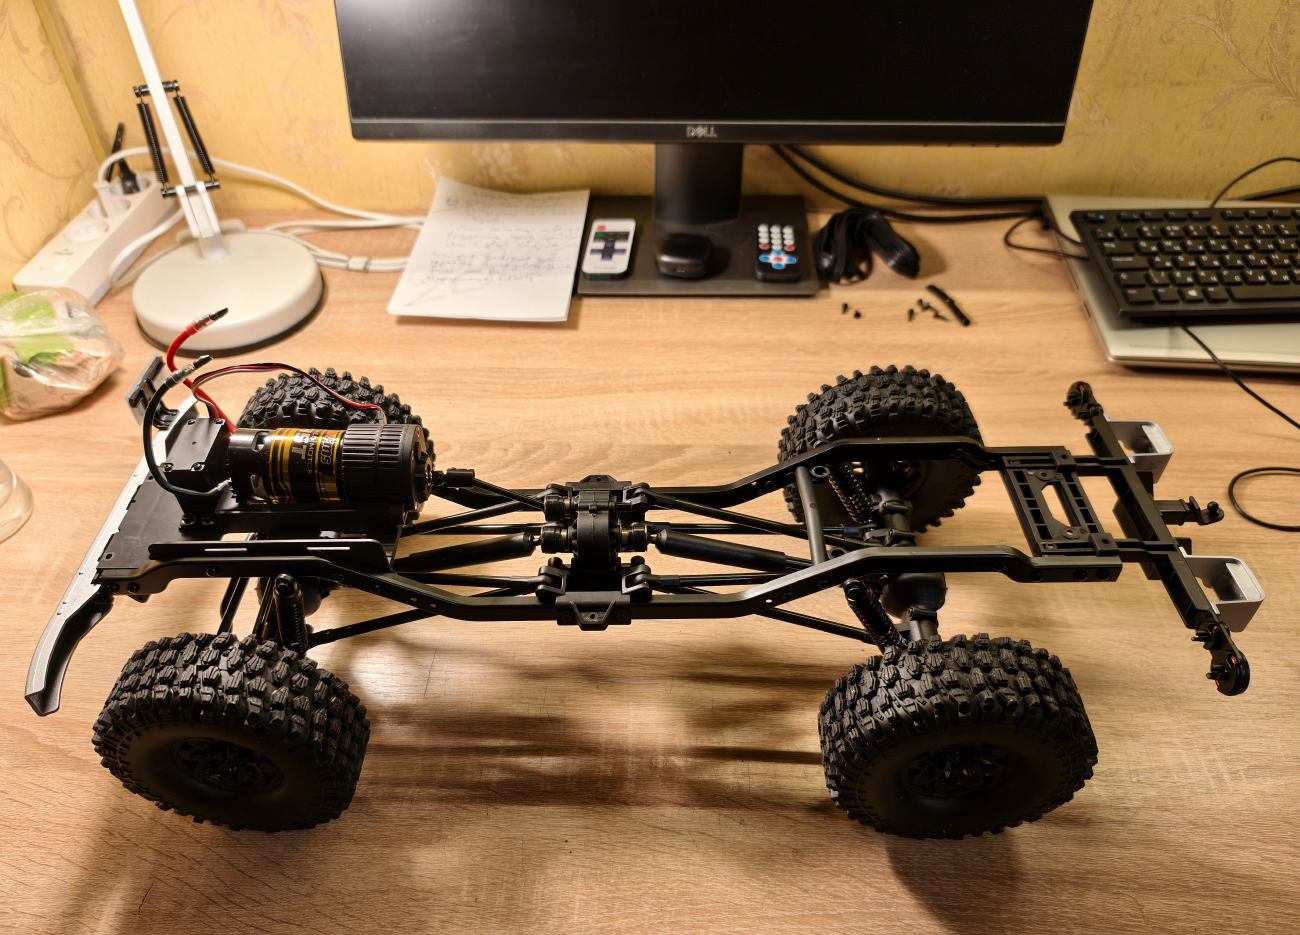
1. Disassemble and separate body from the chassis. The chassis structure is simple. But that's good - fewer frills, easier to disassemble and repair:
2. Next, I disassembled and greased the axles, transfer case, and gearbox (though there's only one gear here). There was no grease in any of the units at all:
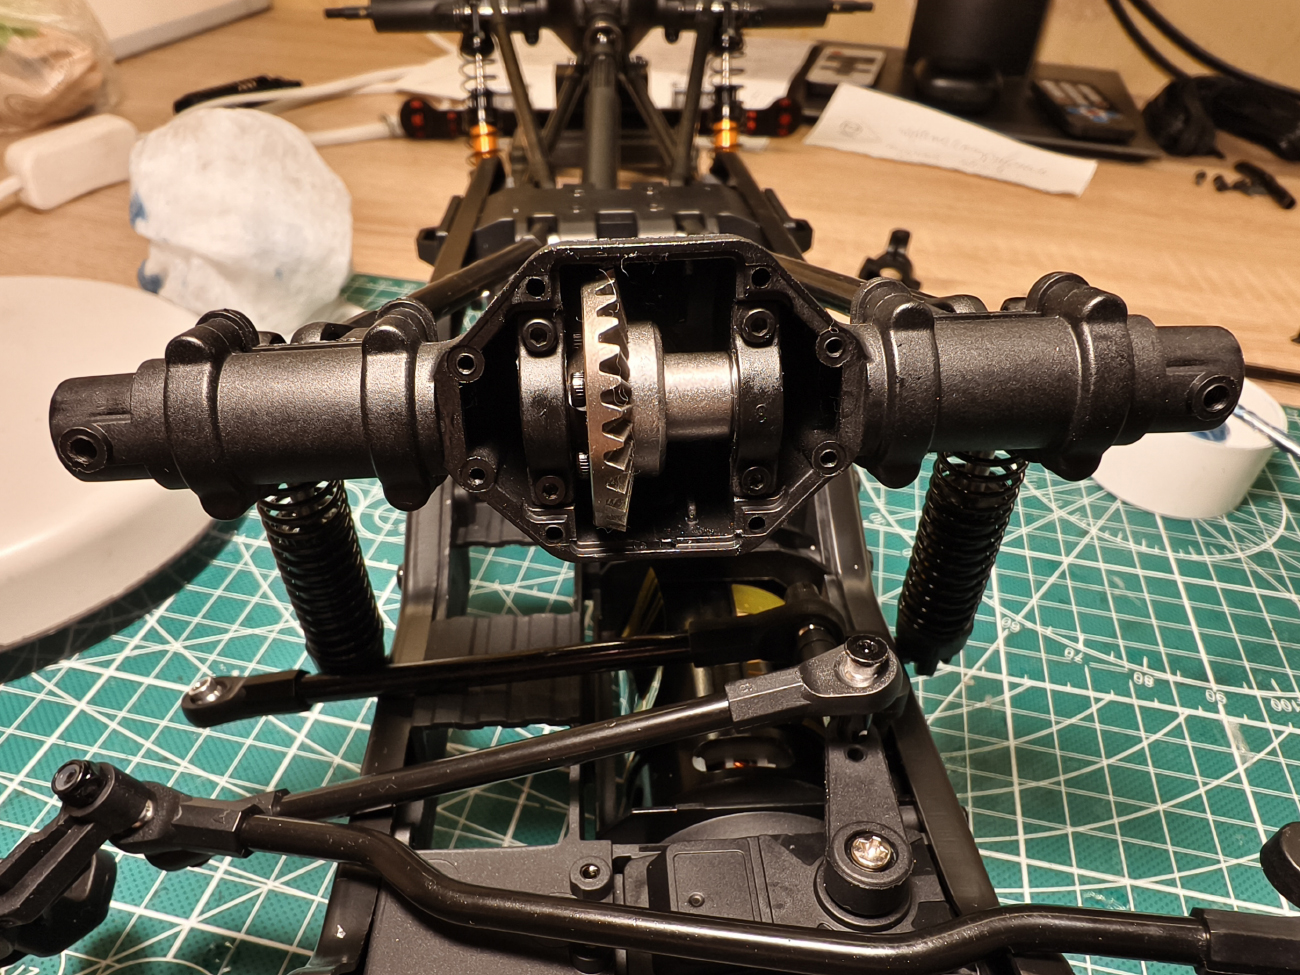
3.
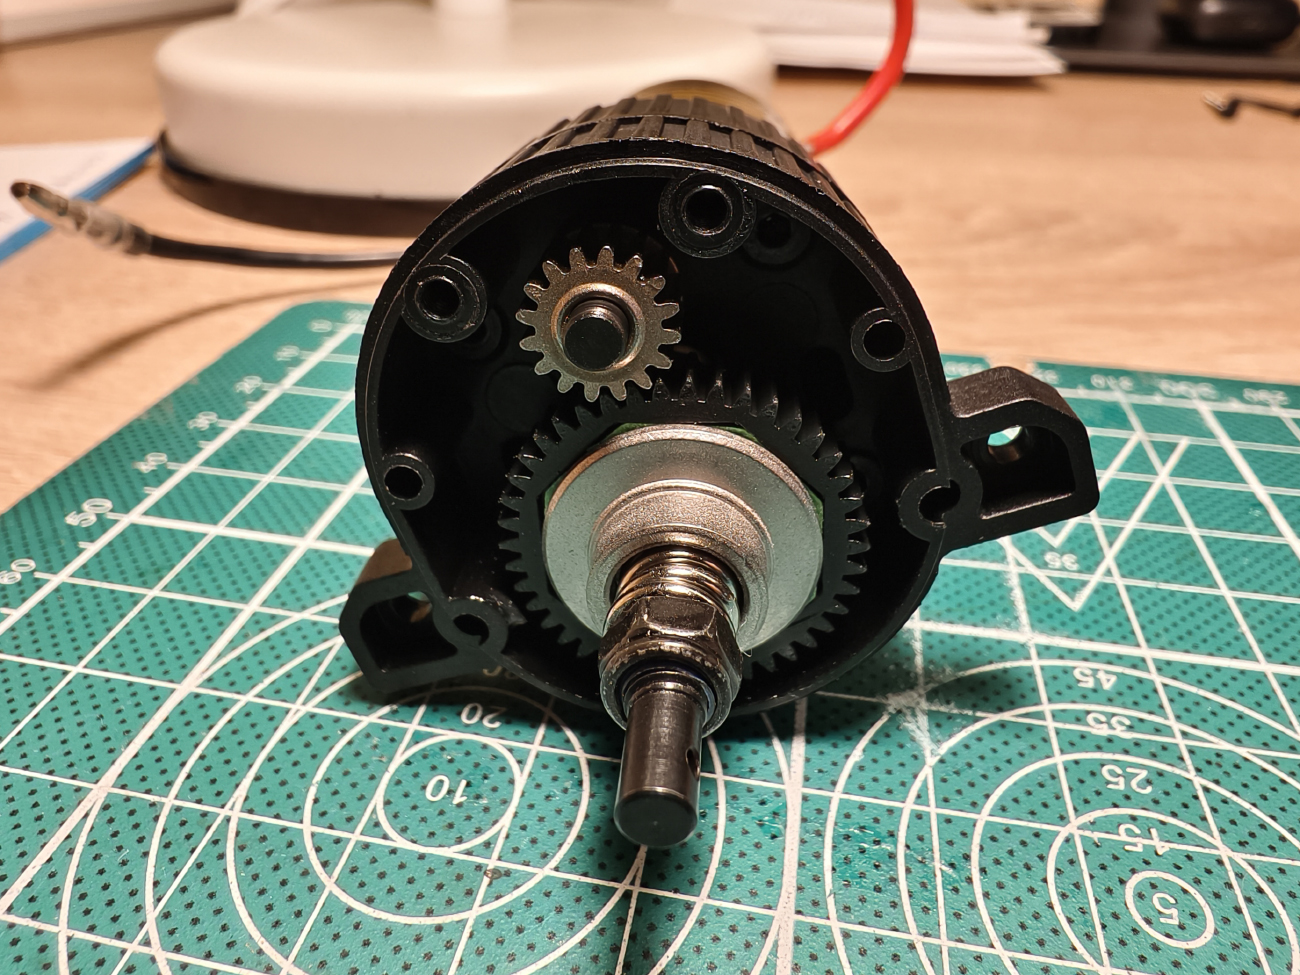
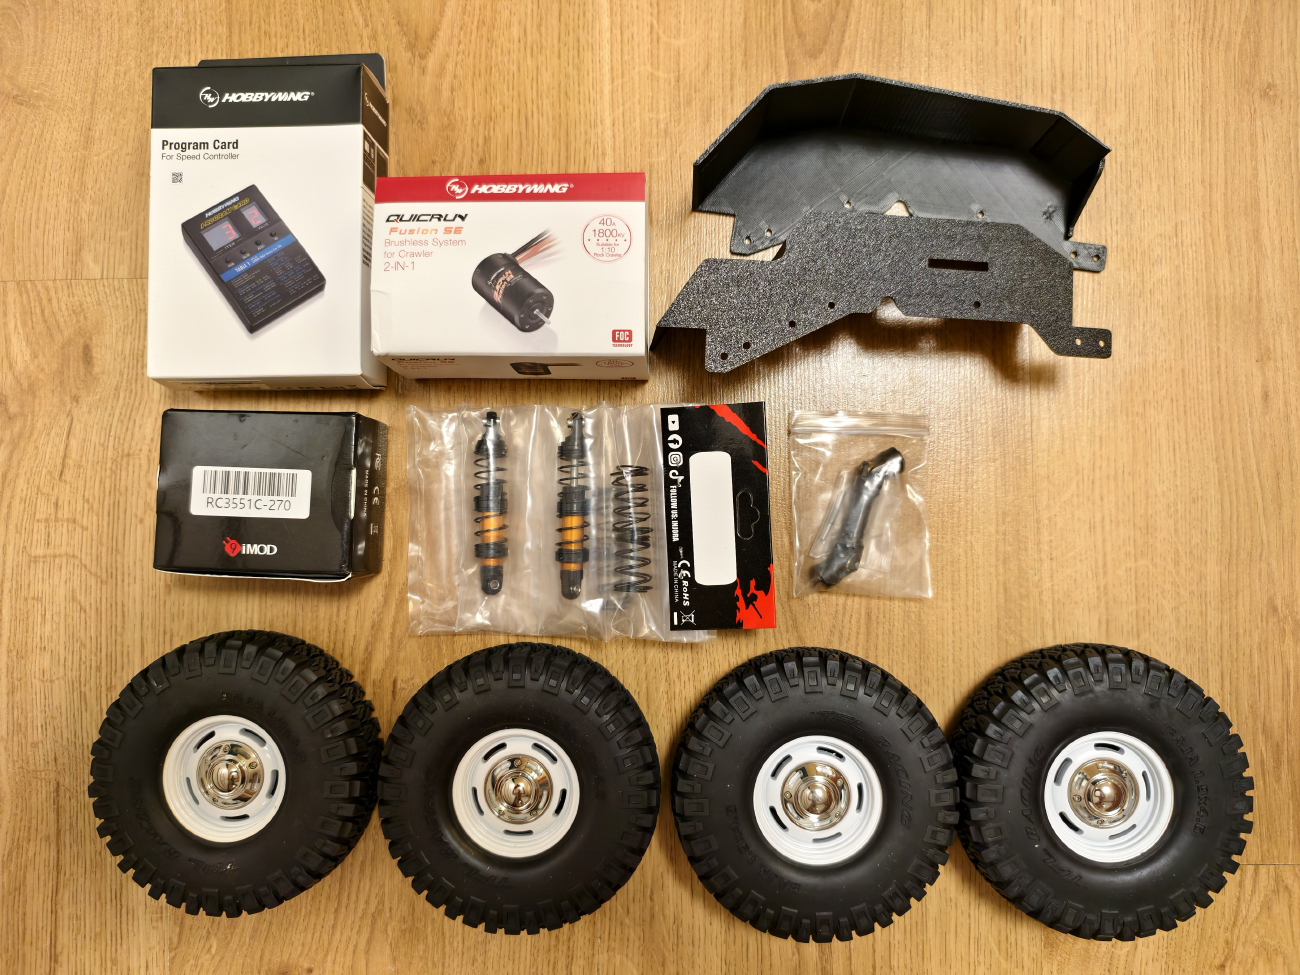
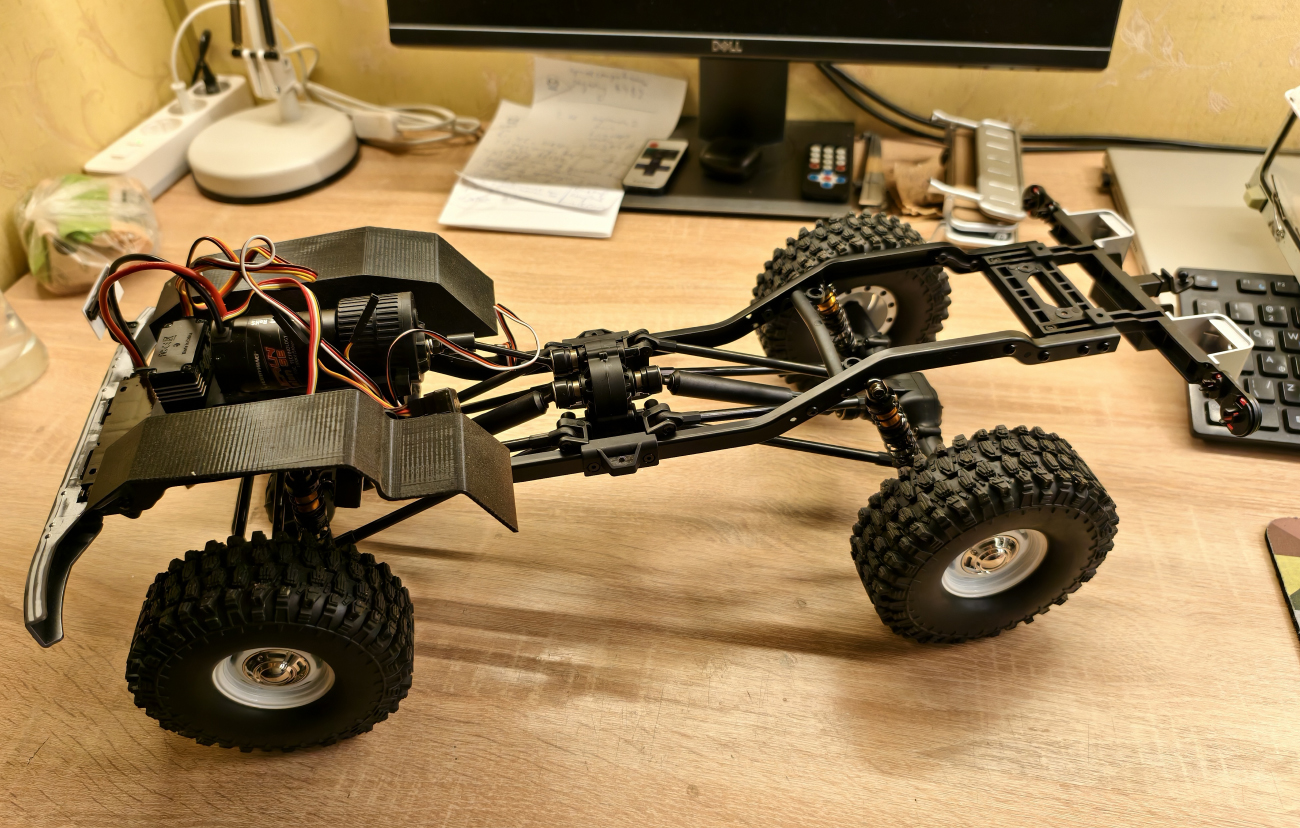
4. In the chassis I replaced: the motor with a HW Fusion 1800, the steering servo with a 9imod Brushless Servo 40KG 270C°, the driveshaft from the gearbox to the transfer case, Injora shock absorbers, complete wheels (replica rims, narrow tires and silicone inserts). Also installed front fender liners. The steering servo is powered by a separate BEC:
5. In the end, only the side rails and links remained from the stock chassis, everything else was replaced. The assembled chassis after parts replacement:
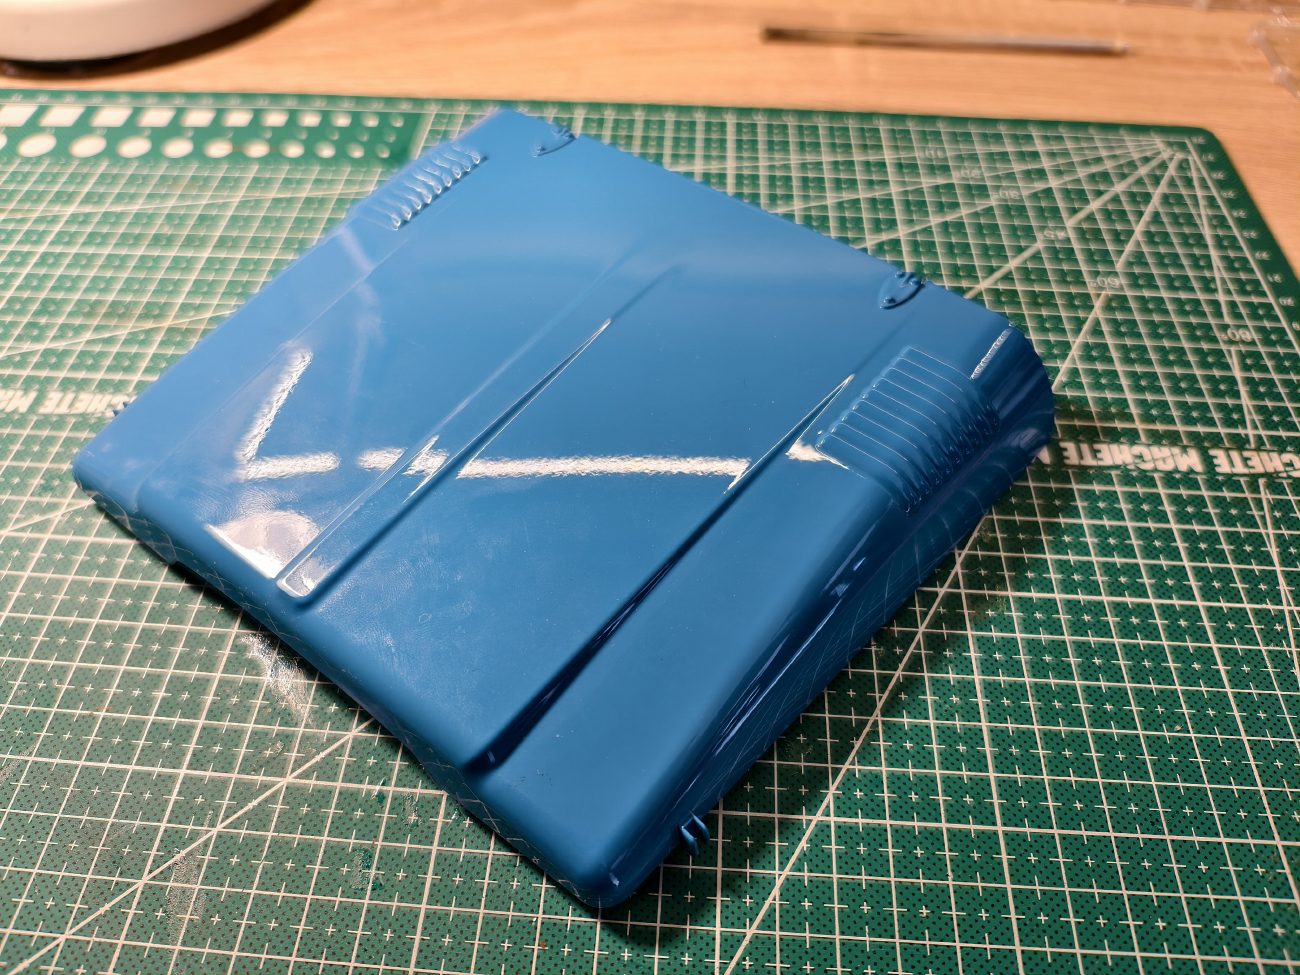
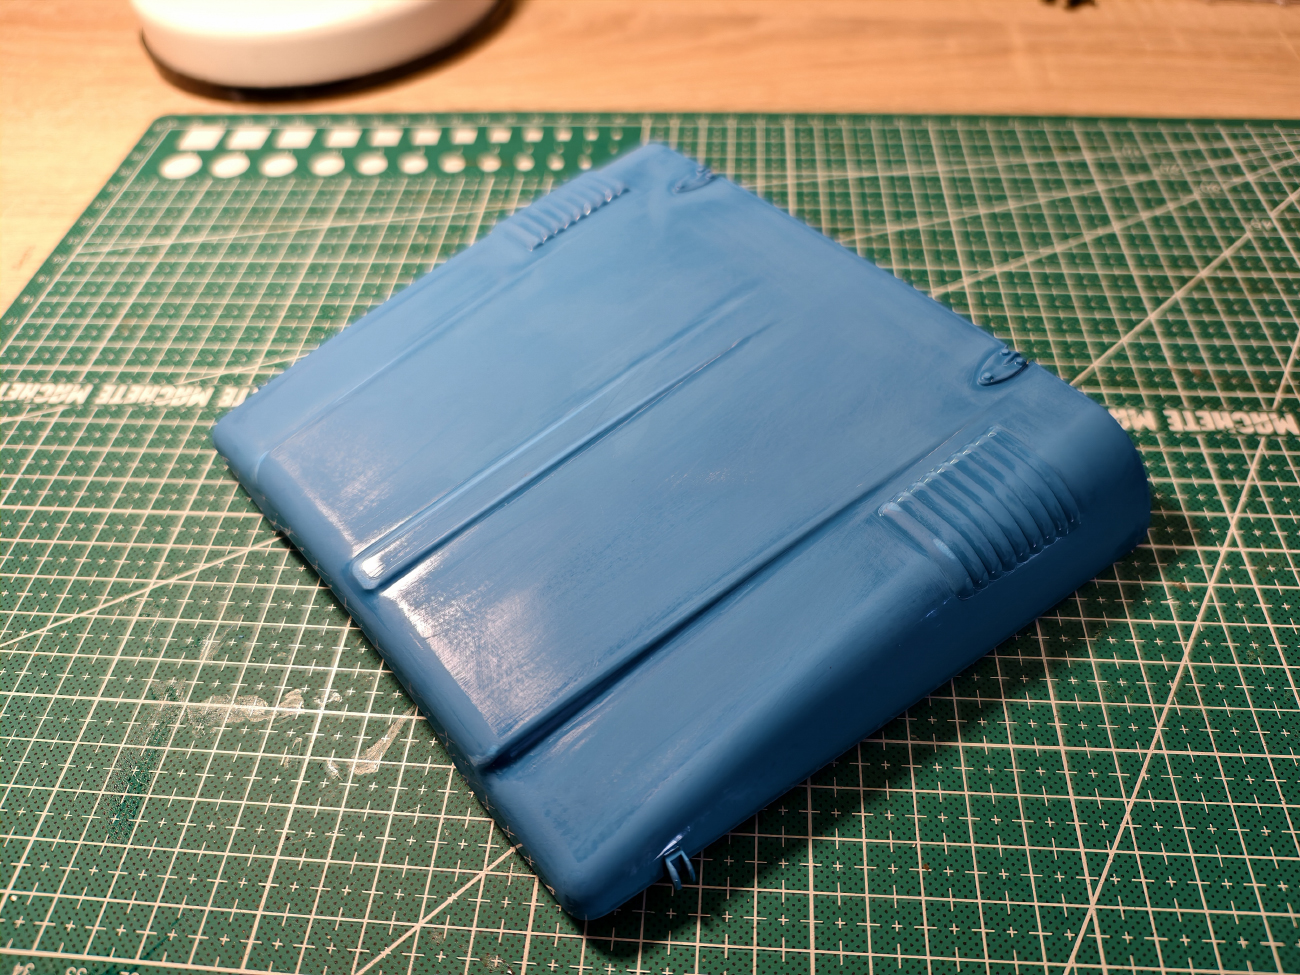
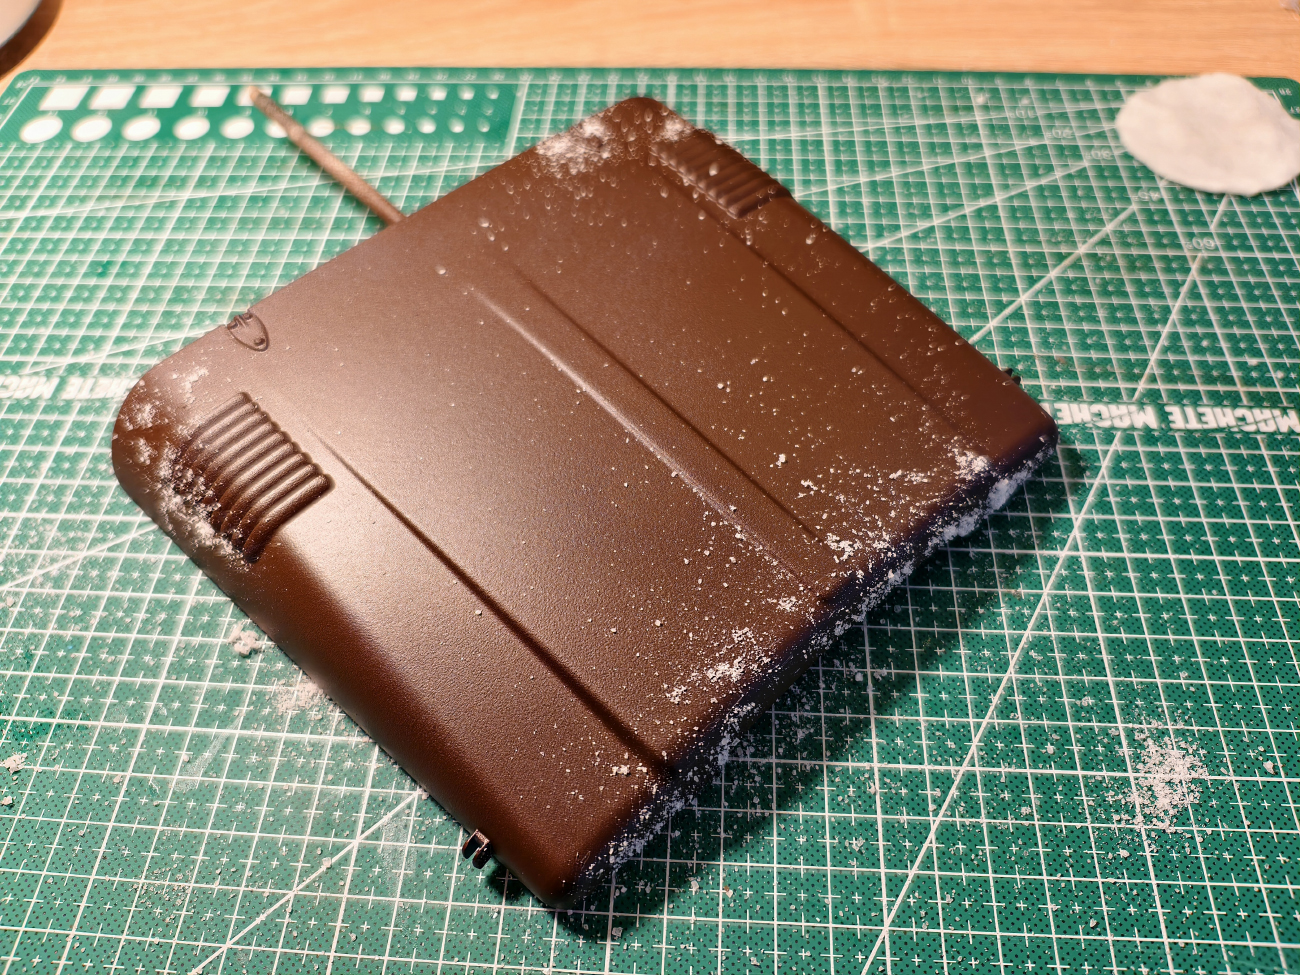
6. Completely disassembled the body. Sanded all parts - removed the gloss. Then primer, painted - rust base and painted with base color. Here are the stages using the hood as an example:
7.
8.
9.
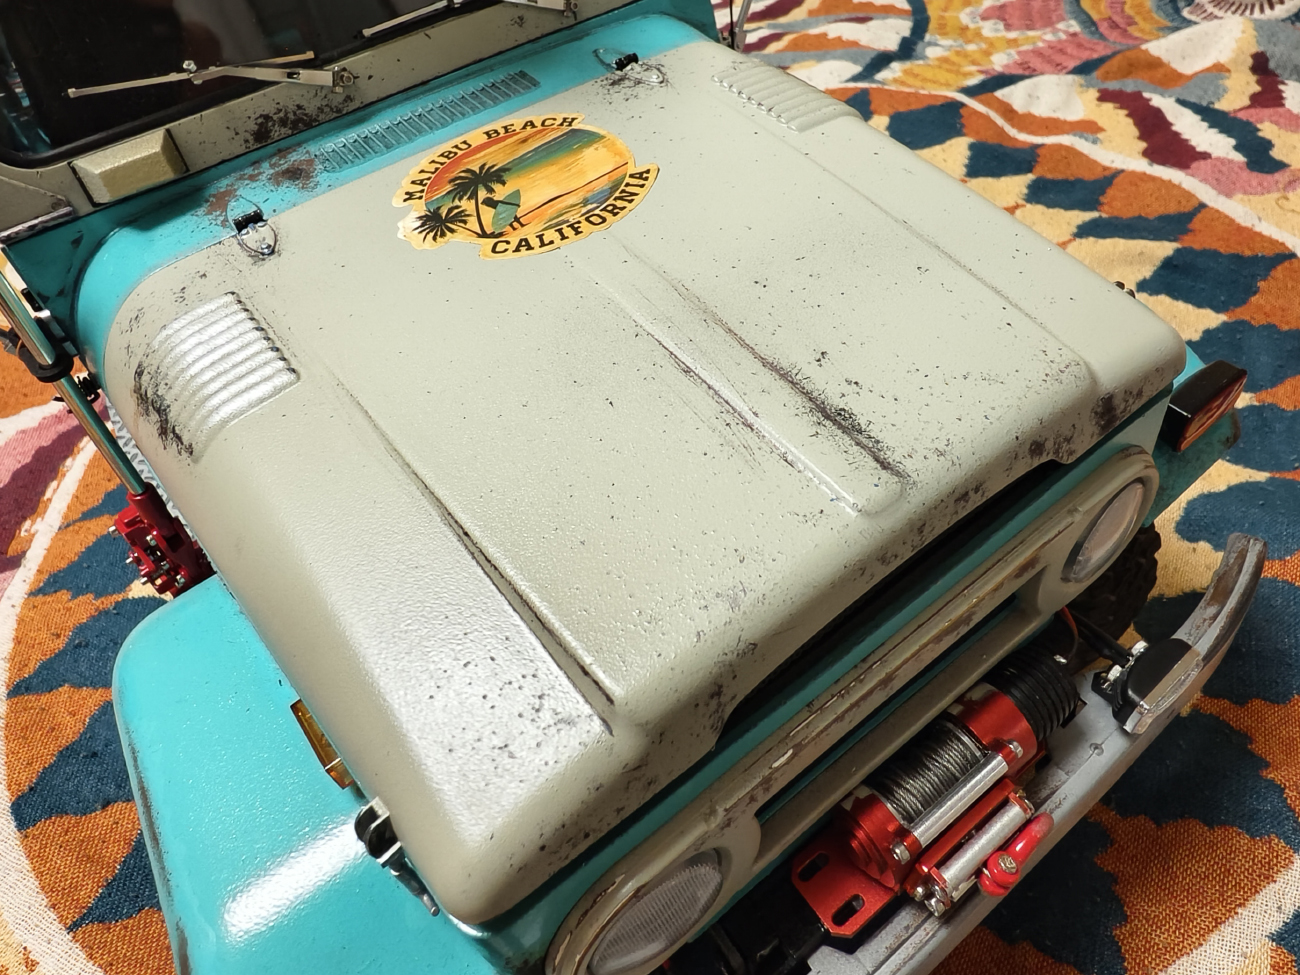
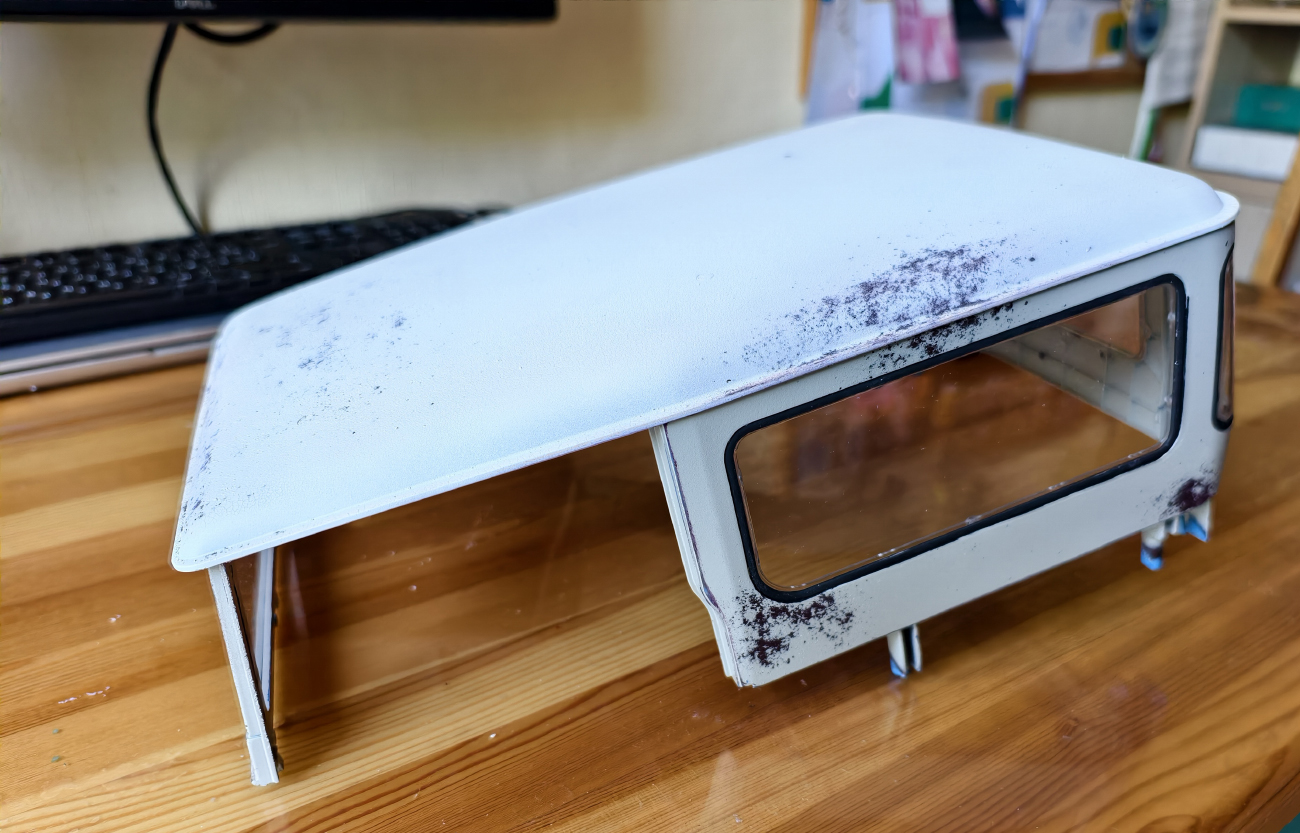
10. Also repainted the roof:
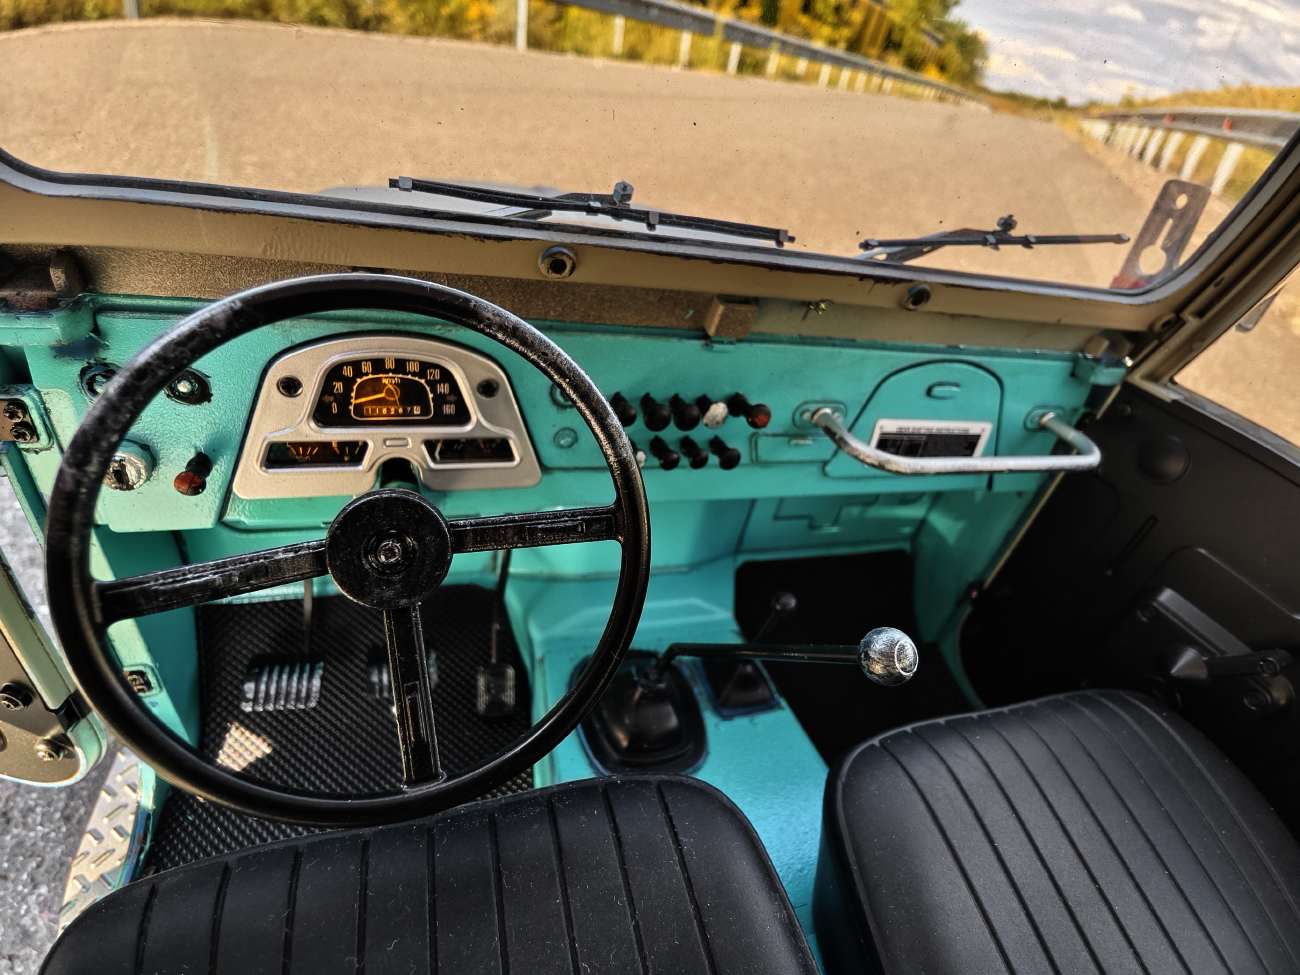
11. Completely disassembled the dashboard, repainted and reassembled (before/after):
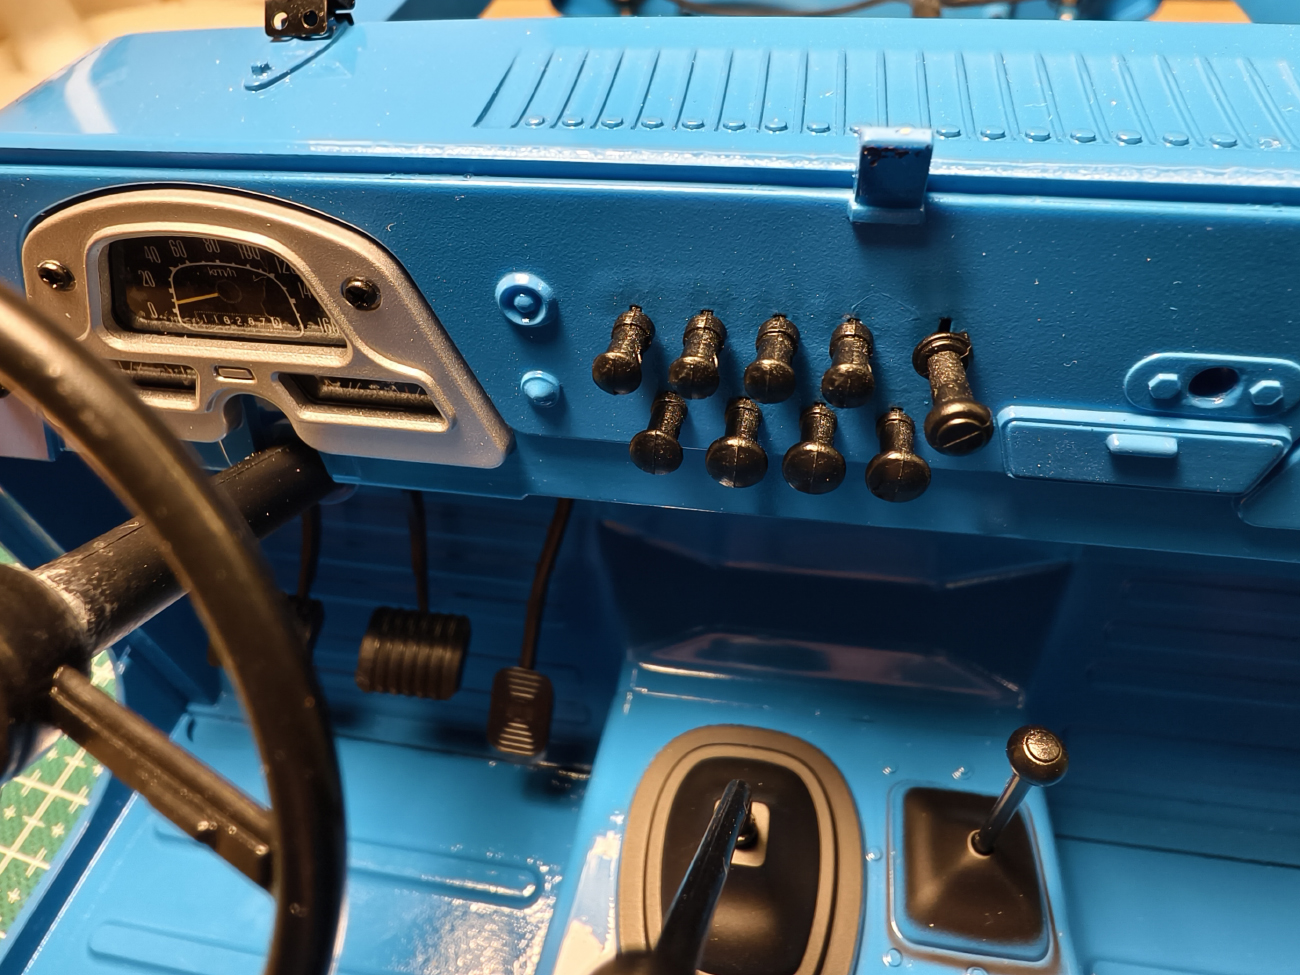
12.
13. Disassembled body:
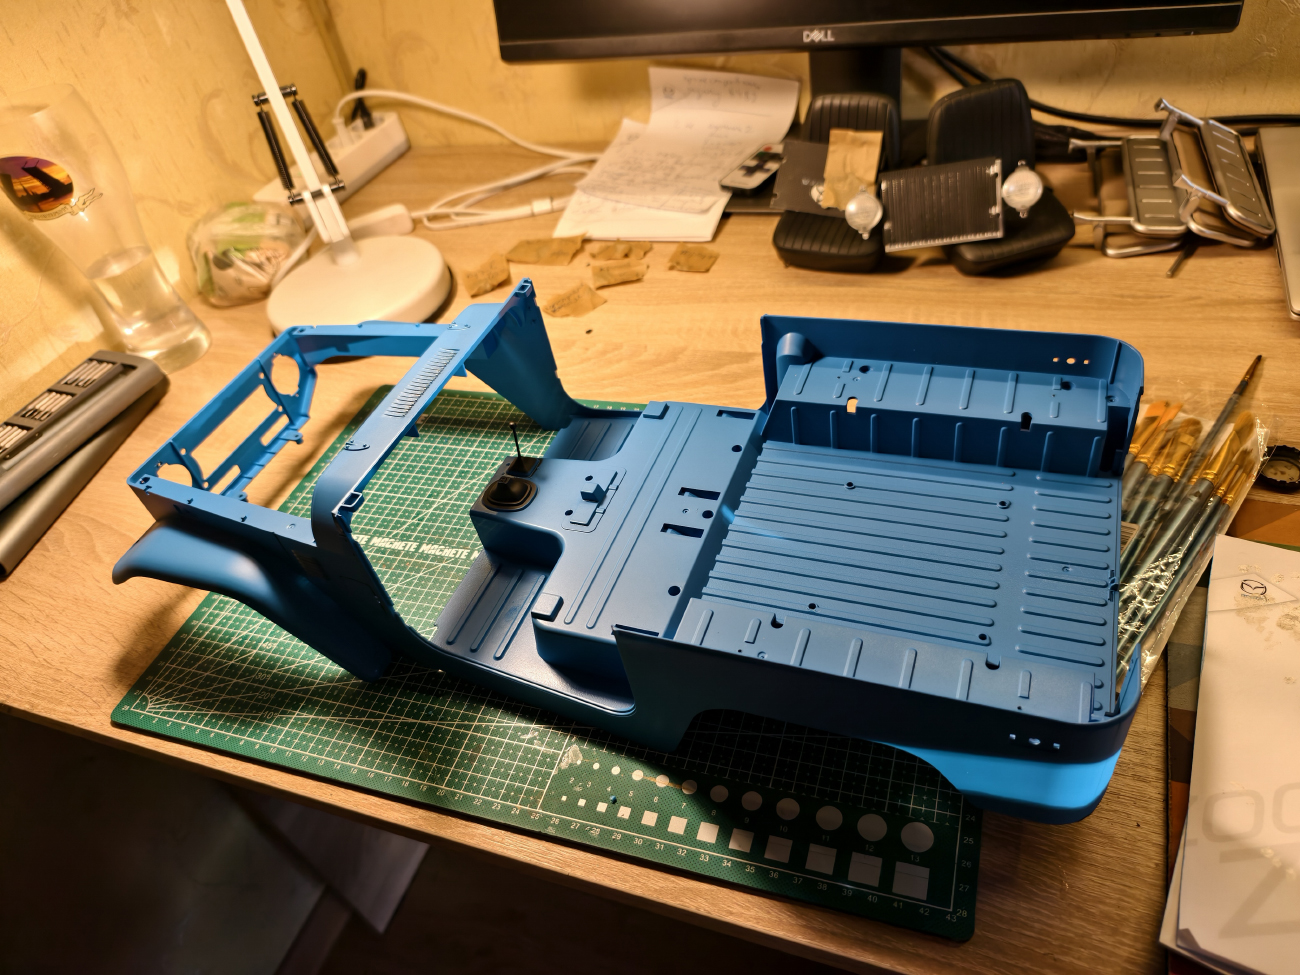
14. One of the painting stages:
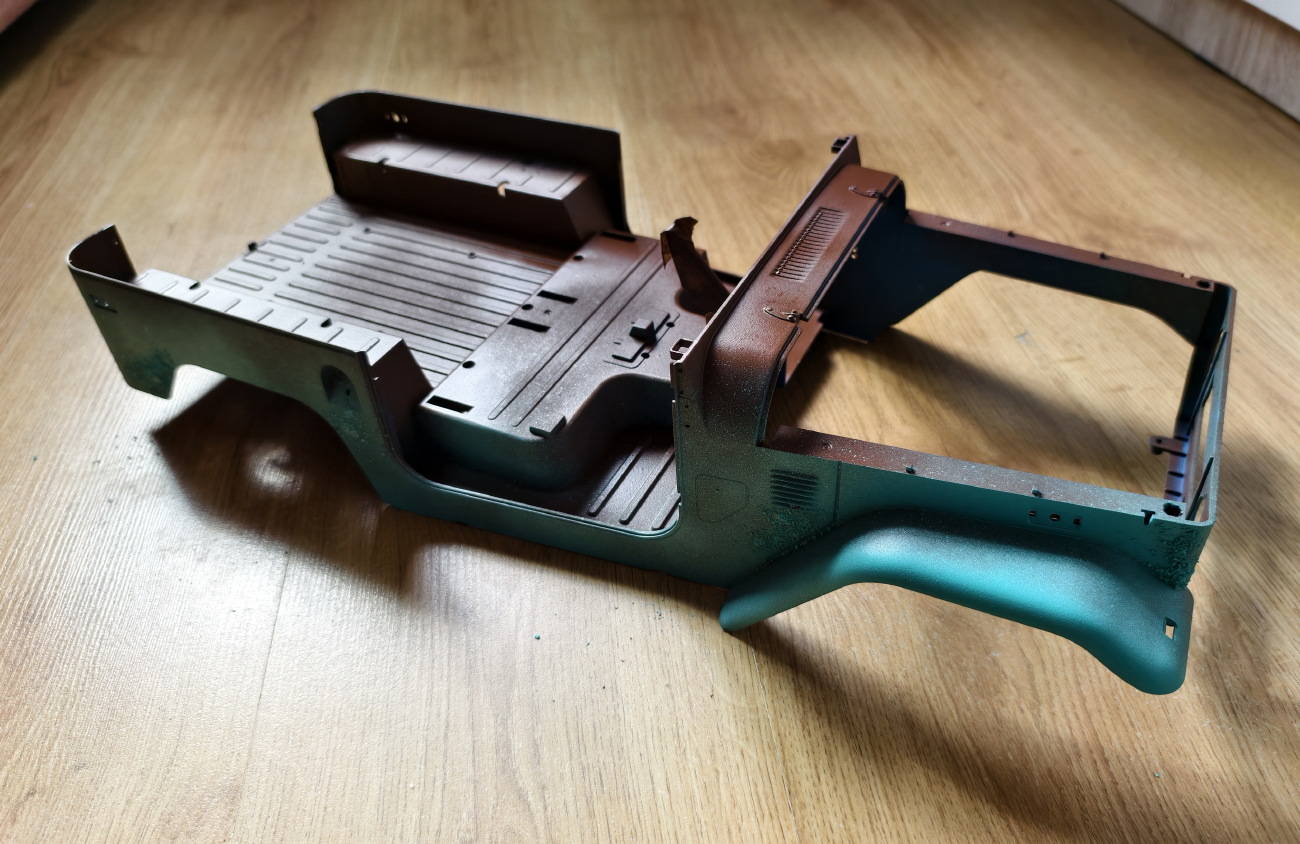
15. At first I wanted to paint the whole body in one color. But I saw a photo of a real car painted in two colors and decided to do the same. Temporary assembled, combining light gray and the original blue:
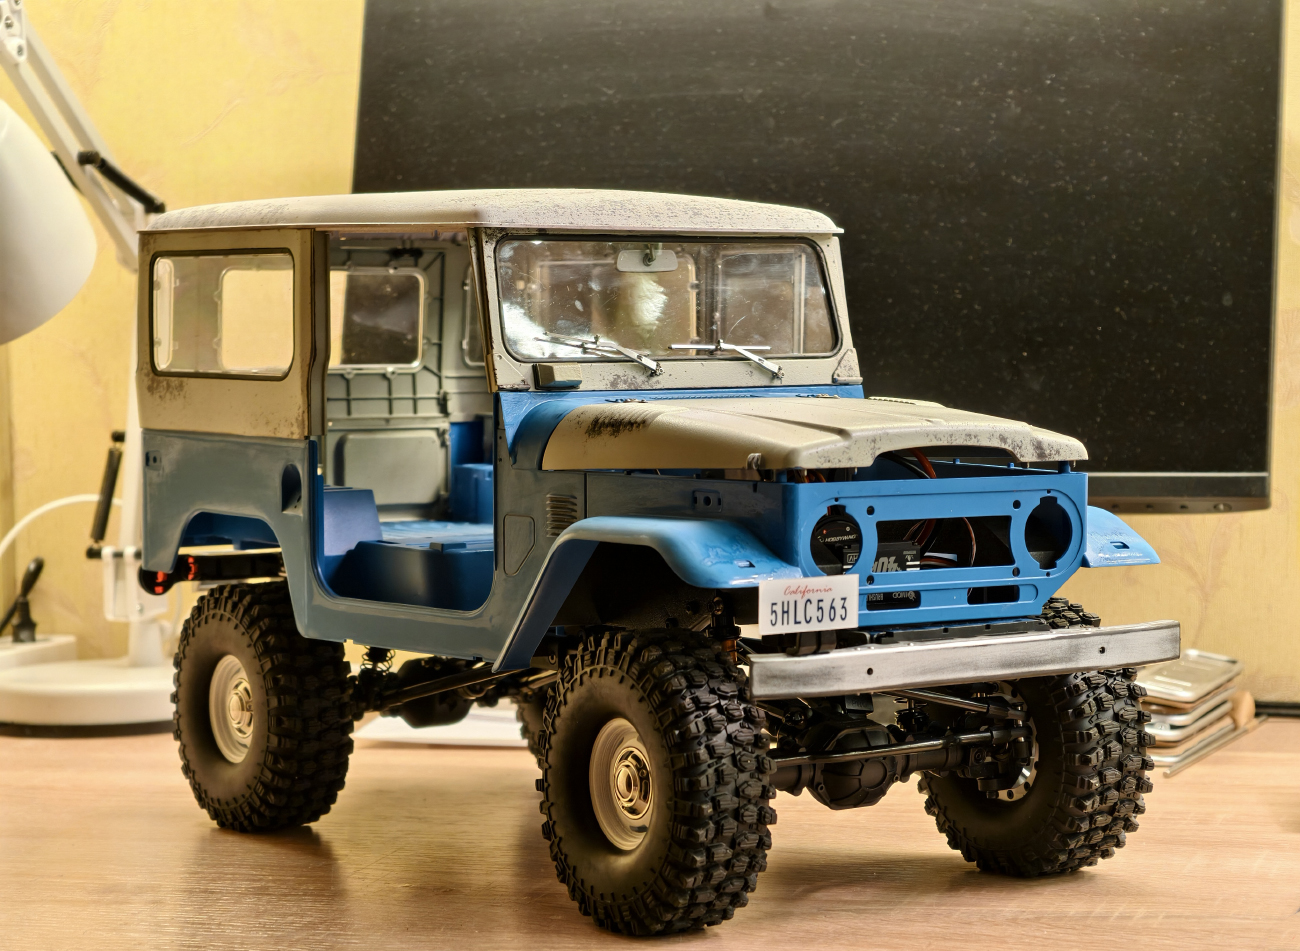
16. Didn't like it, decided to paint the remaining parts in turquoise.
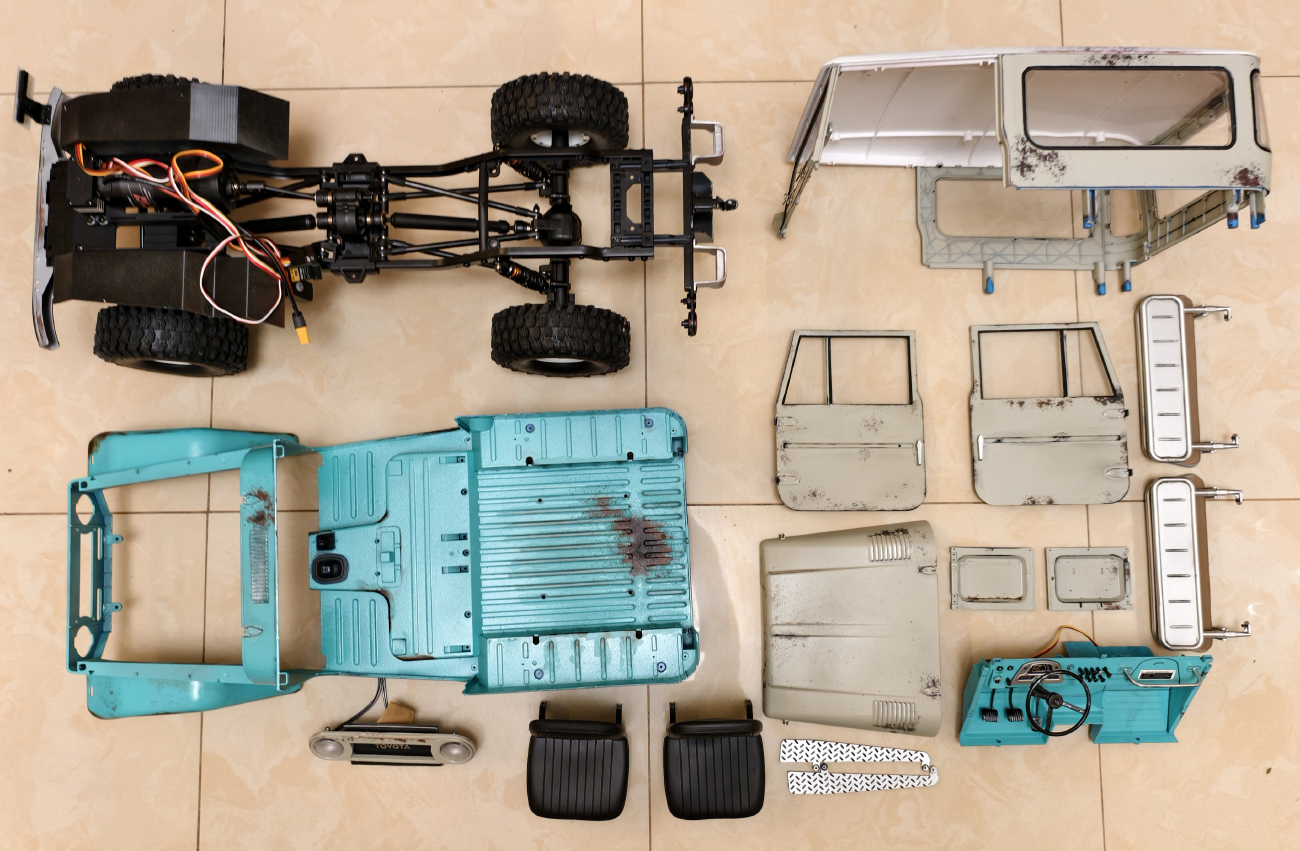
17. The model is waiting to be assembled after painting:
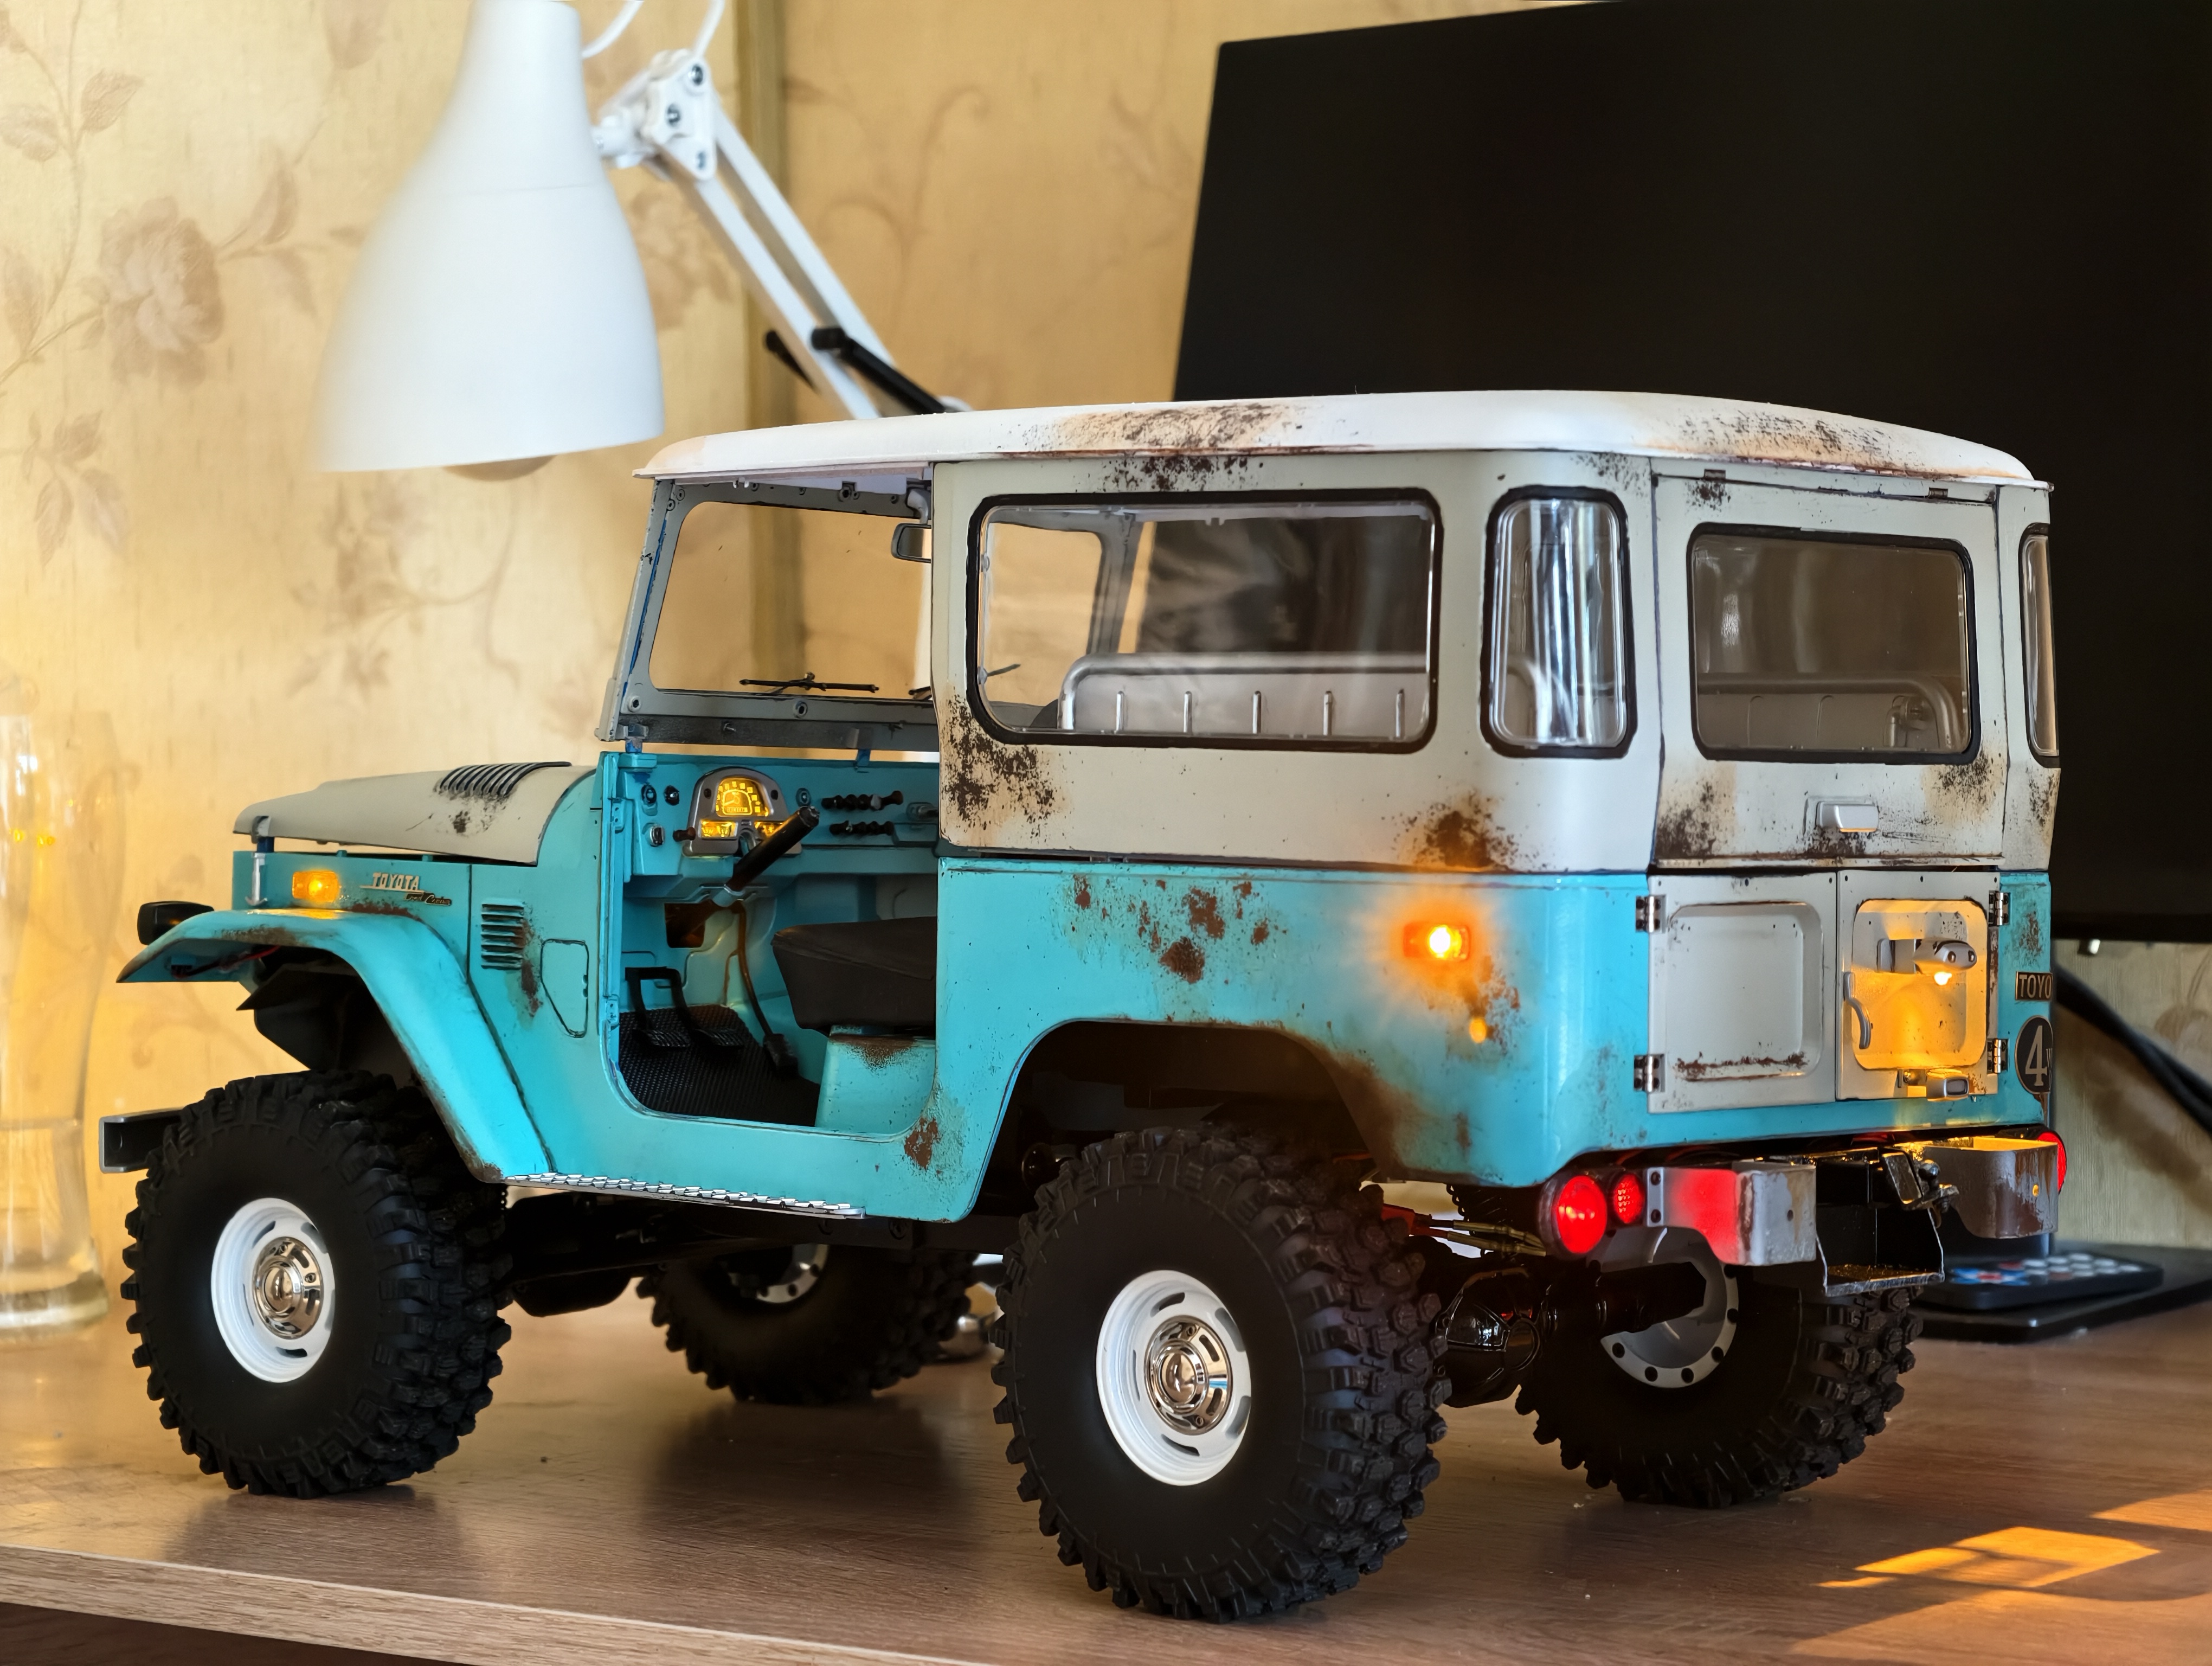
18. After assembling everything except the roof, I started wiring the lights. Added LEDs to the rear lights, all turn signals, made license plate illumination and dashboard backlighting. Also added additional fog lights. Powered the lights via a light-switch. The additional fog lights can be turned on separately.
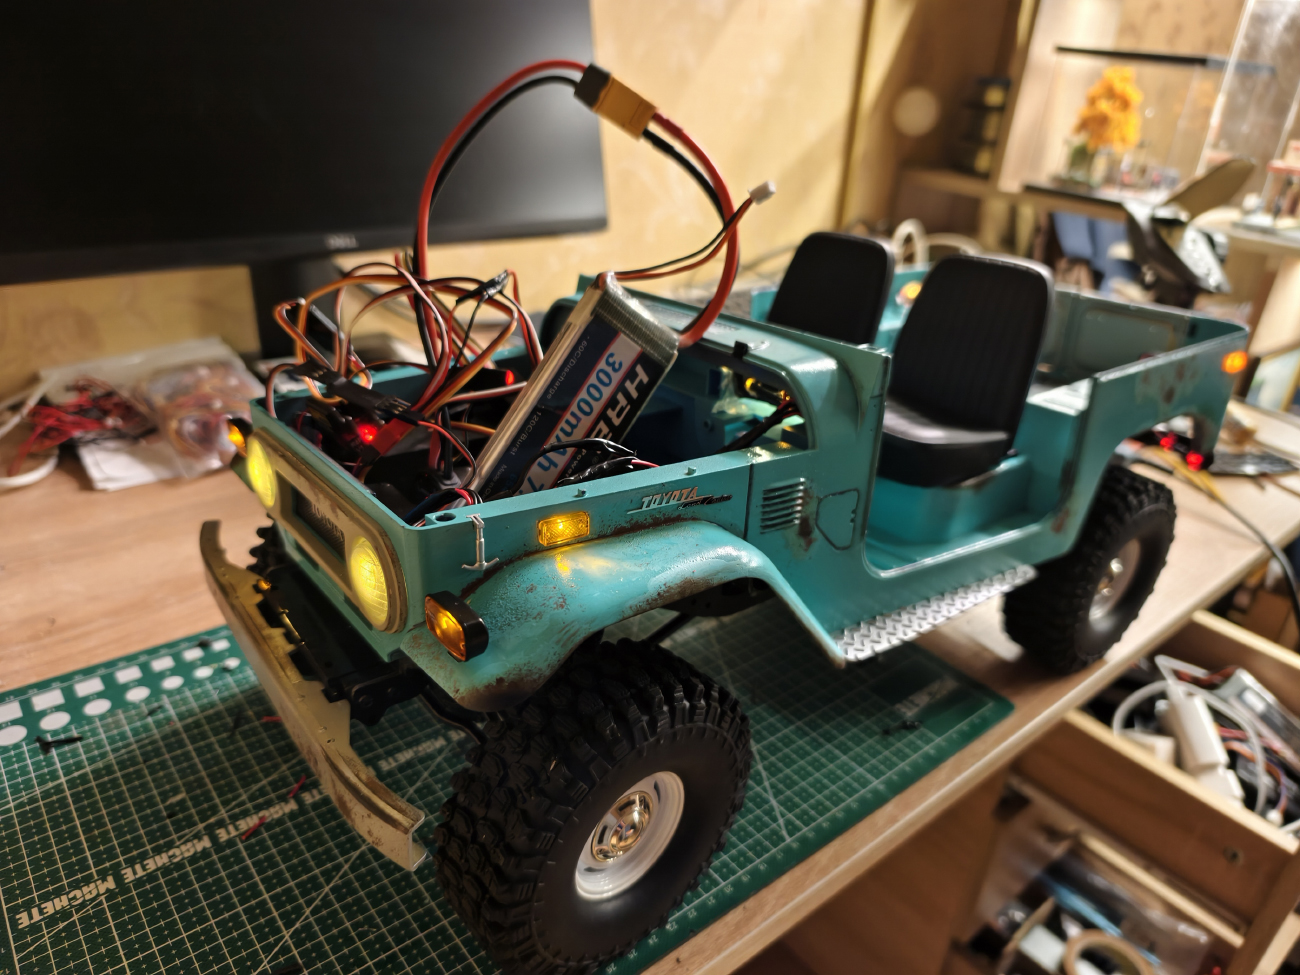
19.
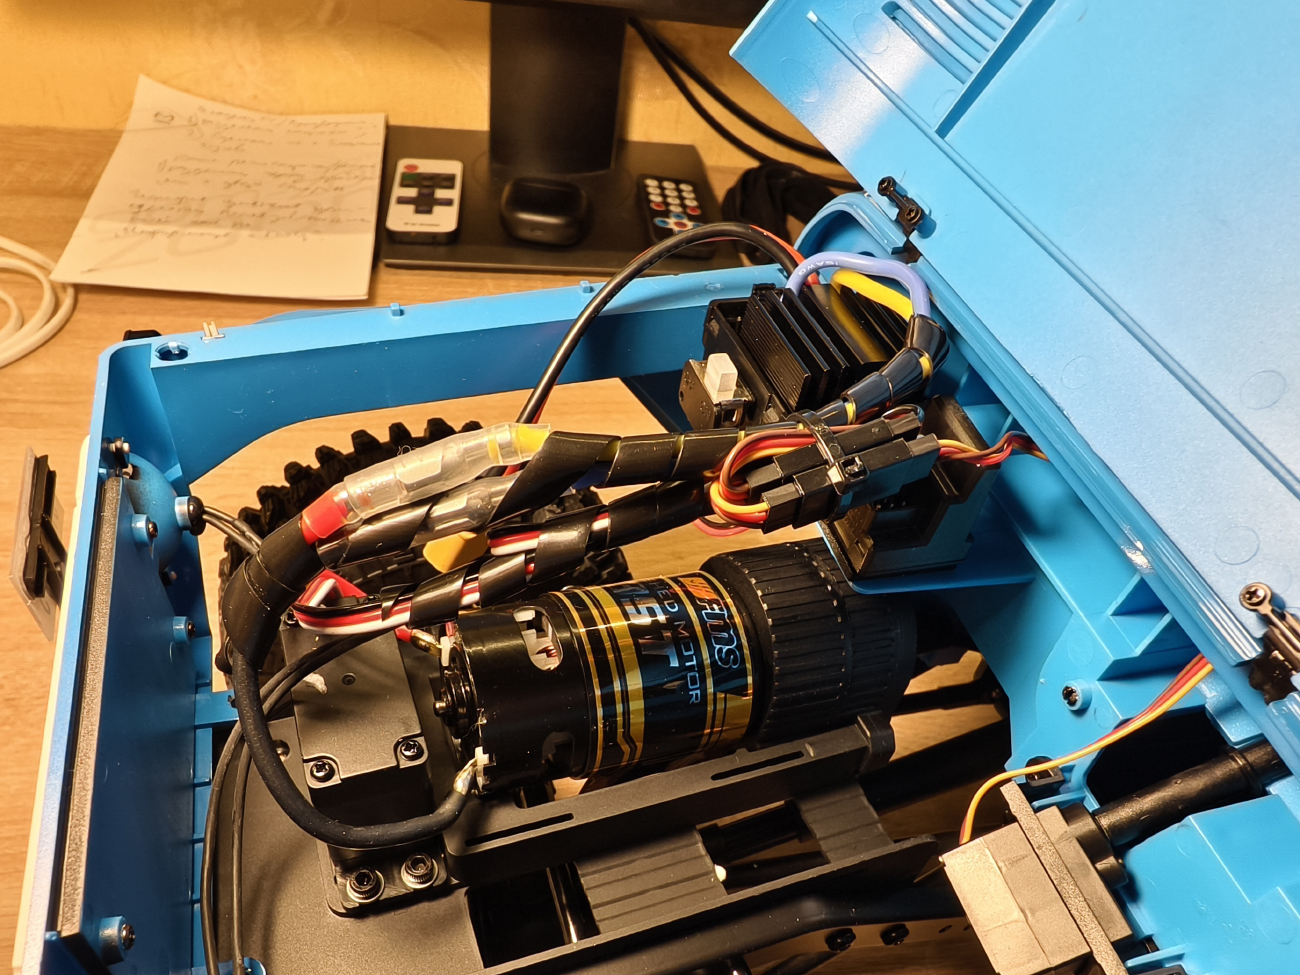
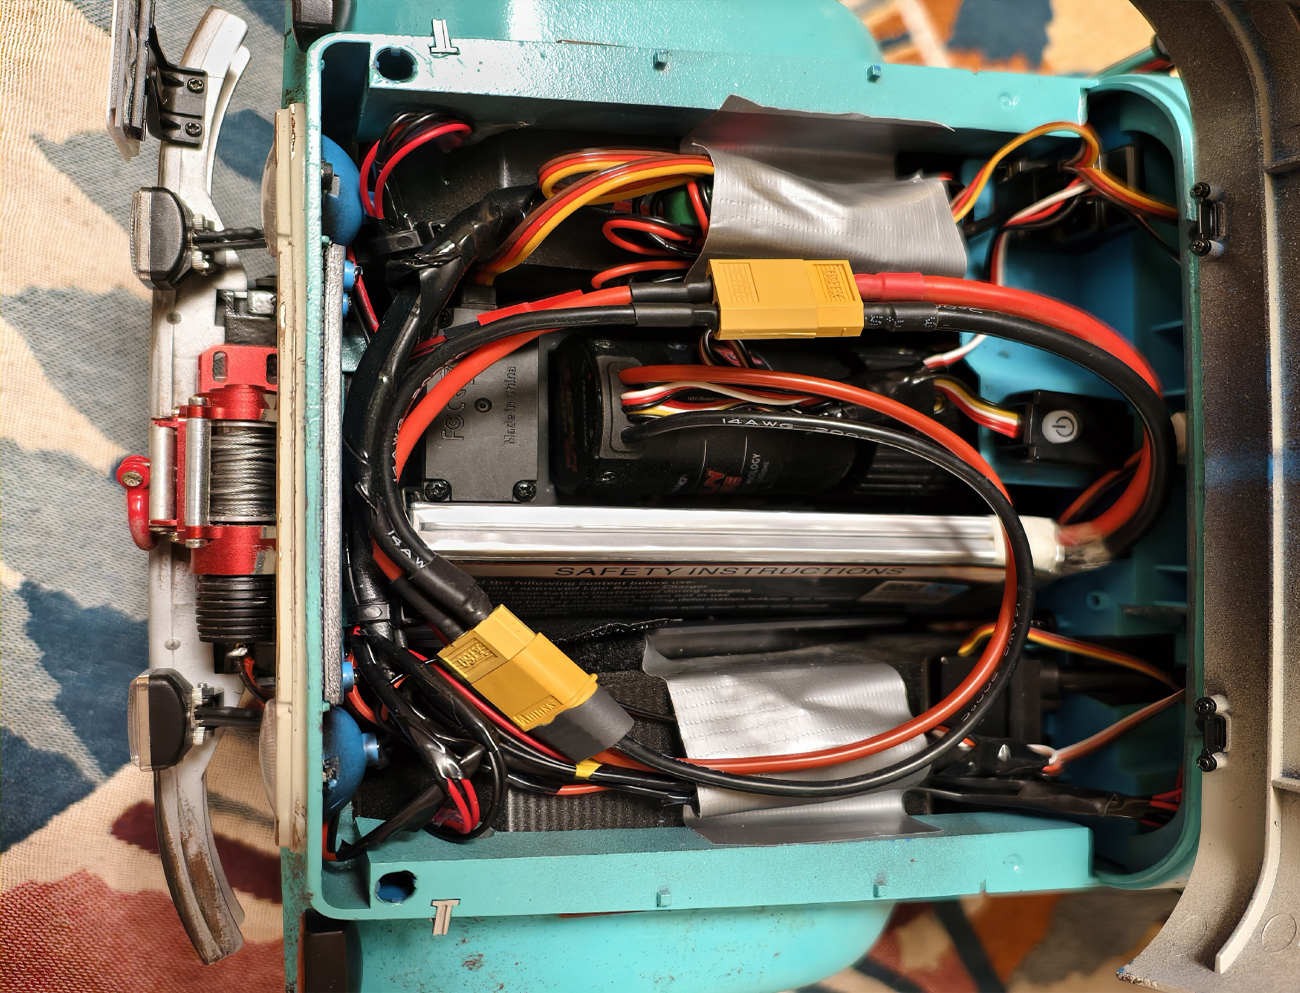
20. No space in the engine tray after routing all the wires and placing the BEC and light-switch units. Before:
21. After:
In the next post I'll show the final result: what came out of it. And I'll tell about all other small changes made.
Back