

How to create macro photos: equipment and techniques

This post is an attemption to collect and systematize my errors and experience in the field of macro photography. So I collected my sketches into one articke. Perhaps the information will be useful to someone.
Part 1. Theoretical
- What is macrophotography?
- Equipment for taking macro photos
- Stacking
- Light
Part 2. Practice
- My experience
- Sample Photos
Macro photography - obtaining large-scale images of small objects. The main criterion is the scale. It is calculated as the ratio of the size of an object on a matrix or film to the real physical size. If the image size is 2 times larger than the original, we have a 2:1 scale. If it is 2 times less, the scale is 1:2. And with equality - 1:1.
2. Equipment for taking macro photo
I begin the listing of methods with the simplest and budget. Recommendation for choosing camera body: better with crop matrix (depth of field and image size will be bigger than the on full frame), the ability to remotely control and the mirror up function (if you choose from DSLRs).
2.1. The most cheap way. You need to rotate lens and mount it with its front side to the body. You can use kit lens (for example, 18-55mm). To mount lens, you need to buy a reversible ring for the diameter of the filter of your lens. It is an adapter, on one side for lens, the other side for mounting to the camera.
Pic. 2 Reversible ring and ring for connecting two lenses:
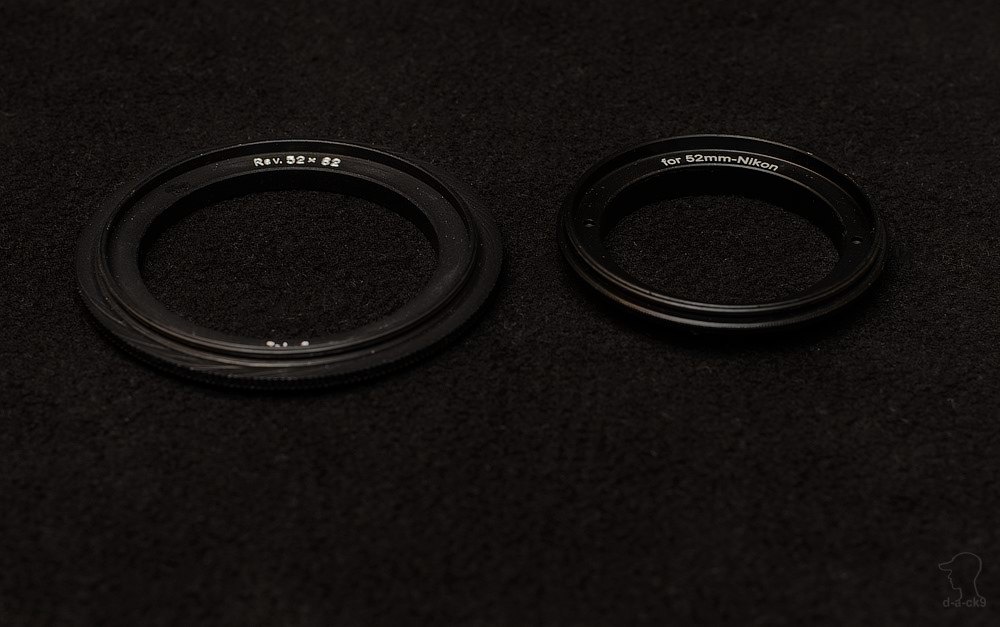
So in this case all parameters must be set manually. But it is very chip solution. And secondly, if a standard macro lens can give a picture in a 1:1 scale, then the resulting _Frankenstein_ easily shoots in a scale up to 4:1. In my opinion, these are small inconveniences for the opportunity to take pictures with such scale.
Pros:
- Very cheap (you need to buy only reversible ring).
Cons:
- Aperture is not controlled in a standard way;
- The quality depends on exact lens and can be poor.
2.2. Connection of two lenses with front sides to each other. To do this, you need:
- Fix lens with the shortest focal length and bright aperture (bevause aperture must be fully opened);
- Lens with the largest possible focal length (fixed or zoom);
- Two-sided reversible ring for connecting these lenses.
Pros:
- We have big magnification with two standard lenses;
- Cheap (if you have lenses, you need to buy only two-sided ring for their connection);
- Autofocus and aperture operate (although autofocus is useless at such magnification).
Cons:
- Taking pictures at such magnification possible only with a tripod and it would be better to use the remote control;
- The rear glass of the front lens can get dusty quickly, so either take pictures at home or create protective filter.
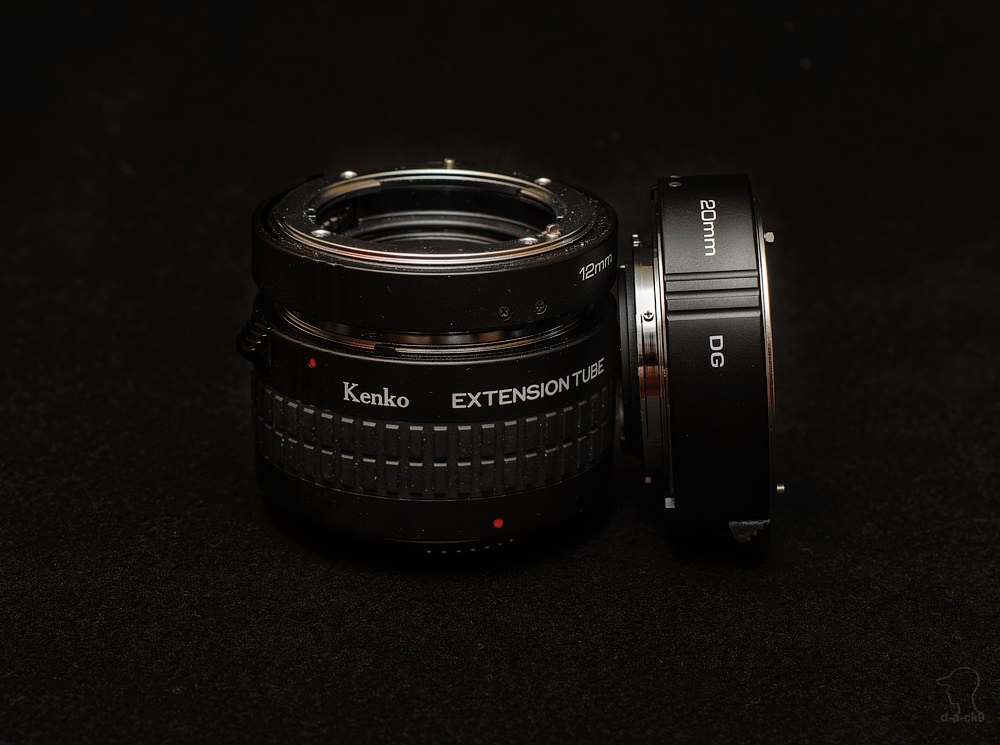
2.3. Extension rings. Suitable for any lens. Allows focusing from a closer distance to any lens.
Pic. 3 Extension rings set:
Pros:
- Allow to magnify standard lens almost as macro lens.
Cons:
- Amount of light decreases, especially if the blacking of the inner surface of poor quality.
2.3.1. Macro-bellows. The meaning is the same as for extension rings: they allow any lens to be focused from a closer distance. They allow you to adjust the focal length by adjusting the distance from the lens to film or matrix.
2.4.There have different design (from a simple magnifier glass to mini lenses). Vary in price and quality.
Pros:
- Magnify;
- Convenient mounting (about Raynox).
Cons:
— Price.
2.5.Specific macro lens. There are many of them for a different wallet. The larger the focal length, the farther you are allowed to focus. But the price increases according to the focal length. I want to note only one macro lens - Canon MP-E 65mm f / 2.8 1-5x Macro Photo, which allows you to shoot with variable magnification from 1:1 to 5:1.
Pic. 4 Canon MP-E 65mm f / 2.8 1-5x Macro Photo. Its cunstruction - in common just a standard inverted lens (see 2.1):
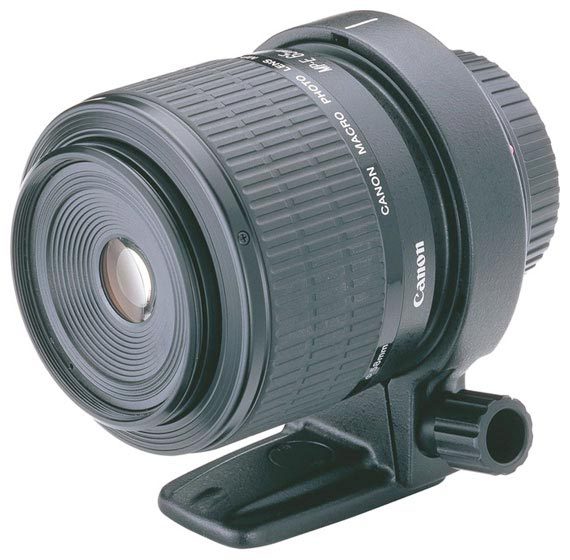
If I would have Canon system, I only buy this lens and that's all. Unfortunately Nikon has no analogue.
2.6. Using of non-photo lenses. For example, from microscopes, etc. In common, this is the whole list of devices for macro photography.
3. Stacking
Taking macro photos, you always encounters problem of high degree of magnification: the depth of field is extremely small (µm).
Pic. 5 Read/write head of HDD. The depth of field in this image is ~ 0.07 mm:
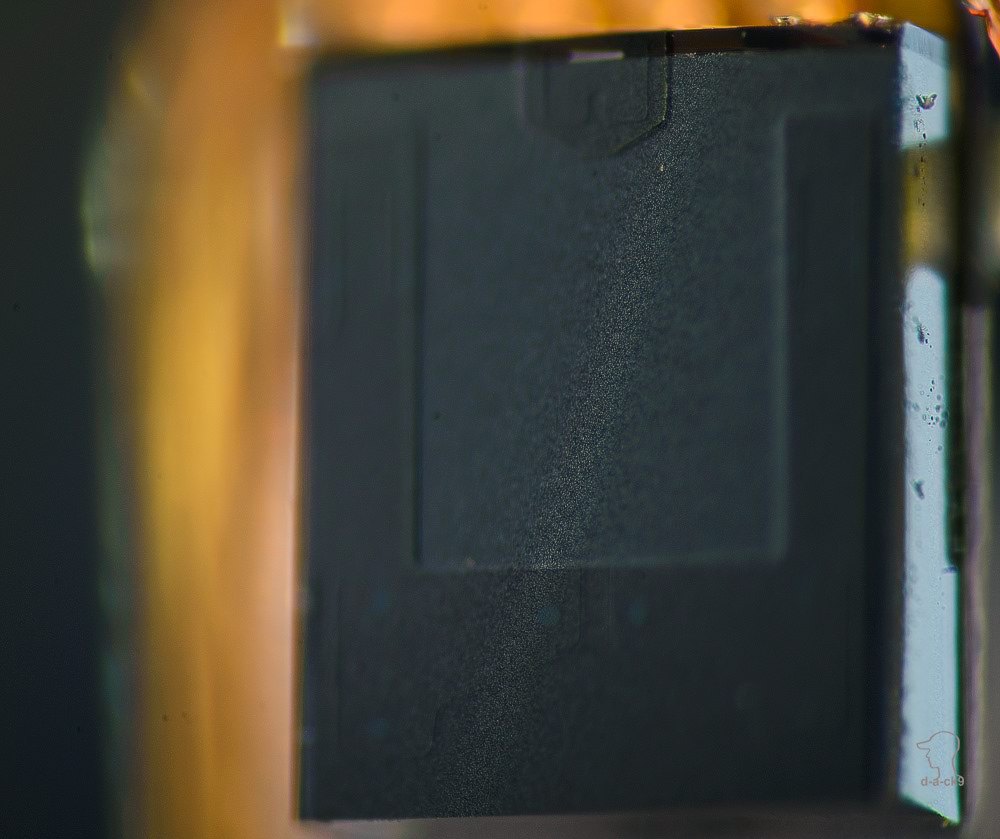
To get an image with a sufficient depth of field, you need to use the technology of stacking - shooting several images at different distances with their further combination. So shoot several images of one object, focusing sequentially on several points, starting from the closest and ending with the farthest. Combining them, in the resulting frame we get in focus much more than could be done in one shot.
3.1. How to get pictures for stacking? I tried three ways:
— Manual. It’s the most cheap: manually rotate the lens focus ring a little bit each frame.
— Software. Connect the camera to the computer and use special program, which change focus for you sequentially. Or use a software that can do everything: sequentially focus, take a picture, stitch, etc. An example of such complex is Helicon Focus Pro. Or, you can use the native camera program to move autofocus and shoot, they allow this. For Nikon, this is Camera Control Pro.
— Complex. Use macro rails. There are a lof them. They are divided into manual and motorized.
Pic. 6 Manual focus mode:
3.2. In which program to combine pictures?
— Photoshop. I use this program if there are no more than 10 images in stack. When more - a very long stitching process and a lot of mistakes. At the same time, editing is difficult (for me).
- Using a special stacking program. For example, Zerene stacker.
4. Light
It is always not enought light in macrophotography. I tried two ways to get enough exposure:
- Using a constant light source (LED, etc). Shutter speed can be quite long. So need to use mirror-up function and remote release because even the slightest vibration leads to blurry image.
- Usage of one or more flashes. Better option, because makes it possible to set a short shutter speed. But it also has "Cons": a very sharp light that needs to be softened.
Part 2. Practice
1. My experience
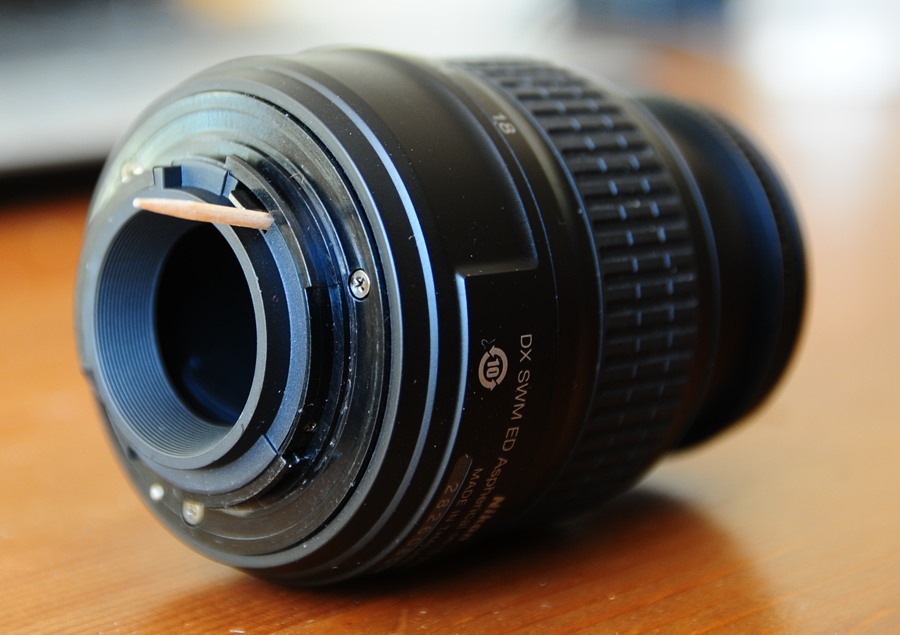
I am Nikon system user, so all lenses and equipment which I described, it is for Nikon. I used them while search the best variant.1.1. 18-55 kit lens rotated with reversible ring. You must fix aperture's lever. I did with toothpick, fixed the lever appr. in middle position. Aperture will be closed fully if you do not do it:
Pic. 7 Fixed aperture's lever:
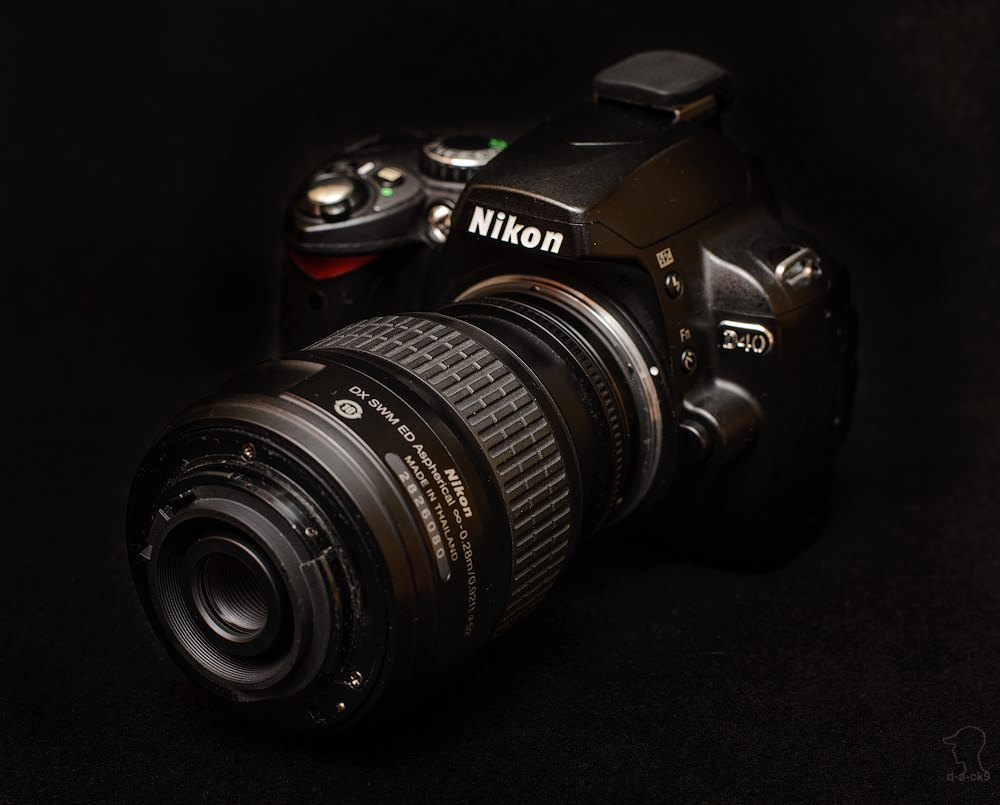
The whole construction looks like this:
Pic. 8 Body with rotated lens:
Pic. 9 Sample photo without editing:
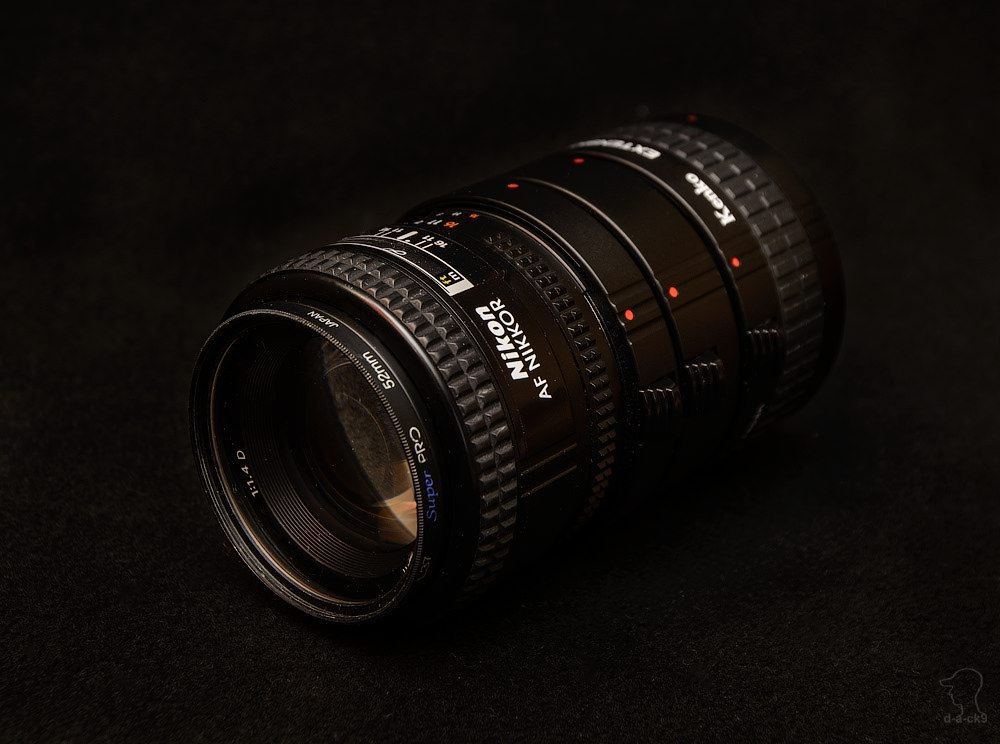
1.2. Connected lenses. I used 50mm 1,4 and 70-210mm:
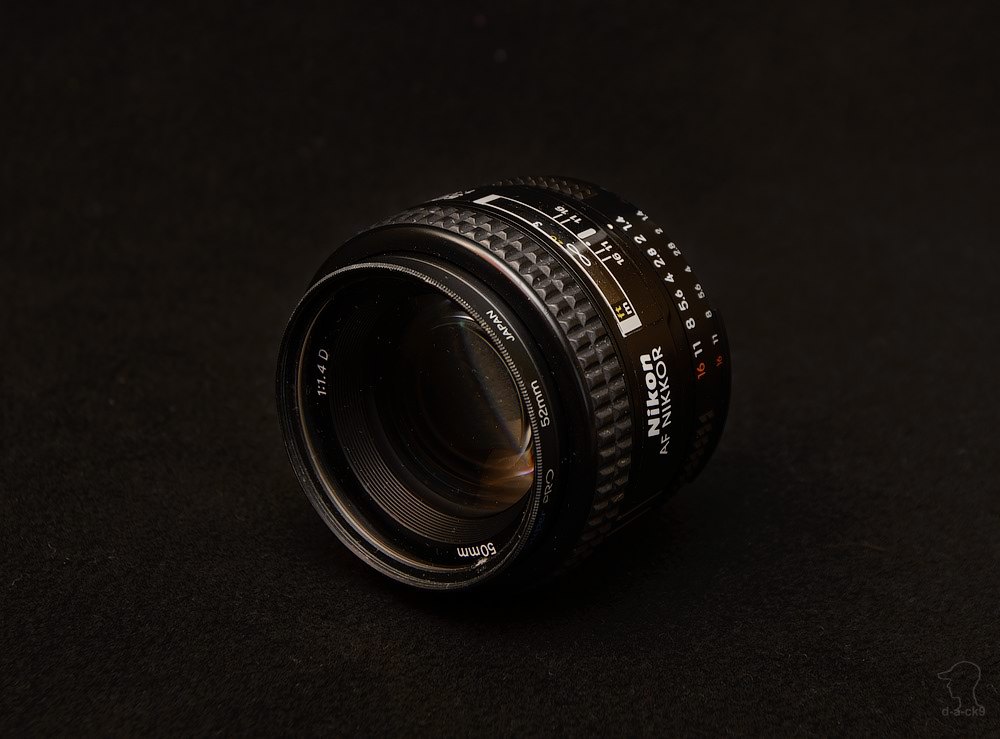
Pic. 10 Nikkor 50mm 1,4:
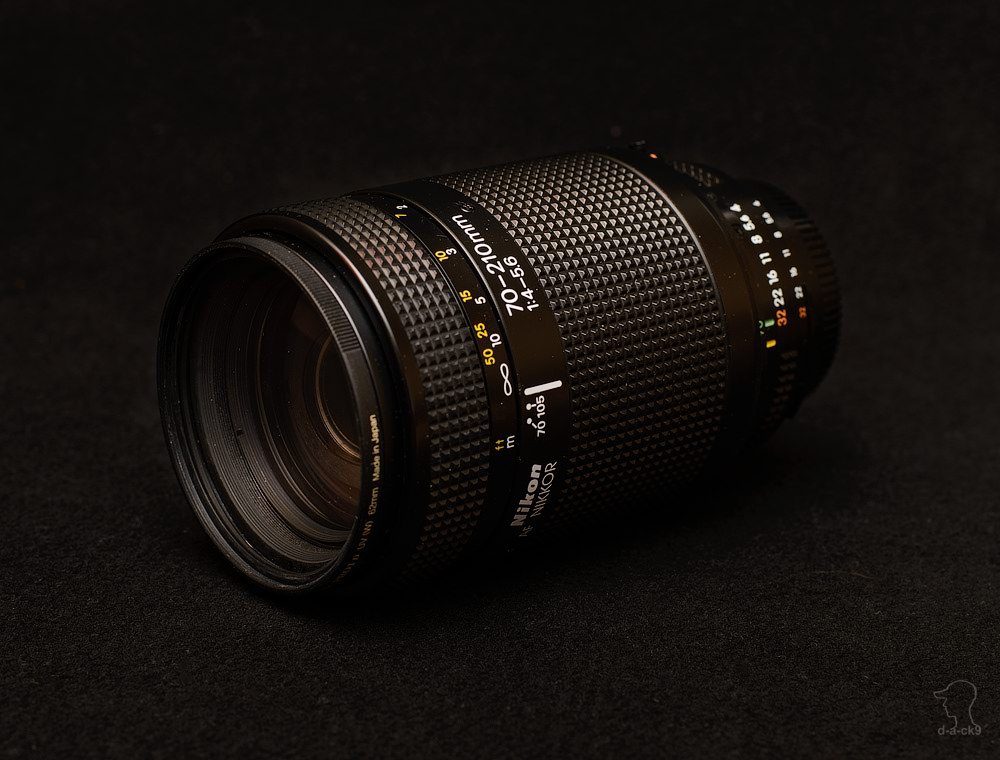
Pic. 11 Nikkor 70-210mm 4-5,6:
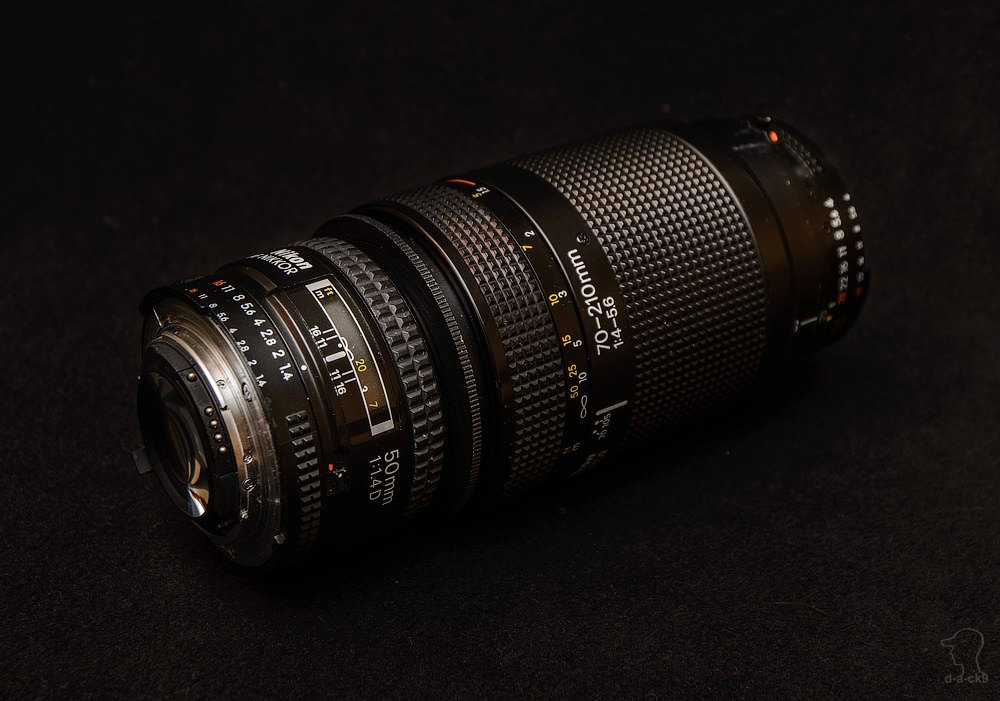
50mm 1,4 + 105mm 2.8 VR micro. Magnification scale = 105/50 (2:1). It was not very impressive so 105mm 2.8 VR micro was replaced for Nikkor 70-210mm. Magnification scale: from 70/50 to 210/50 (1,4:1 - 4,2:1).
Pic. 12 Connected with front parts 50mm 1,4 and Nikkor 70-210mm 4-5,6:
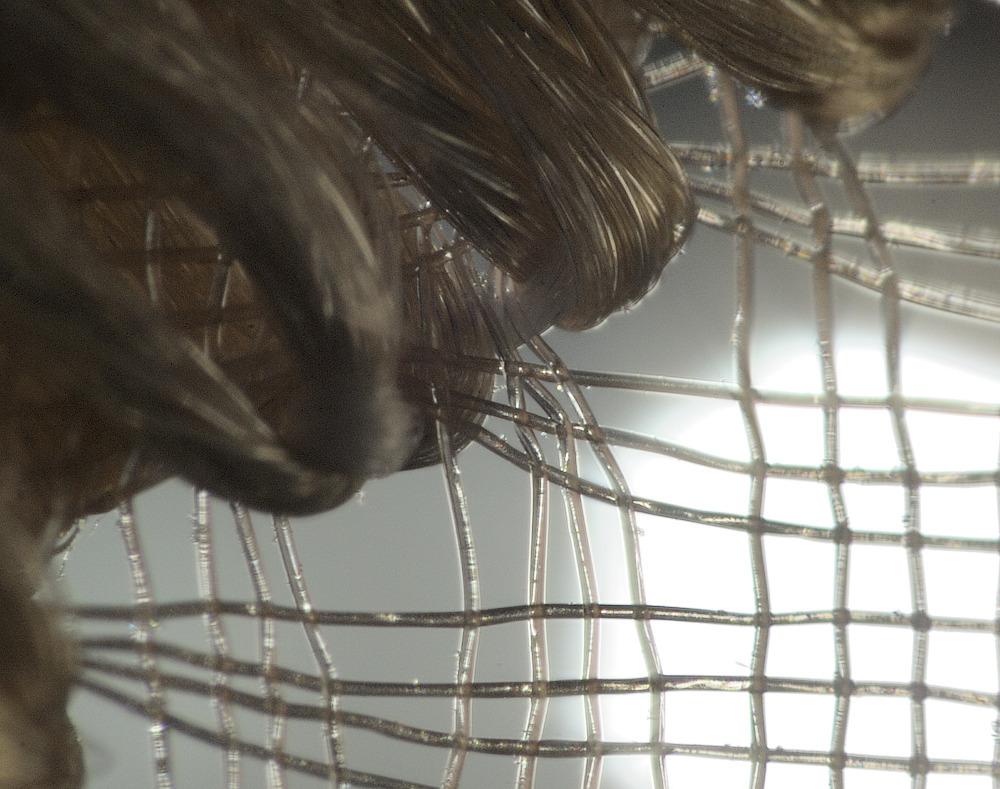
Pic. 13 Сurtain lace shoot with standard lens:
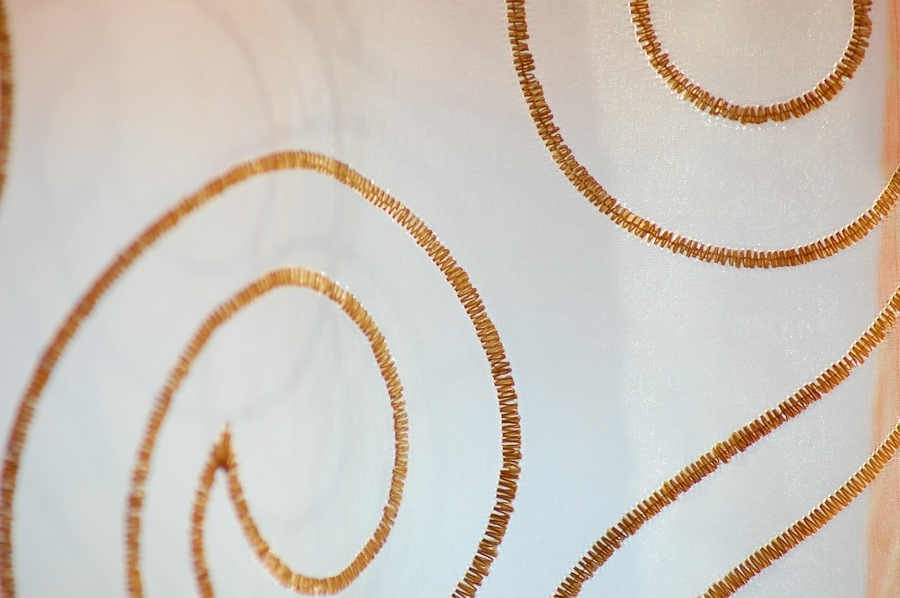
Pic. 14 Сurtain lace shoot with 70mm:
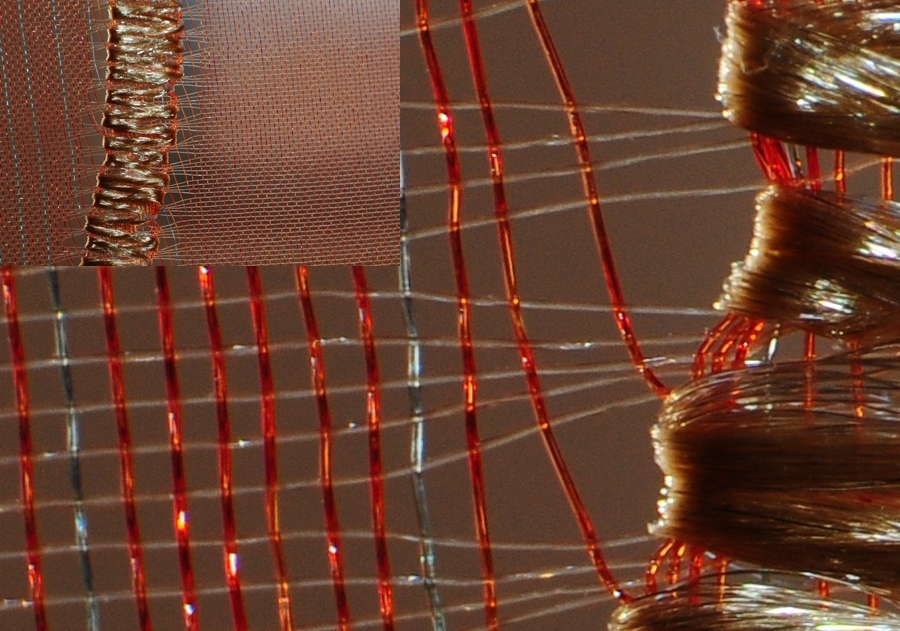
Pic. 15 Сurtain lace shoot with 210mm:
1.3. Extension rings set. I use Kenko 36, 20, 12мм (Pic. 3). Added them to connected with front parts lenses. For comparison, Nikon D40 kit next to it:
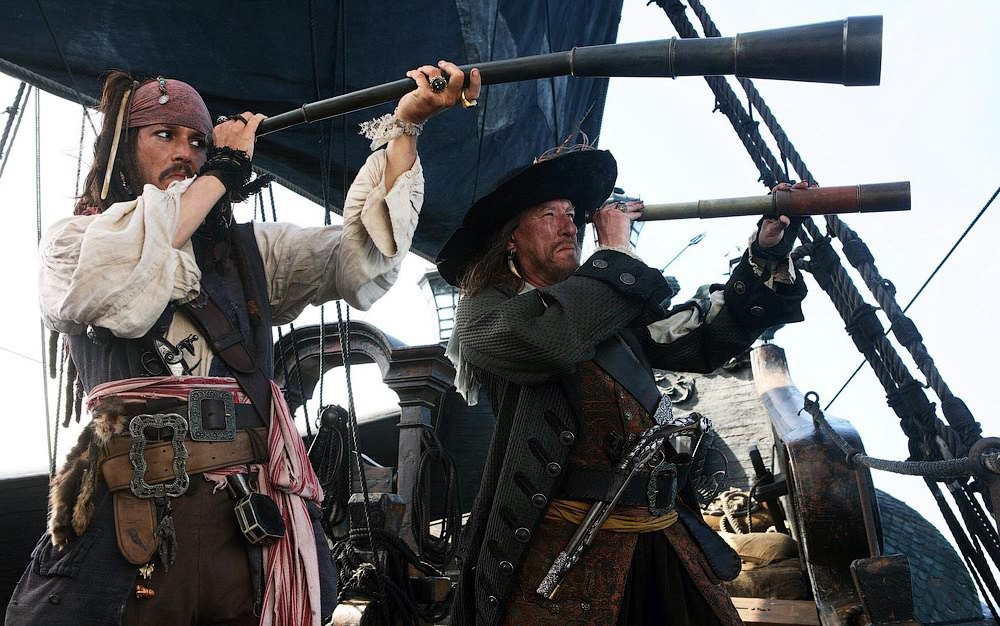
Pic. 16 Nikkor 50mm 1,4 + Nikkor 70-210mm 4-5,6 + 3 rings. I want to cry when I see this "device":

I always remember this moment from Pirates of the Caribbean:
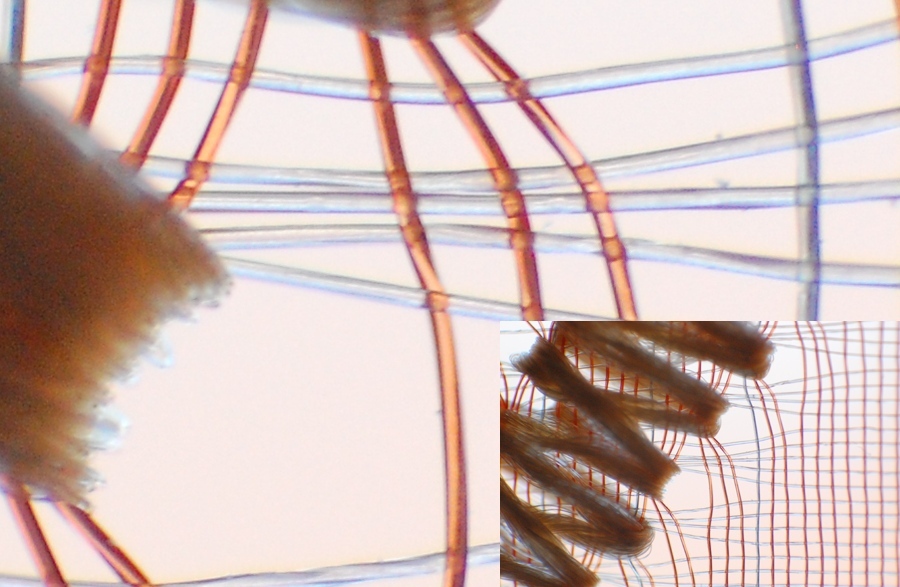
Some examples of fabrics shoot with this monster (Pic. 12):
Pic. 17 Сurtain lace shoot with 70mm:
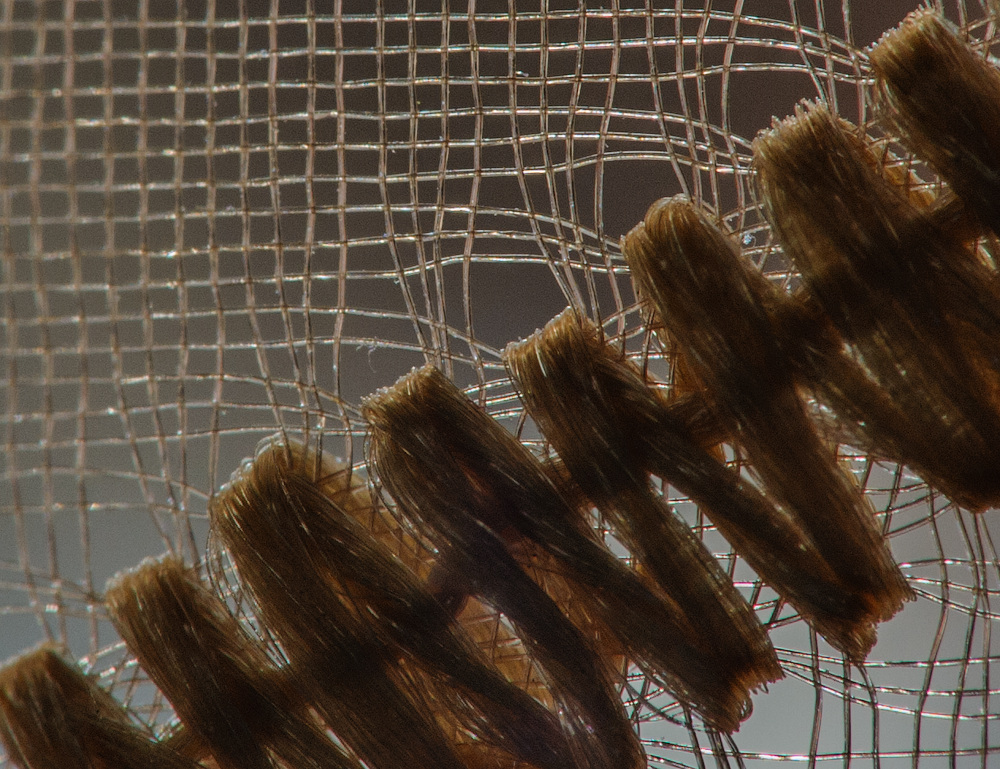
Pic. 18 Сurtain lace shoot with 210mm:
Extension rings with Nikkor 50mm 1,4:
Pic. 19 Nikkor 50мм 1,4 + 3 rings:
Example of photo:
Pic. 20 It was shoot with Nikkor 50мм 1,4 + 3 rings:
Pic. 21 For comparison, it was shoot with Nikkor 105 mm 2.8 VR Micro:
No big difference. So, Nikkor 50мм 1,4 + 3 rings = Nikkor 105 mm 2.8 VR Micro. But twice cheaper.
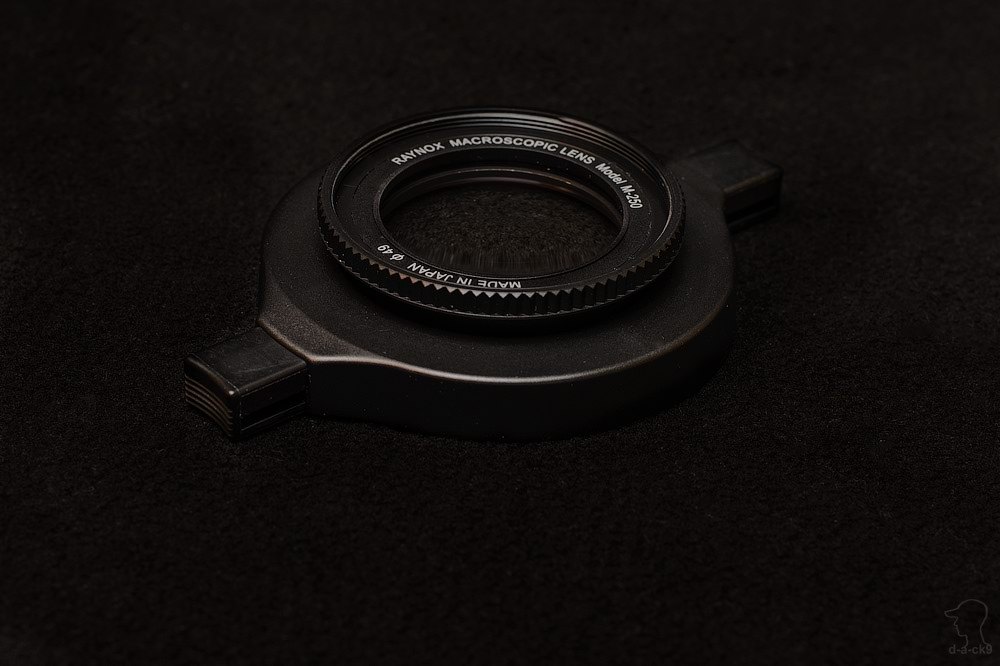
1.4. Magnifier to the front lens. I use Raynox m-250. More strictly, Raynox is a very small and simple set lens (3 elements in 2 groups):
— fast mounting to lenses from 52 till 67 mm
— x3 magnification
— high quality of the image
Pic. 22 Raynox m-250:
Add it to the previous components
Pic. 23 Nikkor 50mm 1,4 + 3 rings + Raynox m-250:
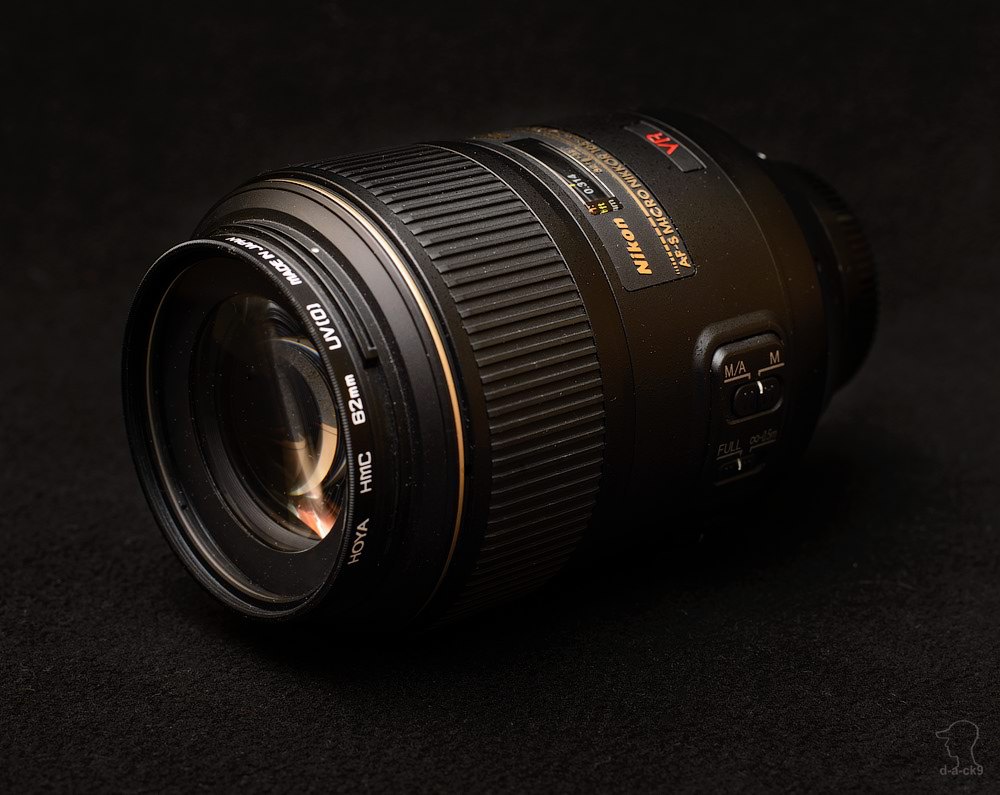
1.5. Special macro-lens. I have Nikkor 105mm 2.8 VR Micro. It could shoot macro with 1:1 scale. I use this lens as 3-in-1:
— Very quality portraits lens;
— Kind of tele-lens;
— And as macro-lens.
Pic. 24 Nikkor 105mm 2.8 VR Micro:
Pic. 25 Exaple of photo took with Nikkor 105mm 2.8 VR Micro:
1.6. Mikon lens for microscope Nikon CFI plan achromat 10x.
Pic. 26 Nikon CFI plan achromat 10x with 62mm adapter:
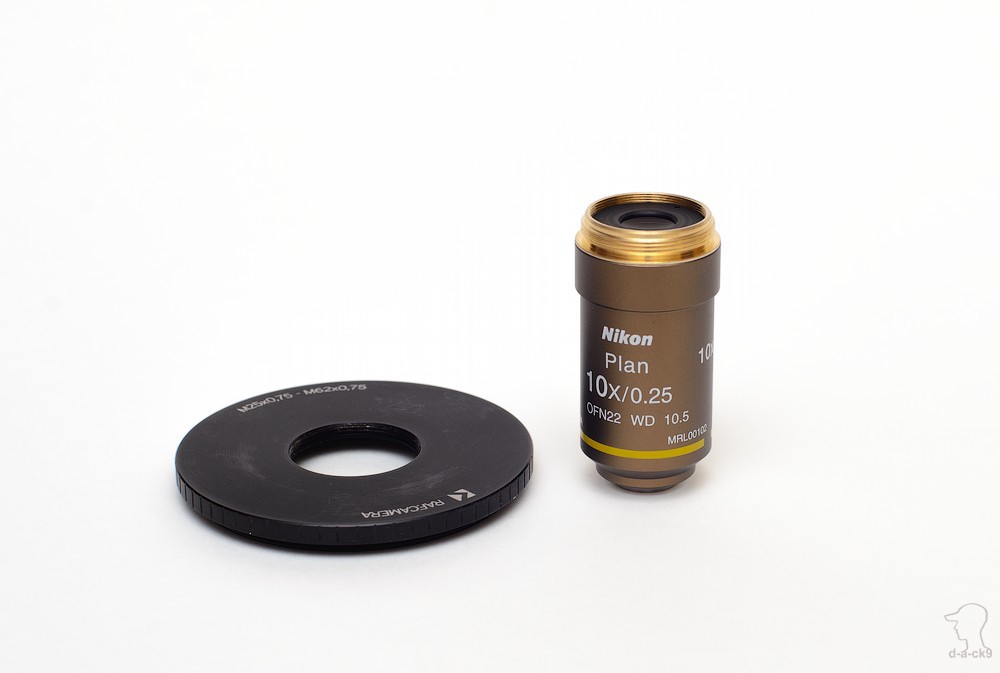
This microscope lens could be connected with front of any lens via adapter. I connect it with my Nikkor 70-210mm.
Pic. 27 Nikon CFI plan achromat 10x + Nikkor 70-210mm:
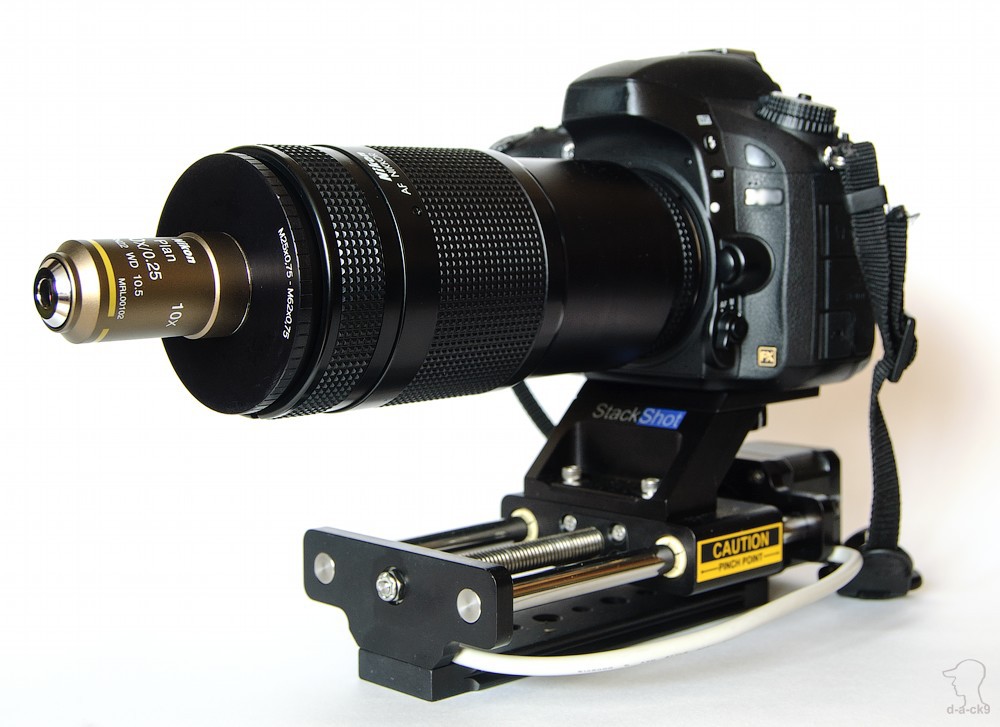
Scale now is 13:1. I shoot in average 100 photos for one stack.
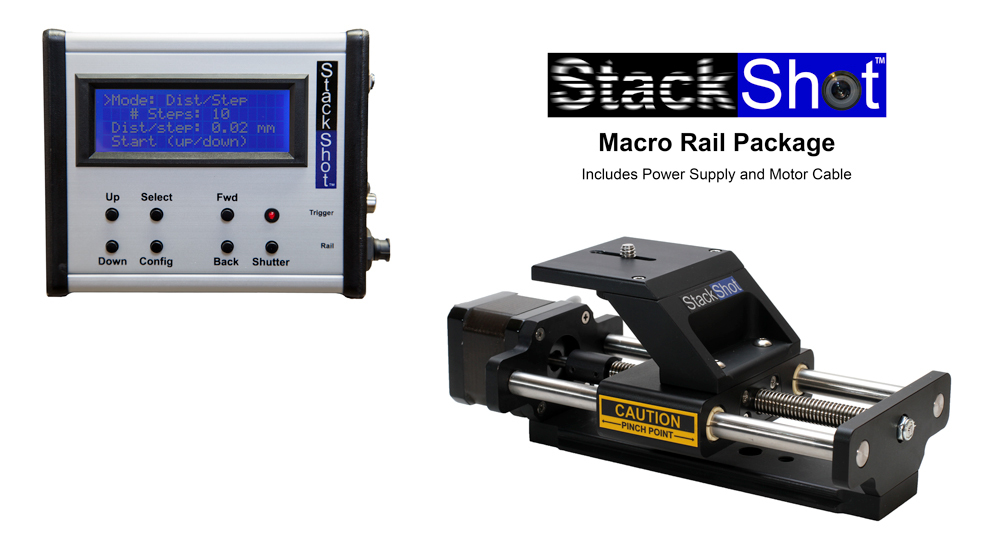
1.7. I use motorized rails Cognisys StackShot Macro Rail. They allow to program all the parameters for stack shooting and handle the camera.
Pic. 28 Cognisys StackShot Macro Rail:
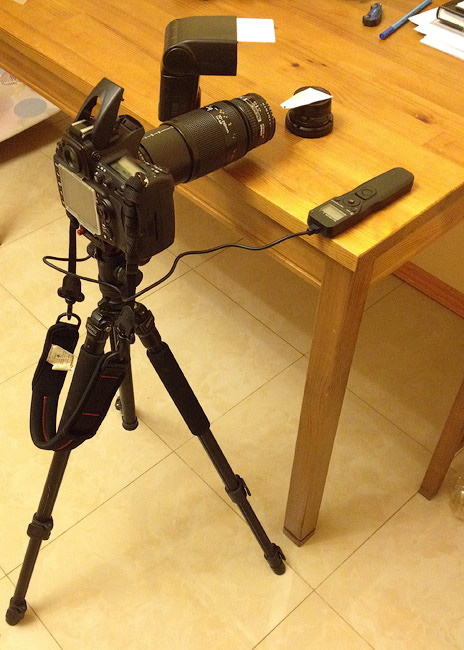
Pic. 29 Now the process looks loke this:
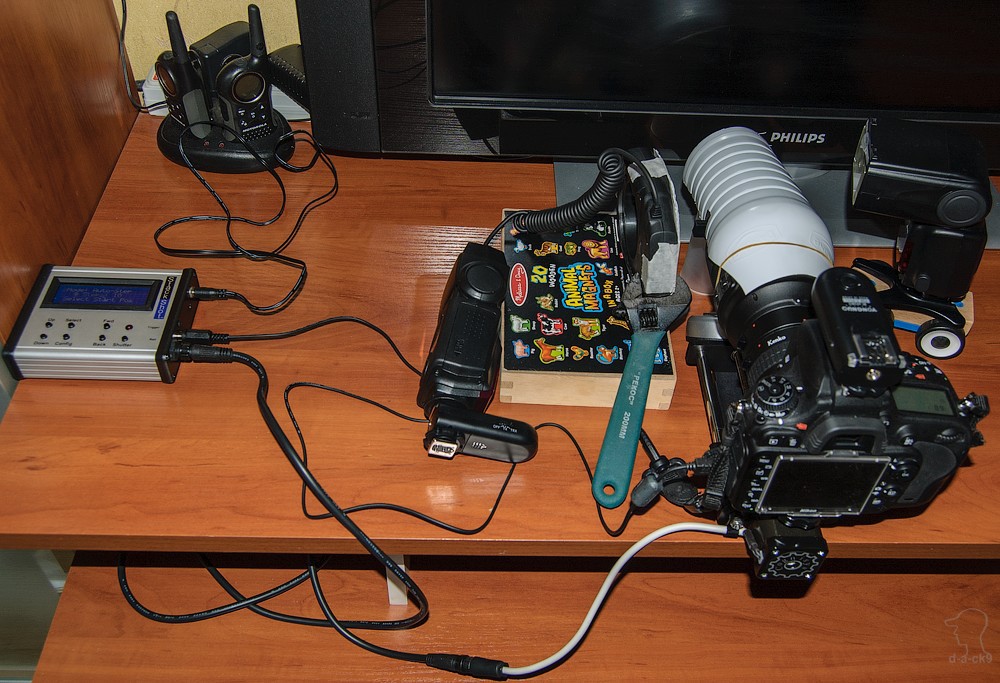
I use Nikkor 105mm + ring 30mm + Raynox m-250 for shooting outdoor. Always shoot without tripod with aperture 25. I use one or two flashes. If it is possible, shoot several photos and stack them in editor later.
2. Examples of photos
Pic. 30 Rotated and connected lenses Nikkor 50mm 1,4 + 70-210mm + 2 extention rings: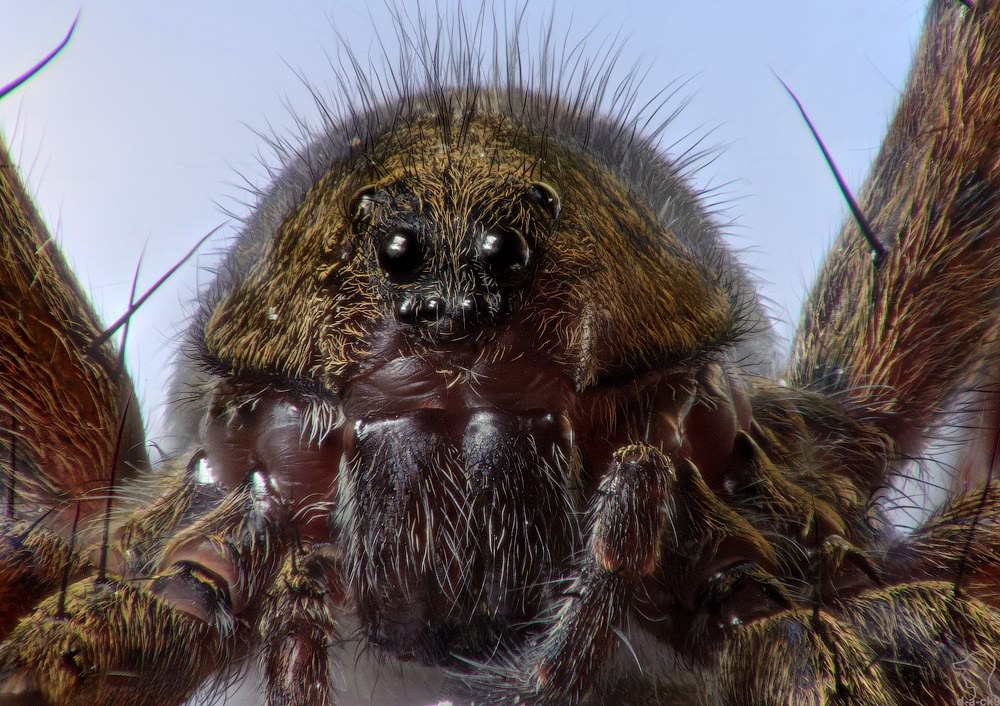
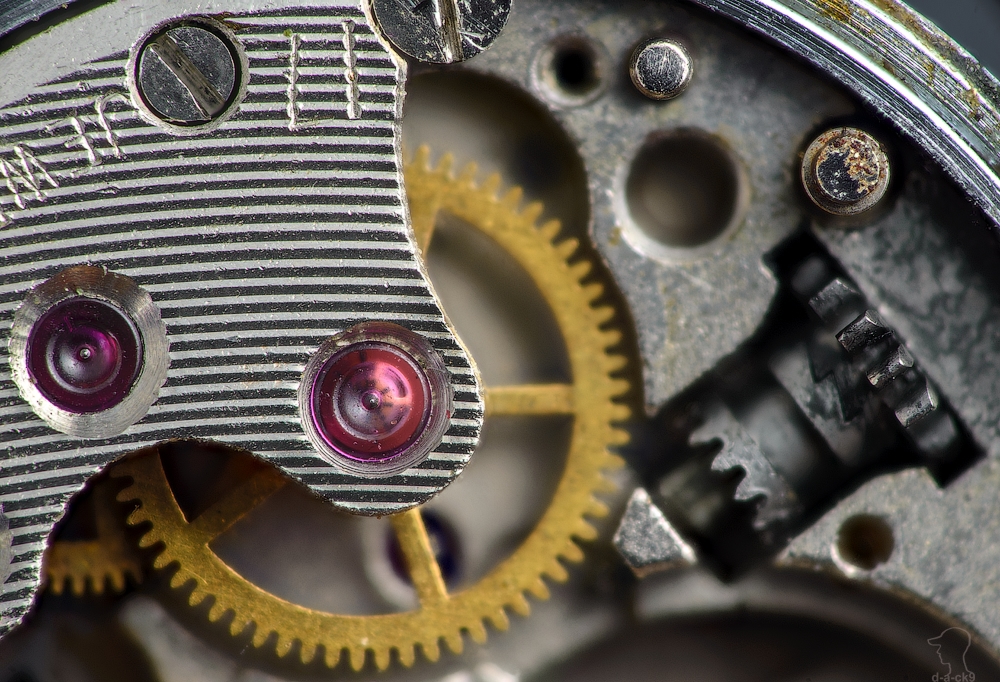
Pic. 31 Wristwatches mechanis. Nikkor 105mm + 3 rings + Raynox m-250:
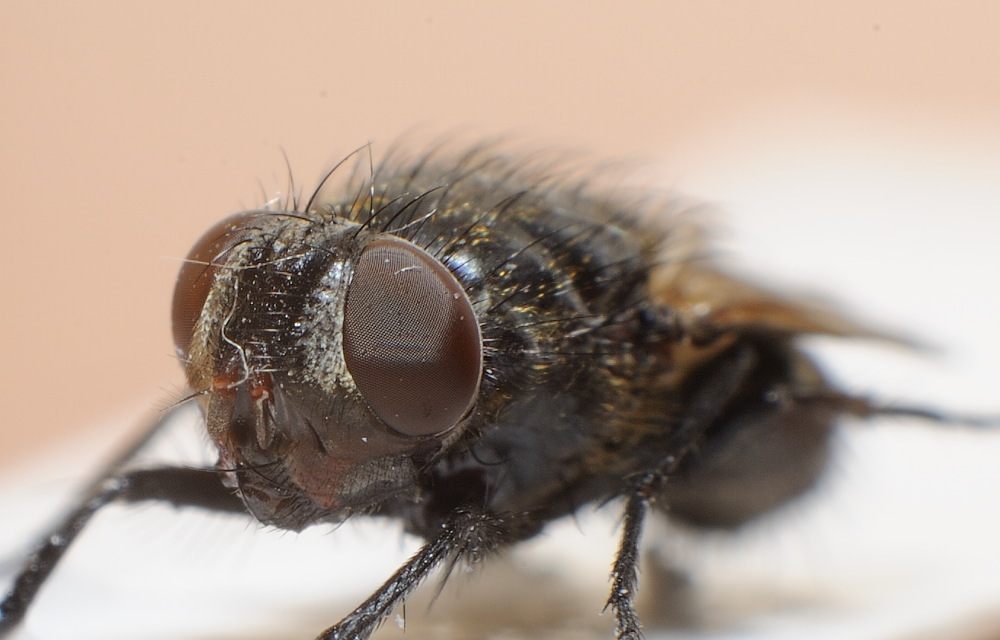
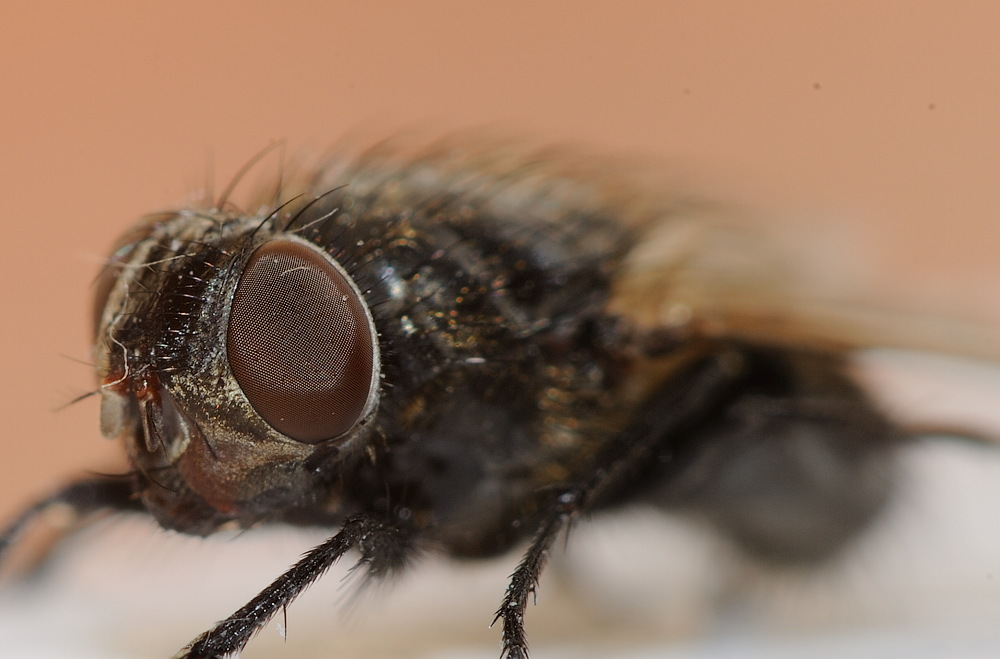
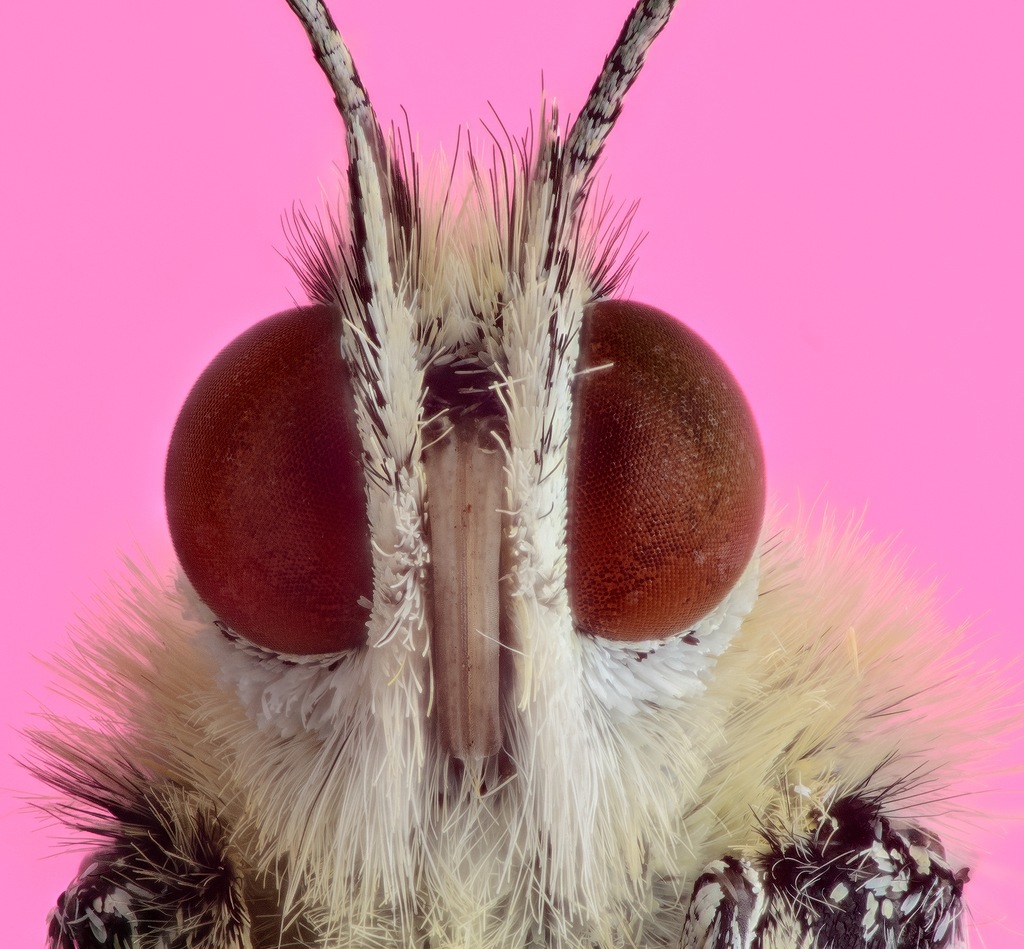
Pic. 32 Butterfly. Nikkor 105mm + 3 rings + Raynox m-250:
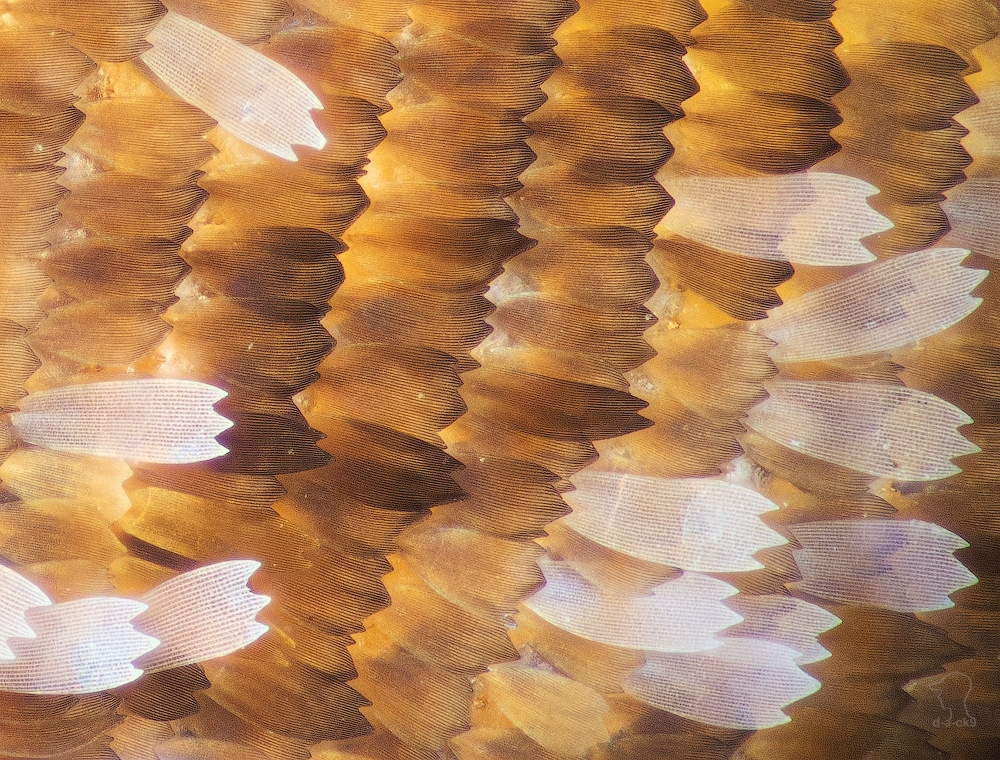
Pic. 33 Butterfly's wing. Nikkor 70-210mm + Nikon CFI plan achromat 10x:
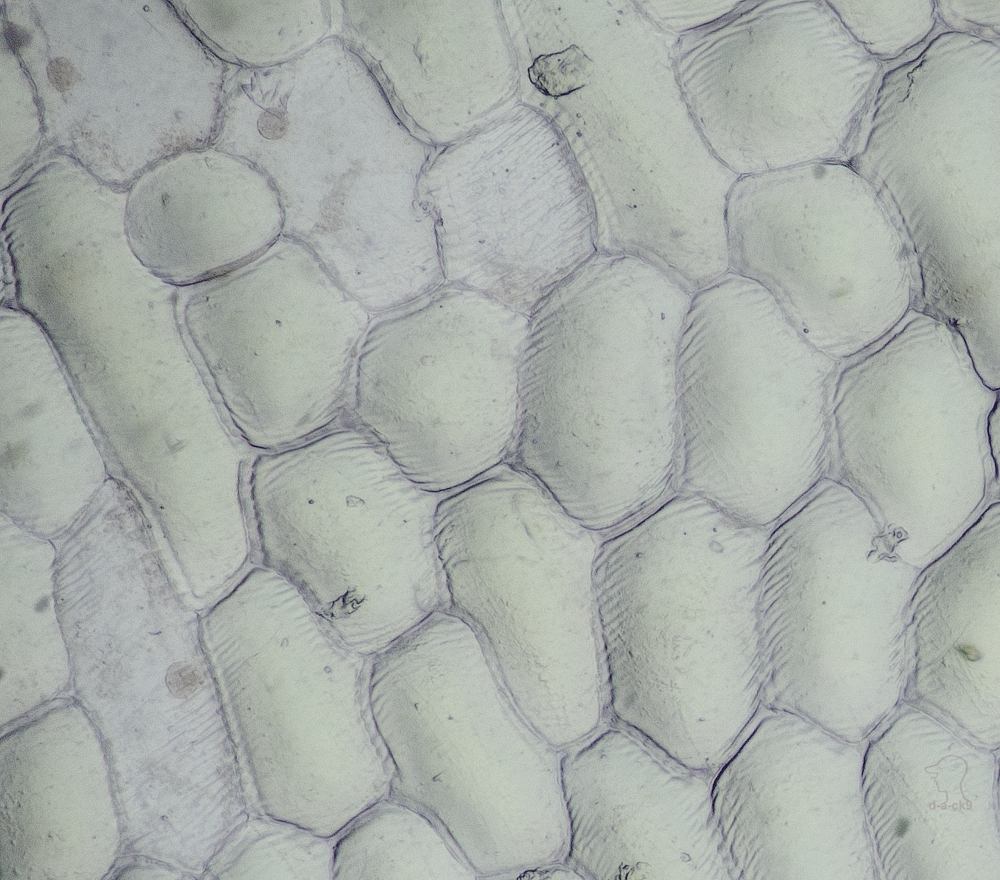
Pic. 34 Cells of onion:
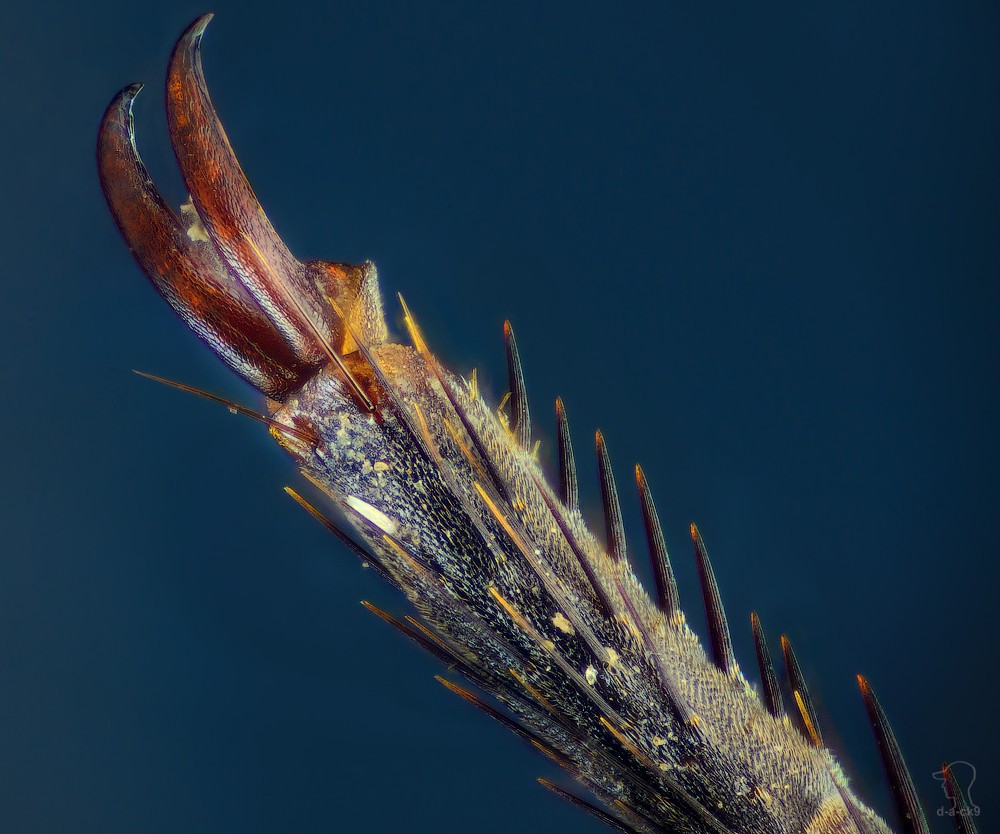
Pic. 35 Butterfly's foot:
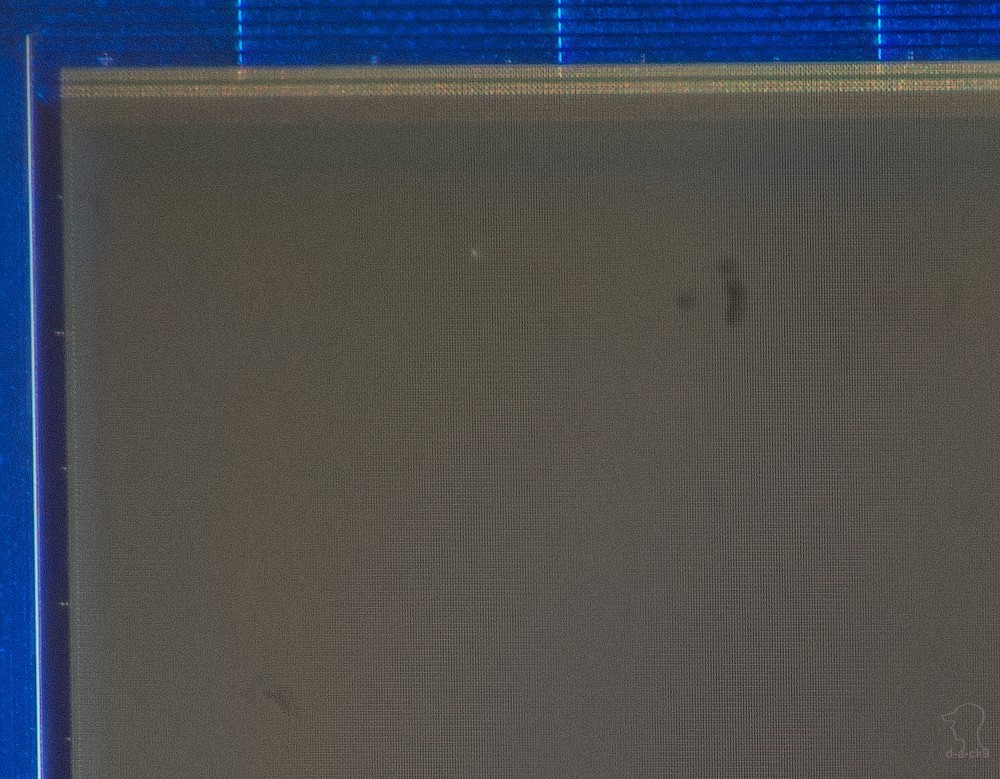
Pic. 36 Camera display's pixels:
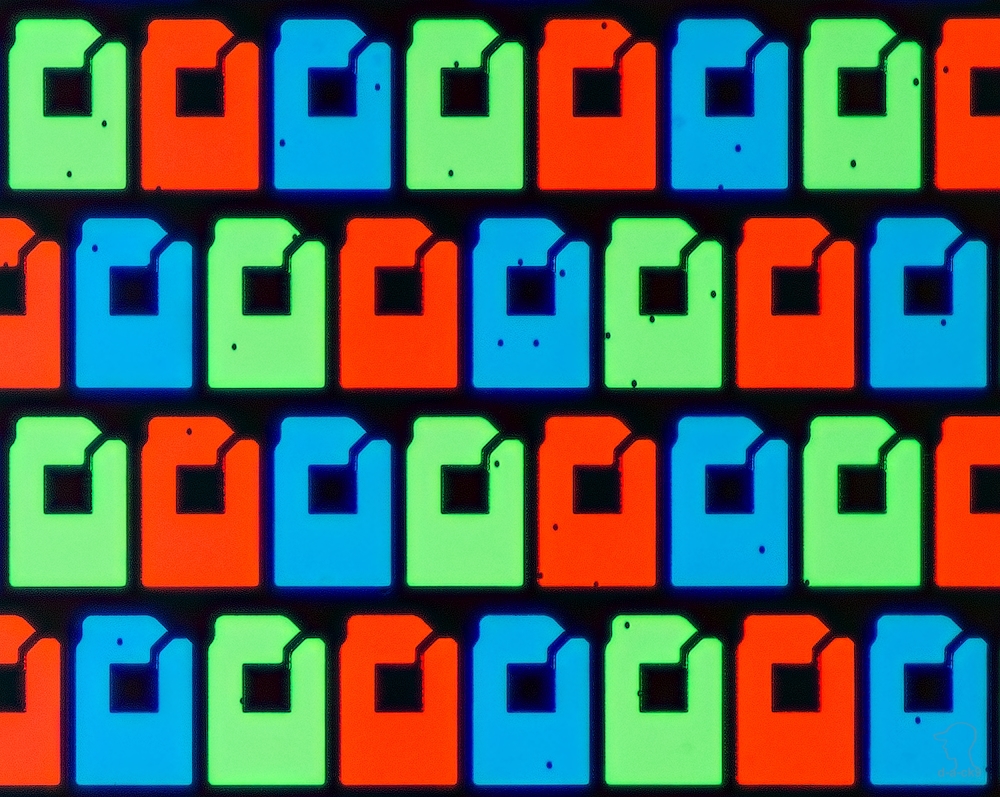
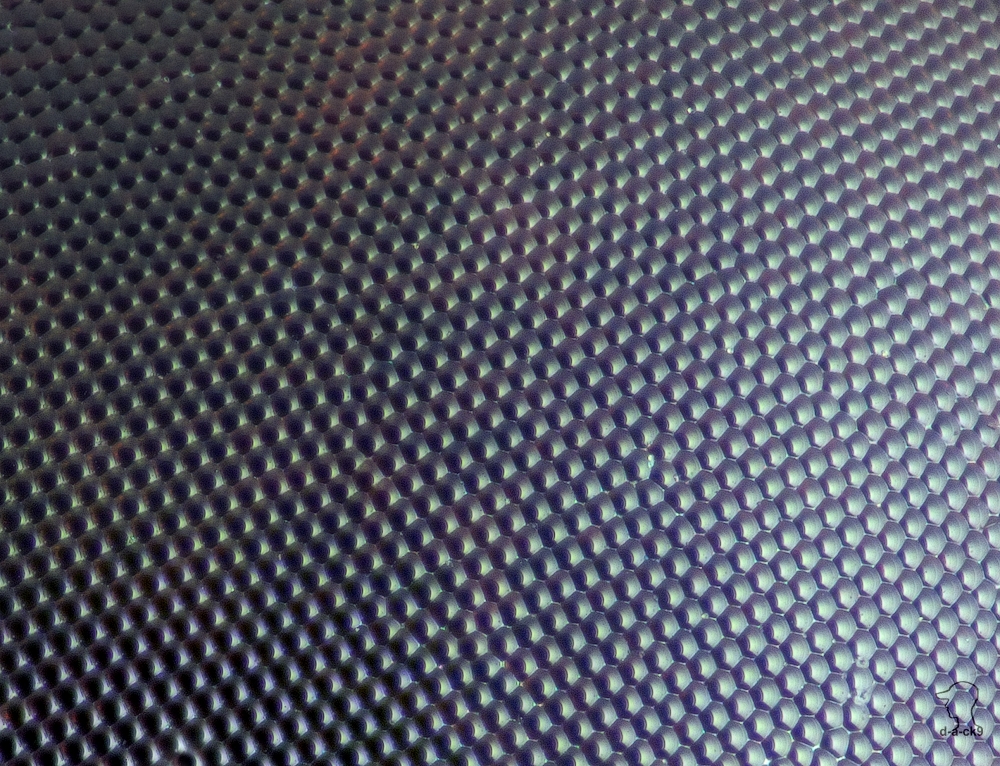
Pic. 37 Cells of the photosensitive matrix of the camera (pixel size 0.00168mm X 0.00168mm):
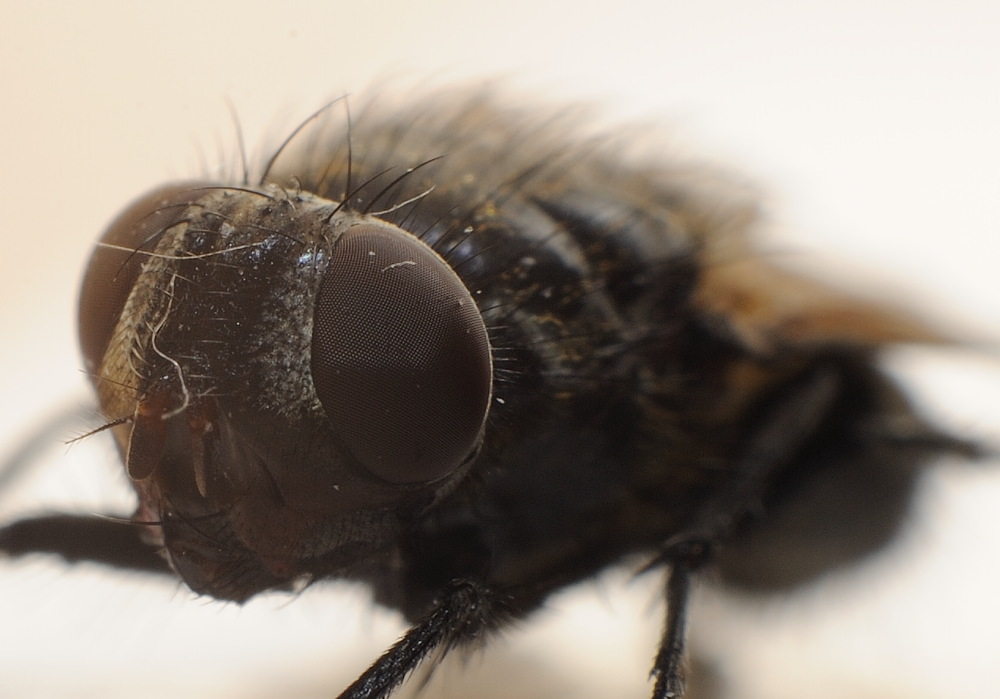
Pic. 38 Butterfly eye's facets:
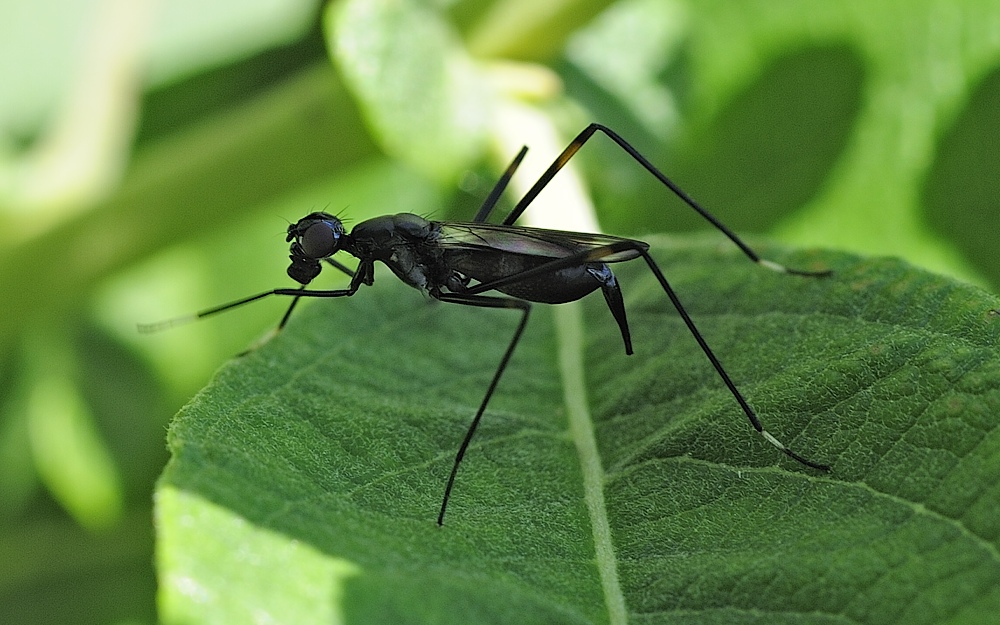
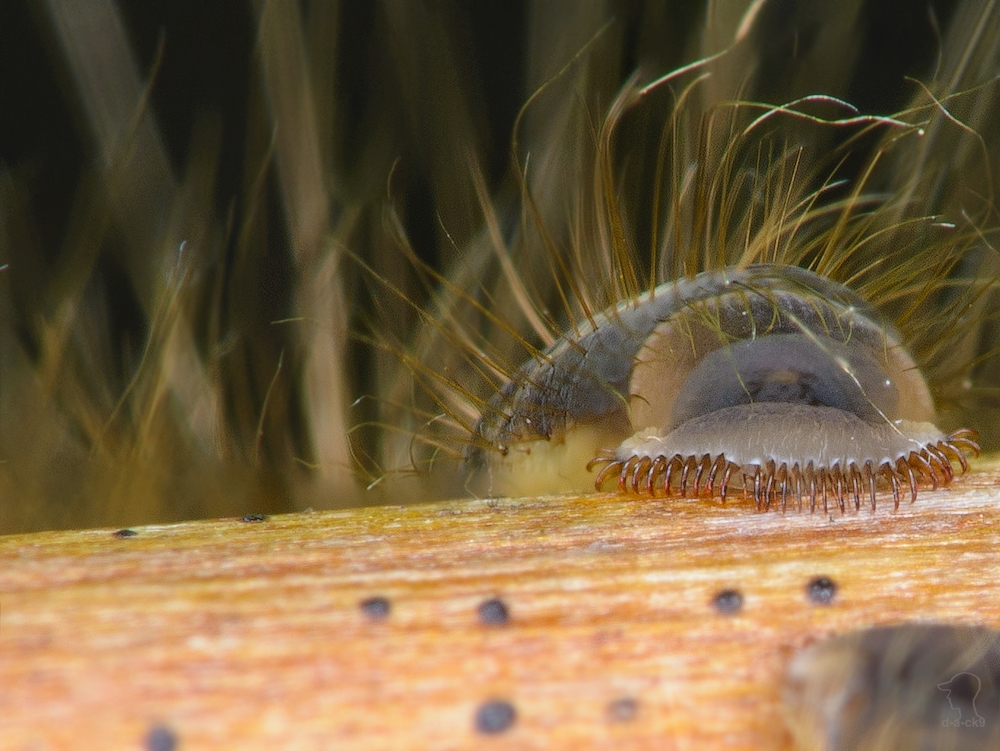
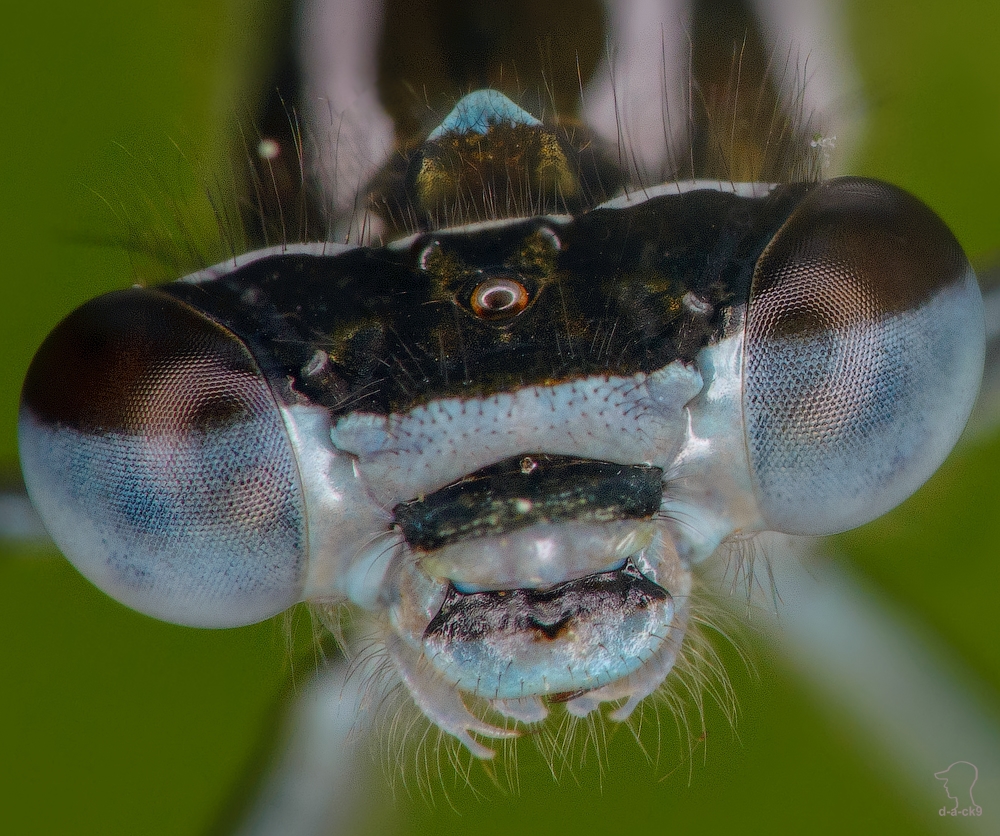
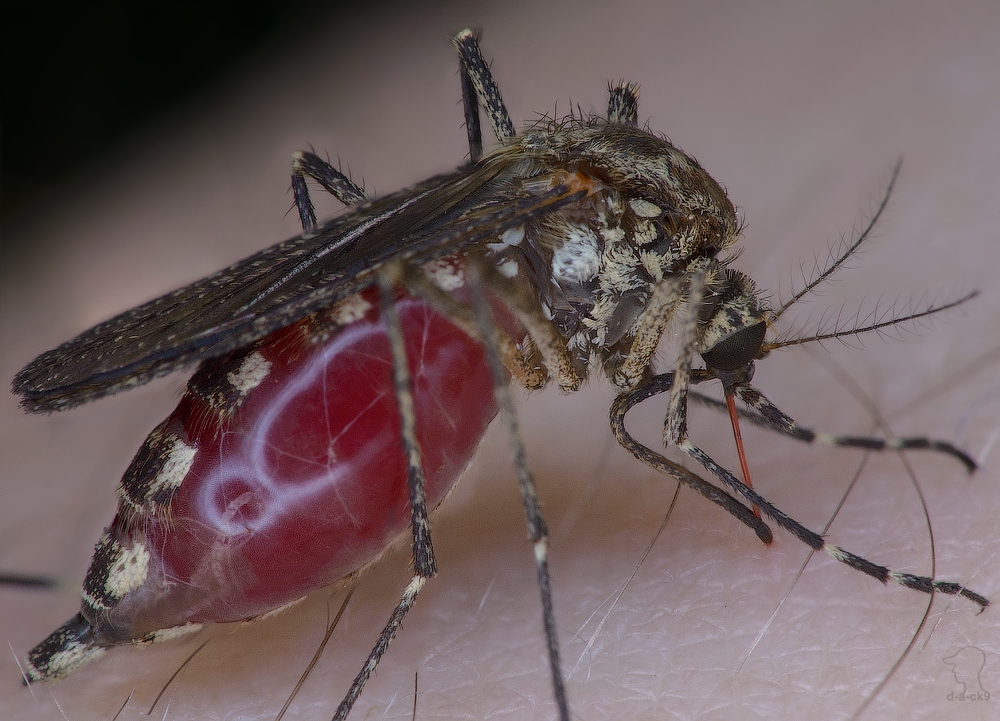
Wildlife photography with Nikkor 105mm + 30mm ring + Raynox m-250
Pic. 39 "Cute" foot of a silkworm:
Pic. 40 Dragonfly:
Pic. 41 While this vampire was sucking blood out of me, I managed to make about five shoots:
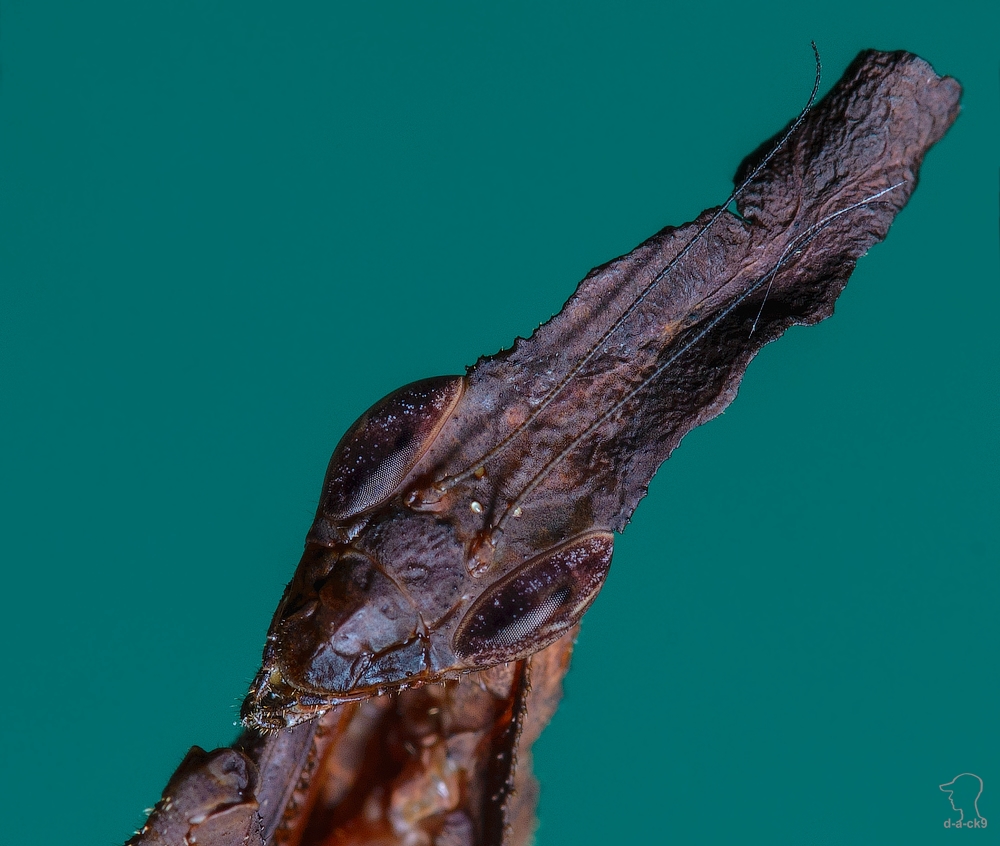
Pic. 42 "Mini-Alien" - a ghost mantis::
Pic. 43 The nymph of the hay beetle:
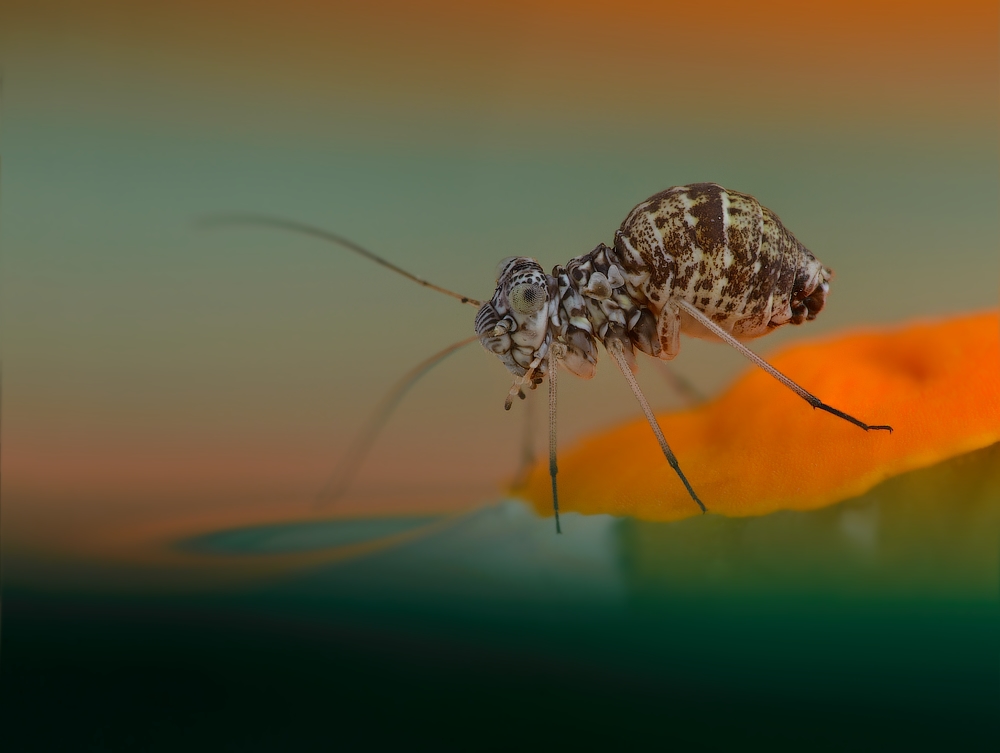
Pic. 44 Nymphs of a cicada:

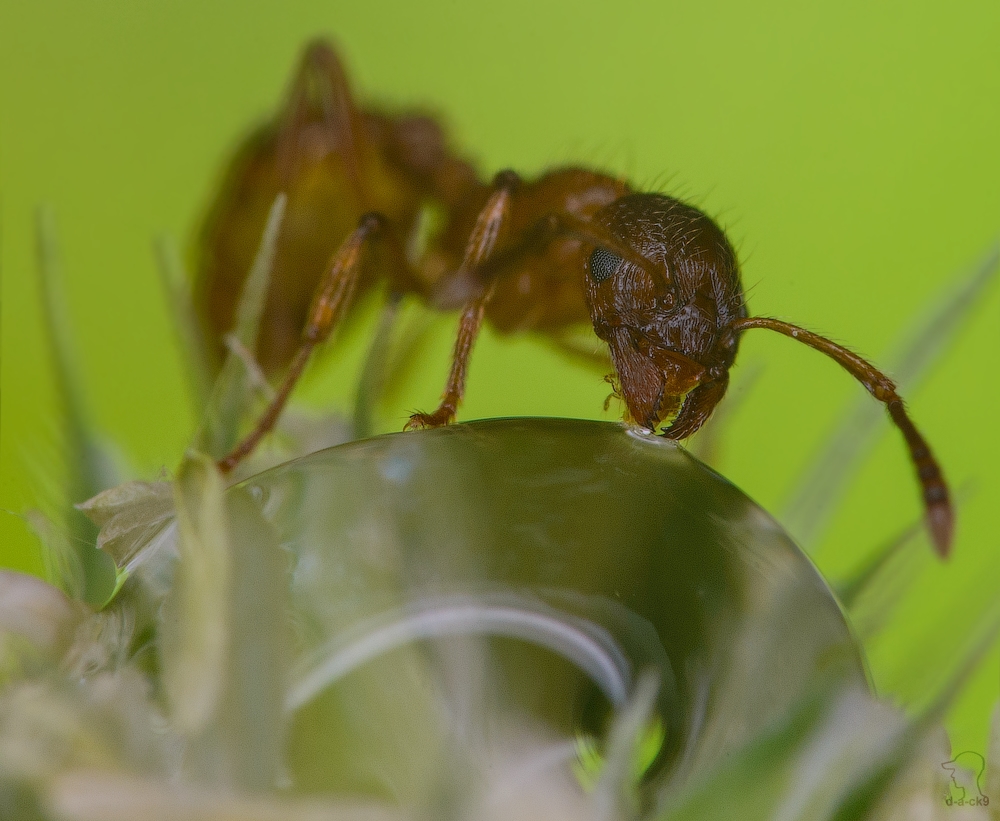
Pic. 45 Just an ant:
Back